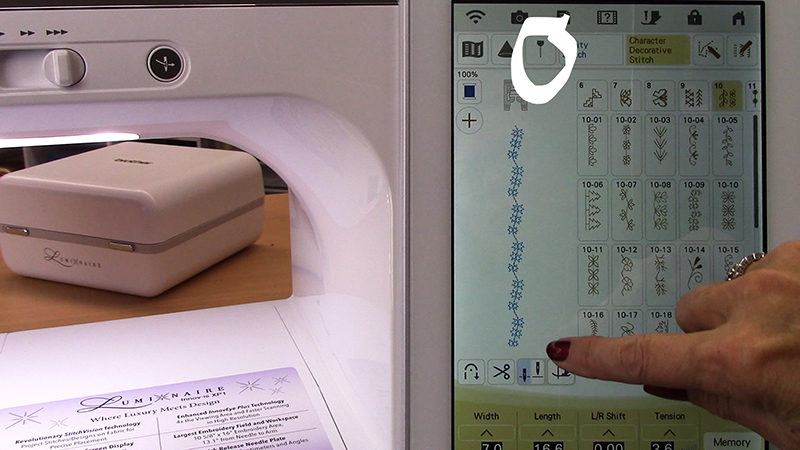
Quick Tip: Using the Grid Projector on the Luminaire
In my previous blog posts, I have showcased the new projector feature on the Brother Luminaire,
particularly on the embroidery side. The projector doesn’t stop there! On the sewing side, there are quite a few applications to make our sewing easier. To check out this fun feature, start by choosing a decorative stitch in the Brother Luminaire
and then click on the projector icon.
 Use the included stylus to scroll through the numerous decorative stitches and click SET when you find one you like.
 Next, click on the icon right next to the projector icon.
 This will open another screen that will offer quite a few options. This time I am going to focus on the grid feature in order to line up rows of decorative stitching. Click on the Sub menu at the top of the screen and click ON.

 From the Sub screen, click on the grid icon and depending on the color of your fabric, you might want to change the grid color to green, white, or red.
 I have placed a white fabric over the denim so you can see the grid a little better.
 Stitch your first row of decorative stitches. For the next row of decorative stitches, line up the first row with a marker on your grid. Use the grid as a guide to follow, this will keep you 2nd row of stitches straight and parallel to your first row.
 Here are a few rows of stitching and look how far apart these parallel rows are.
 Sewing parallel rows of stitches has never been easier! I see a lot of possibilities for embellishing borders, topstitching, and more! Check out the video below for a full tutorial on using the projected grid feature.
Cheers,
Angela


