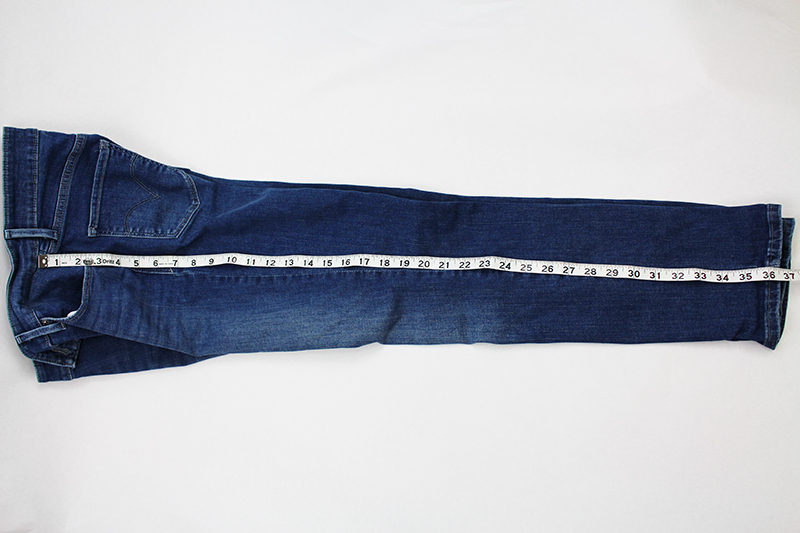
Refashion Jeans with Trim
You might have noticed some of the fashions of the late 60’s and 70’s making a comeback on the store shelves, from floral fabrics to embellished jeans. We have focused on embellishing jeans with free motion embroidery
to embroidering an entire leg;
Now we will add a crocheted ribbon trim along the outside leg.

Machine Used:
- THE Dream Machine 2 Innov-ís XV8550D
(featuring Directional Sewing - available on various Brother sewing machines)
Supplies:
- Jeans
- Measuring tape
- Pins
- Ribbon or trim (check that the trim is washable)
Prepping:
- Measure the outside of the jean leg from the bottom edge of the waistband to the hem.


- Add 6 inches to the outside leg measurement and cut 2 pieces of trim that exact length.
- Starting at the edge of the waistband, center the trim with the outside leg seam. Fold under the raw edge of the trim about ½” and pin.

- Continue to pin the trim along the outside leg seam. Be sure to look for metal rivets or other hardware! Here I have a rive and I will make sure to mark this spot as to not break the sewing machine needle.


- Pin the ribbon/ trim all the way to the hemline. If you plan on folding up the jeans, measure 4 inches below the hemline and cut the trim. If you are not going to fold up the jean hem, measure 2 inches and cut off any excess ribbon.

- Turn the jeans inside out. Center the ribbon on the seam allowance, fold under the raw edge ½” and pin in place.


- Follow these steps on both outside leg seams.

Sewing
Depending on the style and size of the jeans, it can be challenging sewing all the way down to the narrow hemline. To make is easier we are going to utilize the sewing sideways feature!- Set up the machine for sewing a straight stitch and move the needle all the way to the far-right position. Slide the jeans under the foot starting at the waistline.

- Use the camera feature to see that the stitch will run right along the edge of the trim.

- Stitch down as far as you can, making sure you are only sewing through the outside pant leg.

- Once you have stitched as far down as possible, backstitch once, cut the thread, and slide the jeans back up to the top of the trim. Move the needle to the far-left position and stitch down the other side of the trim.


- Again, stitch down as far as you can, backstitch, cut the thread, and pull the jean leg off of the machine. Follow the same steps for the other jean leg.

Set Up the Machine for Directional Sewing
- Remove the standard “J” foot and snap on the “N” foot. Remove the free arm on the sewing machine.


- Starting at the hemline, slide one of the pant legs onto the free arm.

- Click on the #5 ICON for directional sewing. Choose stitch 5-05 which will stitch sideways to the right. Utilize the camera feature in order to the stitch along the edge of the trim.

- Stitch along the edge of the ribbon, all the way down to the hemline.


- When you get to the hemline, change the stitch to #5-07 and stitch along the hemline. Then choose stitch #5-04 (stitching sideways to the left) and stitch along the other edge of the trim. Follow the same steps for the other leg. I have included a brief video showing how the sideways feature works.


