How to Replace a Zipper
-Brother Sews Blogger
Zippers are found on many different types of items today, from garments and accessories to home décor items, and even storage items. They are mainly functional, but can be used as decorative accents as well. We love them when they are working and go into full panic mode when they are not! Don’t trash a perfectly good garment because of a stuck or broken zipper. Use these tips on how to fix your zipper and save the garment. Follow these easy step-by-step instructions on how to replace a zipper, DIY style!
This is my favorite fix for a zipper that is stuck.
You can use a graphite pencil, a sliver of bar soap, or the end of a candle.
First, check to see that there is no fabric stuck in the zipper teeth. If there is no fabric caught in the teeth, you can un-stick the zipper like this.

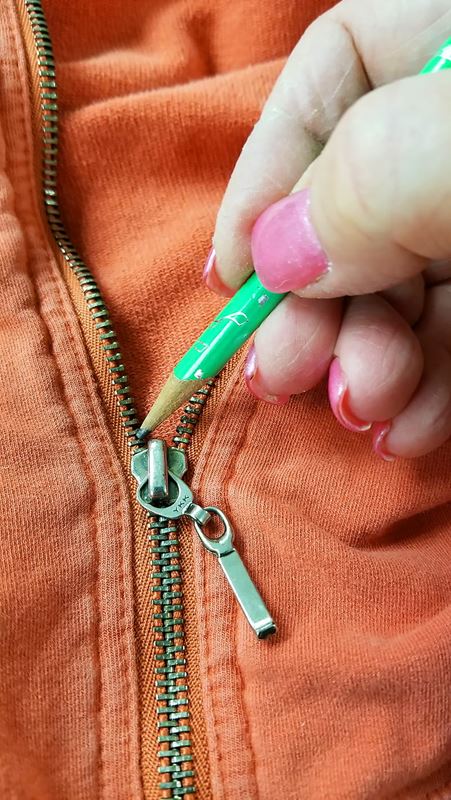
For this zipper, I am using a pencil. The soap or candle would be used in the same way.
Simply rub the pencil over the zipper above and below where it is stuck. Do this on both the outside and the inside of the garment.

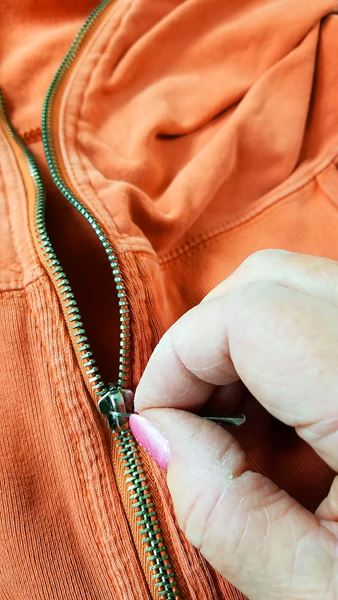
Gently jiggle the zipper tab up and down to work the graphite into the zipper teeth.
Slowly, the zipper will be able to open.
Once it is finally open, you can rub some lead onto the teeth to prevent a future snag.

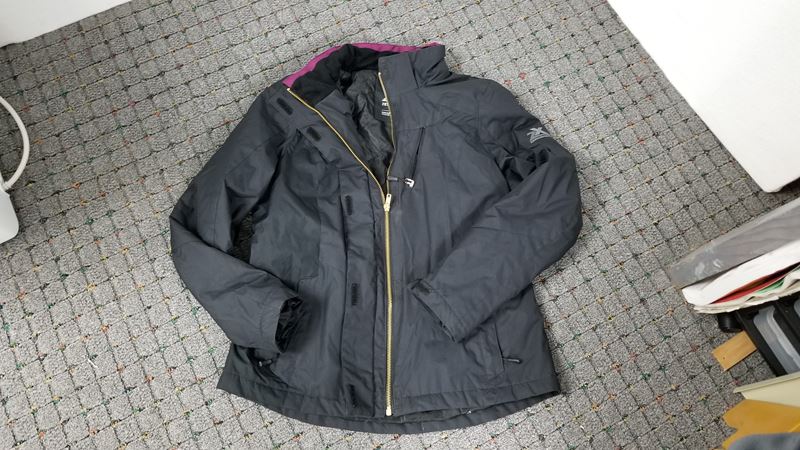
Sometimes, there is no saving a zipper.
This zipper was slammed in a car door lock.
The jacket, however, is in great shape and worth saving.
With a little elbow grease (and some helpful zipper tips), it will be as good as new!

Supplies
-Sharp Seam Ripper
-Zipper - the same type and length as the damaged zipper
-Narrow Zipper Foot
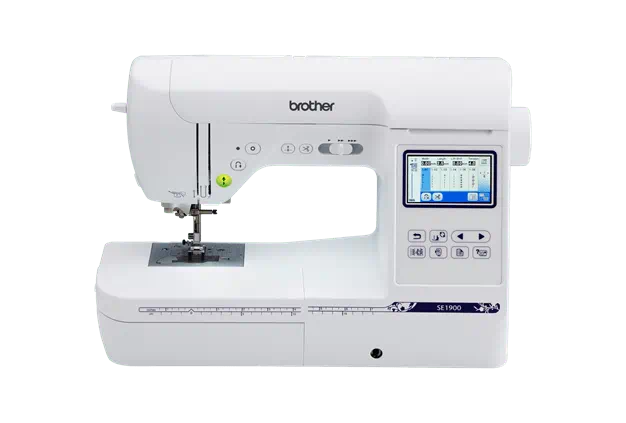
-Sewing Machine Brother INNOVIS VQ-3000
-Thread to match the zipper and jacket.
-Bobbin to match jacket lining.
-Topstitch needle
-Adhesive tape or lint roller
-Pins


First, we need a new zipper. Measure the length of the zipper teeth, not the tape and purchase a replacement zipper. This jacket has a 24” separating zipper. The original jacket had a plastic zipper, but the replacement is metal.
Remove the old zipper.
Rather than beginning at one end - top or bottom, I find that starting in the middle is easier. Sometimes there are reinforcement stitches at the top or bottom which make removal more difficult. Starting in the middle gives you a head start and more room to slide your seam ripper under the stitches when you get to the reinforced stitches.
There will probably be stitching on the outside as well as the lining of the jacket. Be sure to remove all the stitching.

In the case of this black jacket, it was difficult to see the black thread on the black jacket.
A lighted magnifying lamp was helpful.

Completely remove the old zipper.
After removing the old zipper, also remove what is left of the old stitches.
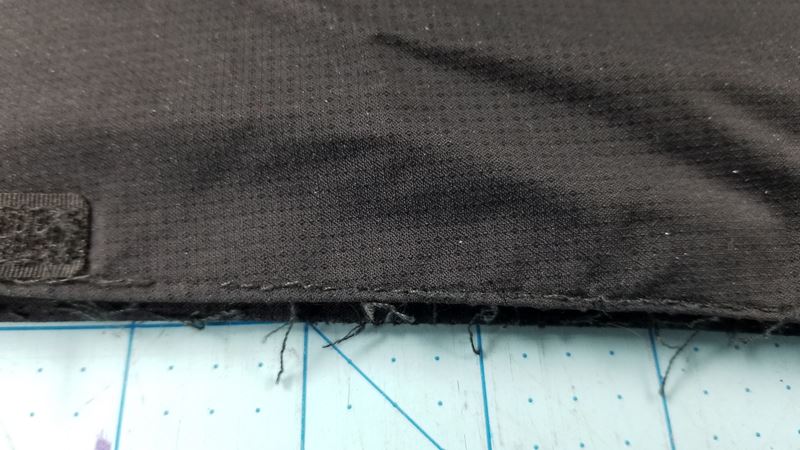
You can speed this along by using an adhesive tape or lint roller to get all the little threads out.

The great thing about replacing a zipper like this, is that the fabric will already have creases where the old zipper was.
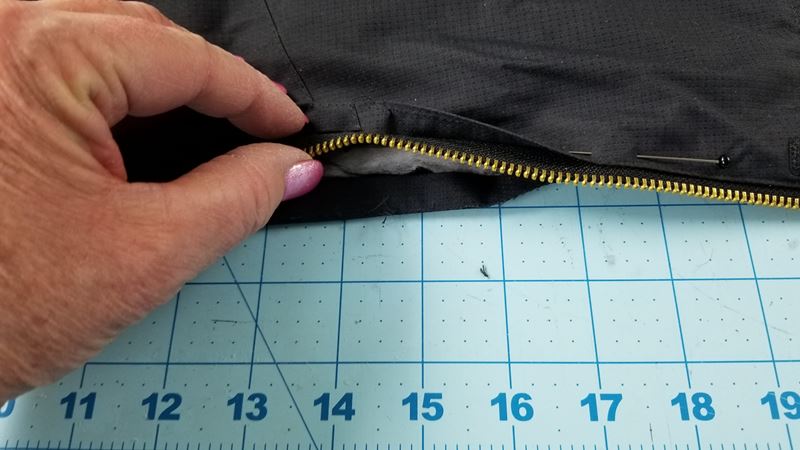
Start at the bottom on the left side of the jacket. Place the left half of the new zipper, right side facing up, into the opening with the bottom zipper stopper as far down as it will go.
Pin in place.
Make sure you catch the lining inside as well as the outer jacket fabric.

Pin along the left edge opening. Be sure to catch the outer fabric, the zipper, and the lining.
When you get to the top, you will need to fold the excess zipper tape over to make it fit into the seam.
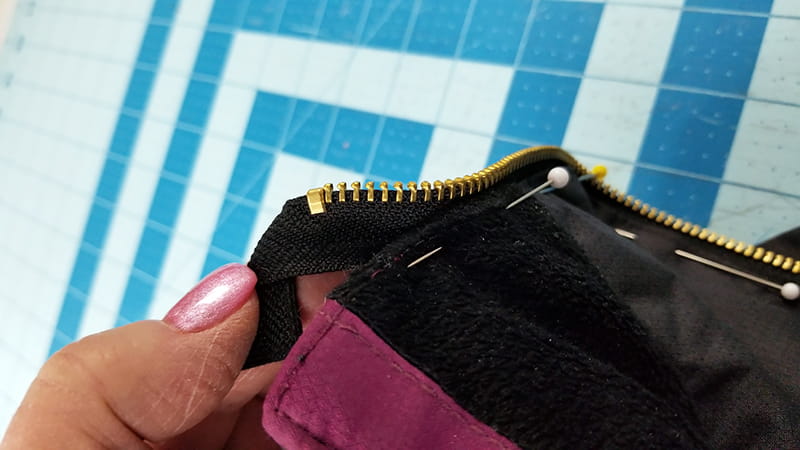
The top of the zipper with the folded zipper tape will fit snugly into the seam where the old zipper was.
Check that all of the pins have gone all the way through and caught the lining fabric.


Attach the narrow zipper foot. It allows you to stitch remarkably close to the zipper teeth.
Choose a straight stitch and adjust the needle position to the right so the needle aligns with the cut out on the right side of the foot.

Repeat process for the other side of the zipper.
If necessary, adjust the foot and the needle position to allow the needle to stitch close to the teeth.
Now that broken zipper is asood as new, and your DIY tricks saved some money too!

Tags
Shop this Project
No sewing machine? No problem! Any products mentioned in this project are available to buy and listed below so you can stay stitching.
Related Projects
Stay Connected
* Required fields
Follow Us
- Product Support
- Product Support Assistant
- Terms of Sale
- Product-Registration
- Search Supplies/Accessories
- Ordering & Shipping Information
- Ordering & Account FAQs
- View Order Status
- Warranty & Extended Warranty Information
- Recall Information
- Return Policy
- Security Support Information(Opens in a new tab)
- Contact Brother
