Repurposed Secondhand Shirts

Repurposing old clothing is trending these days because it’s eco-friendly and it allows you to recreate multiple garments into one new look. In this project, we will use two secondhand shirts from the thrift store to create one new style.
Supplies:

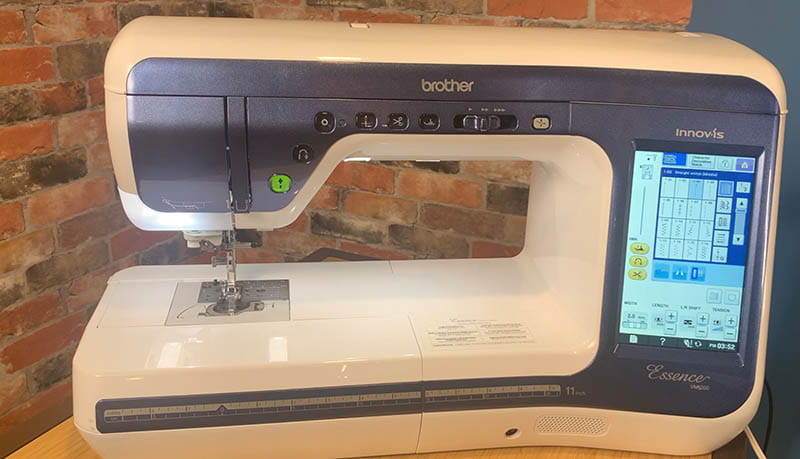
- Brother Sewing Machine
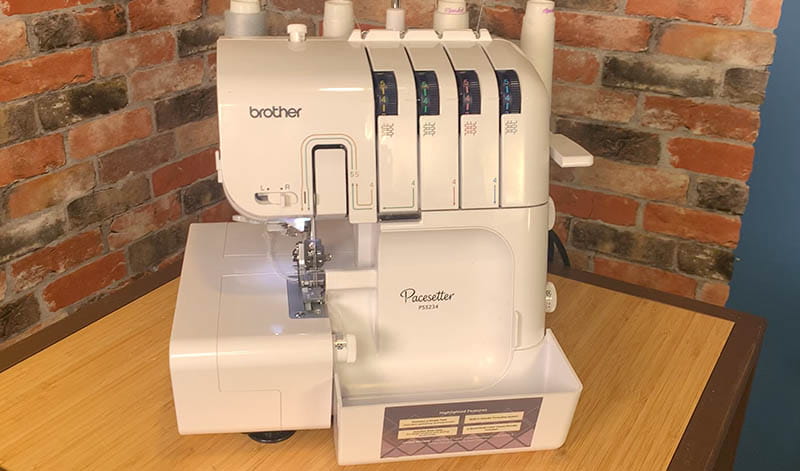
- Brother Serger
- (2) secondhand shirts
- ¼ yard of coordinating fabric (option is to use a third shirt) or fabric scraps)
- Measuring tape
- Fabric Scissors
- Marking pen
- Rotary cutter and straight-edge

When selecting secondhand shirts, think about matching similar fabric weights so the shirts have a similar feel. Second, focus on the colors and patterns that speak to you; the shirts you select can be men’s or women’s in any size or shape because we will be making the modifications.
ASSEMBLE:
To start, lay the two shirts on top of each other, matching up the neckline and shoulder seams.

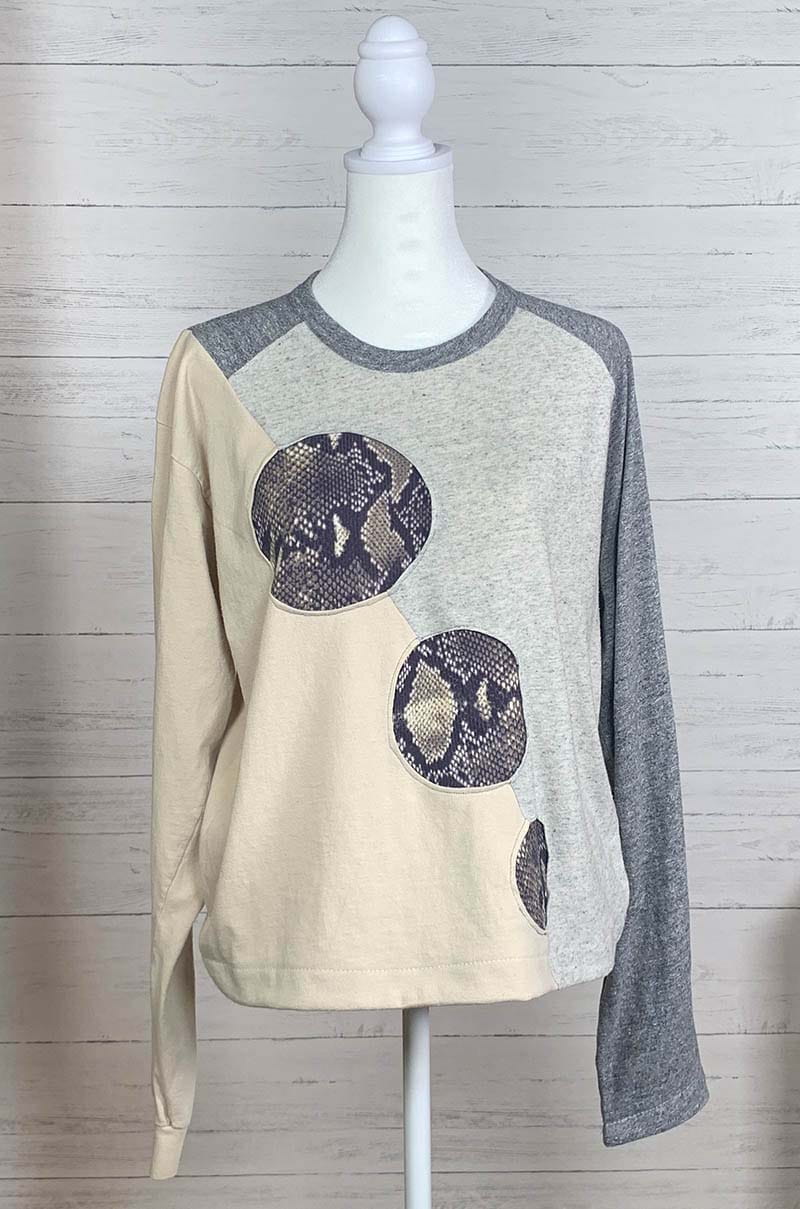
Determine where you want to make the cut; it can be straight down the center, or you can make a diagonally cut across the body. This project shows how to create the shirt using a diagonal cut.

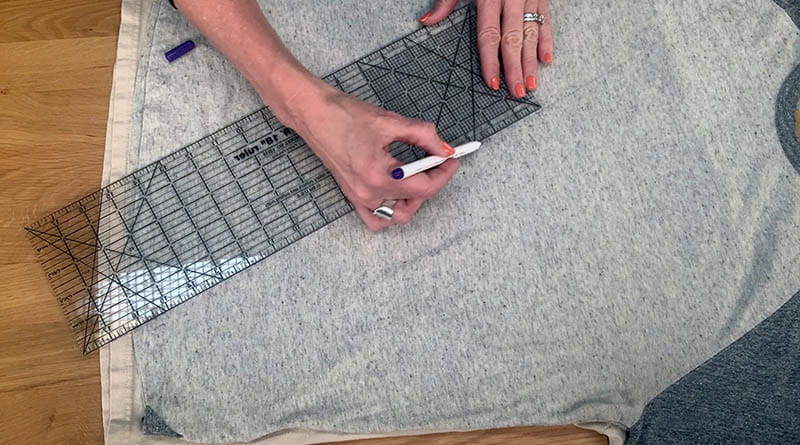
On one shirt, mark the side at the shoulder, halfway between the neckline and shoulder seam, and mark the opposite side on the bottom, creating a diagonal line.
Using your straight edge and marking pen, draw a diagonal line from the top to the bottom markings.
Cut diagonally, from the bottom of the shirt to the top shoulder seam.

Using one side of the first shirt, place it on top of the second shirt and make the same cut.

You will have four pieces. Select the top half of one shirt and the opposite half of the second shirt. Match up the raw edges and with the right side facing each other and pin the shirt together along the diagonal edge.


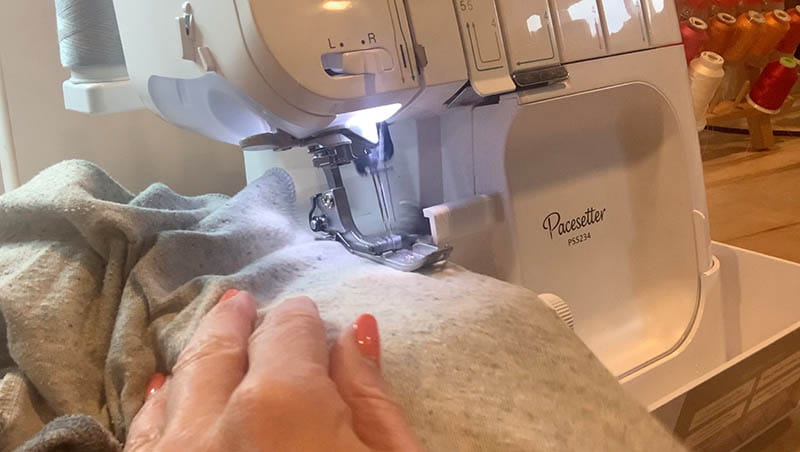
Sew the long diagonal edges of the shirts together.

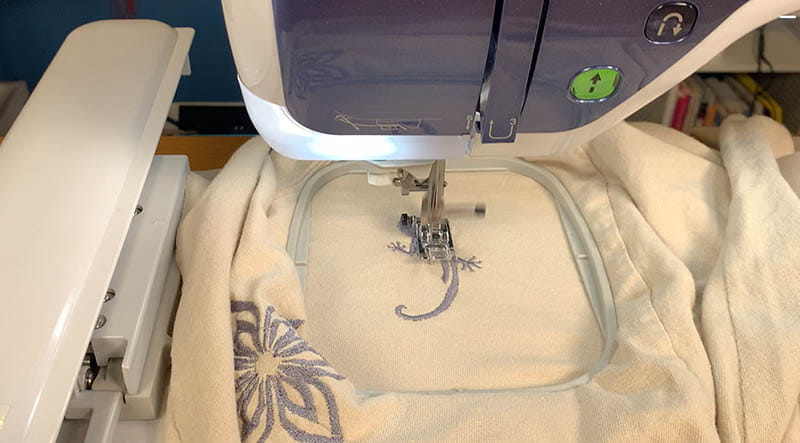
Alternate idea: If you want to add embroidery designs to the shirt, add them now before you sew the pieces together.
CUTOUT:
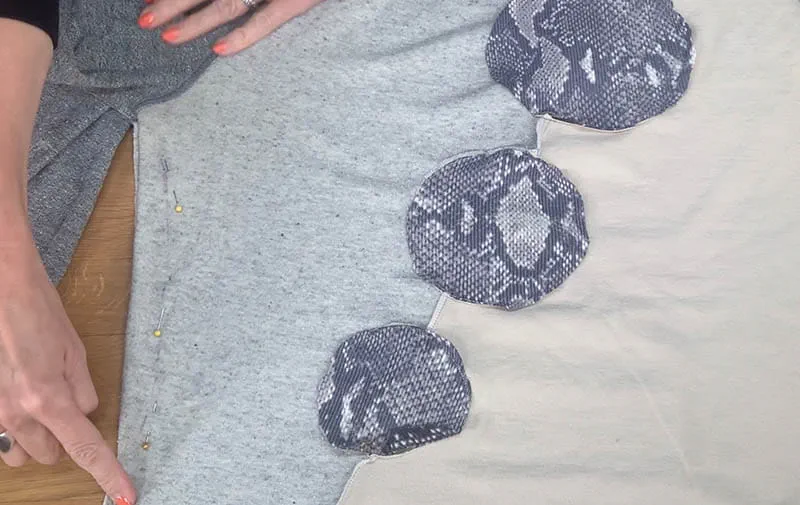
To create a cutout on the front of the shirt, lay a half circle pattern on the edge and mark the half circle. You can add one cutout to the front or multiple cutouts to the front (or back) and vary the size of your half circle.

Note, fold a full circle pattern in half to use as a patten for the cutouts, you will use the full circle to cut fabric to us as inserts for the cutouts.
Cut out the half circle from the shirt.

When you open the shirt to lay flat, this will create a full circle cutout.

Using a full circle pattern, cut a circle out of the coordinating fabric, leaving a small seam allowance.

Turn the new sweatshirt right side out. Place the cutout fabric circle under the circle opening and while folding the sweatshirt edges under, pin the circle in place.

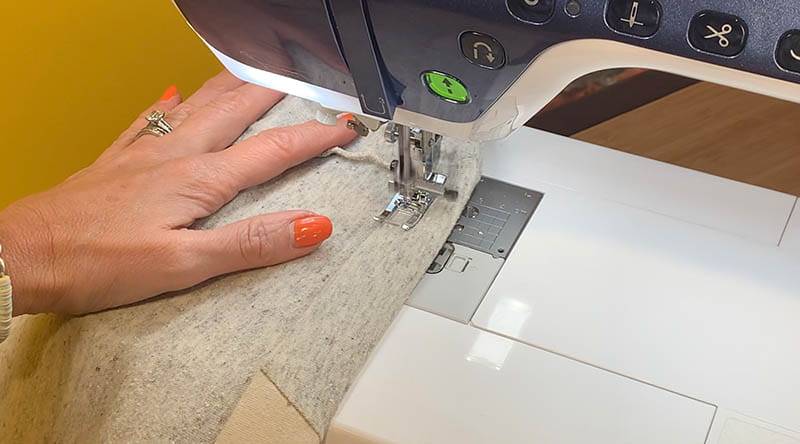
Head over to your sewing machine and topstitch all the way around the cutout.

SLEEVES:
Since your new shirt will have two different sleeves, you can modify your sleeves now.

If you need to lengthen the sleeves, cut off the cuff of the sleeve - if there is one - and add material from the leftover shirt scraps. OR, if you need to shorten one of the sleeves, cut the cuff off or cut the sleeve to match the other sleeve length, turn the edge under, press and sew in place.

FITTING:
If the new shirt needs to be more fitted, you can take-in the sides of the shirt now.
With the shirt inside out, mark the amount that needs to be taken in and pin to ensure the fabric doesn’t slip.
At your sewing machine, sew the modified side seams
FINISH:
Turn the repurpose shirt right side out and determine the length. If you want to make the new shirt shorter, use a straight edge and rotary cutter to remove a few inches, fold the raw edge under once or twice and topstitch it. If you want to length it, add some fabric scraps from the left-over materials.
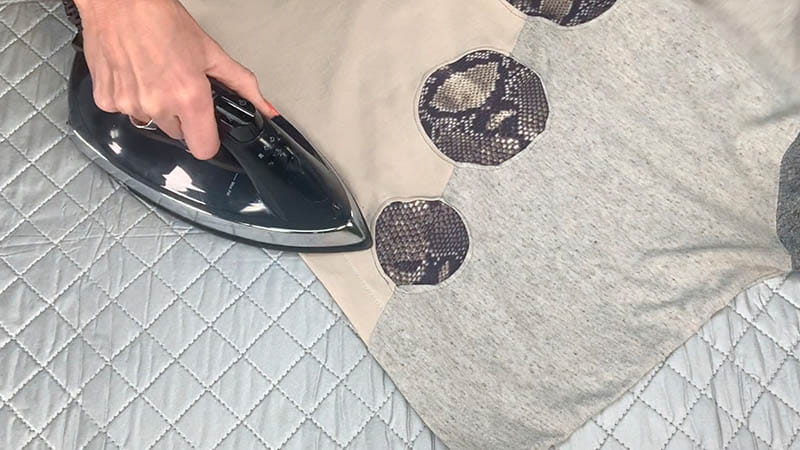
Give the shirt a quick press.
And your project is complete.

This repurposed style is so on-trend in today’s fashion worlds and, the best part, it’s made from two second-hand shirts. Inspiration comes easy with Brother at your side.
Related Projects
Stay Connected
* Required fields