DIY Ruffled Shirt
-Brother Sews Blogger
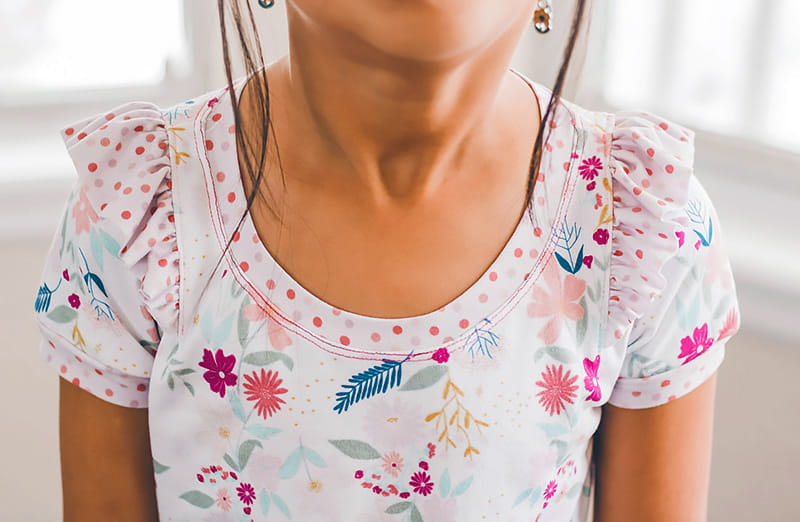
I’m so excited for summer sewing! In the last week or so I’ve been dreaming of summer patterns, fabrics, and sewing projects. This DIY ruffle tee is one of my first summer-themed projects and I’m so excited to show it off today. This is a fun sewing hack that can be added to any t-shirt pattern you have in your pattern library.

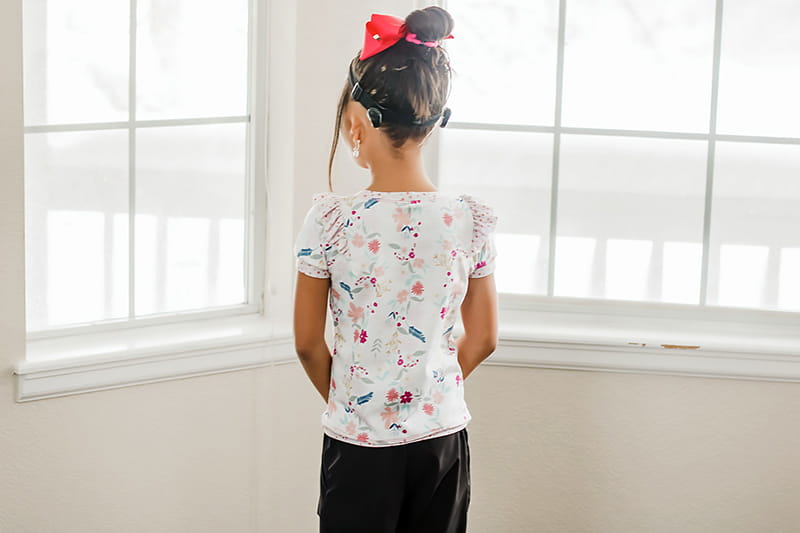
So perfect right? Here’s a closer look at the handmade shoulder ruffles I added.
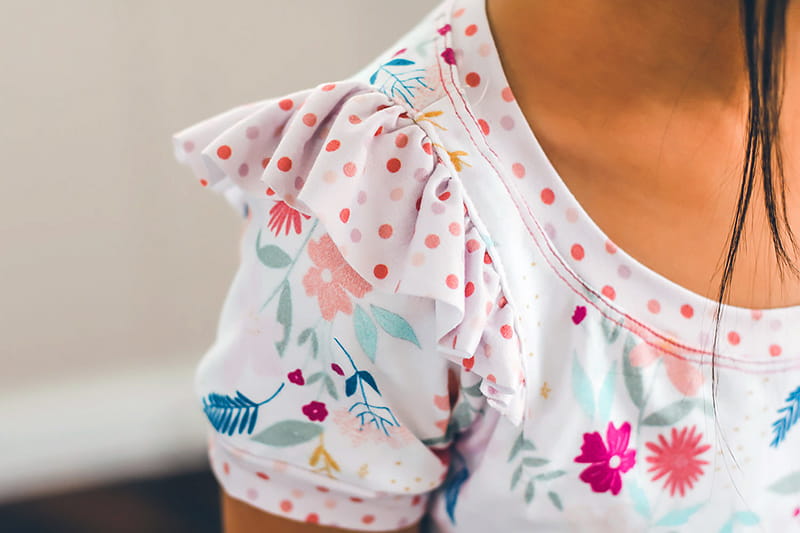
In addition to the shoulder ruffles, I also added DIY sleeve cuffs and a bottom shirt band with the coordinating fabric to try and tie it all together. Let me show you how easy it is to sew a shirt like this.
Ruffled Tee Supplies:
●T-Shirt pattern {adult or kids} {I used the free fitted tee pattern here}
●Fabric for your shirt {you can have two coordinating fabrics or just one}
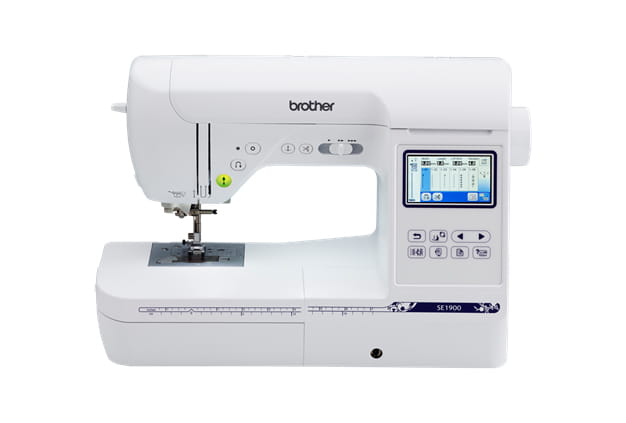
●Brother Sewing Machine and Serger
Cut out the shirt as directed in your pattern instructions. All the edits are made after the pieces are cut out. Make sure you have enough fabric to cut out the ruffles. Cut two strips of fabric 2” x 20” for the shoulder ruffles. For an adult shirt I think I would cut a 30” piece. You could also go a bit wider 2.5/3”.

Create a curve, starting at ¼” on the edge side and then gradual up to the full 2”. Use the first curve as a pattern for the second.

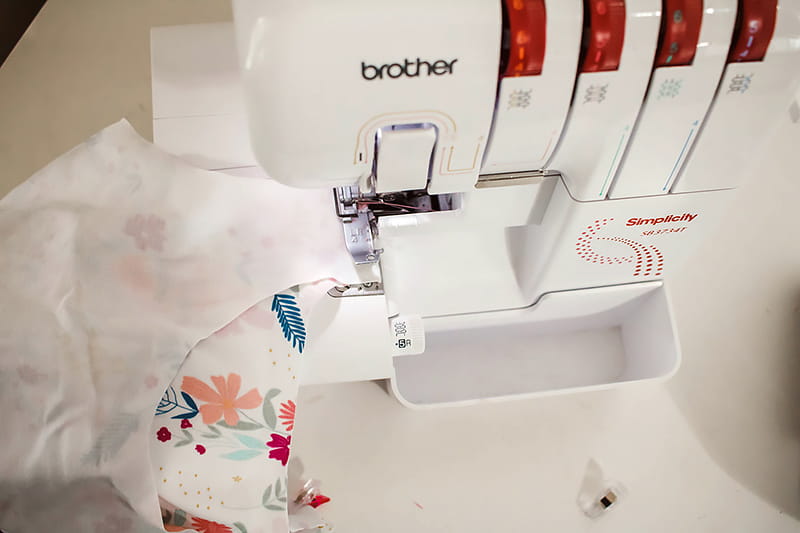
Sew the shoulder seams of the shirt to start. I waited to add the neckband so it didn’t pull on the shoulders. You want them to lay nice and flat. Make sure to use a serger or stretch stitch on your sewing machine for all shirt seams.
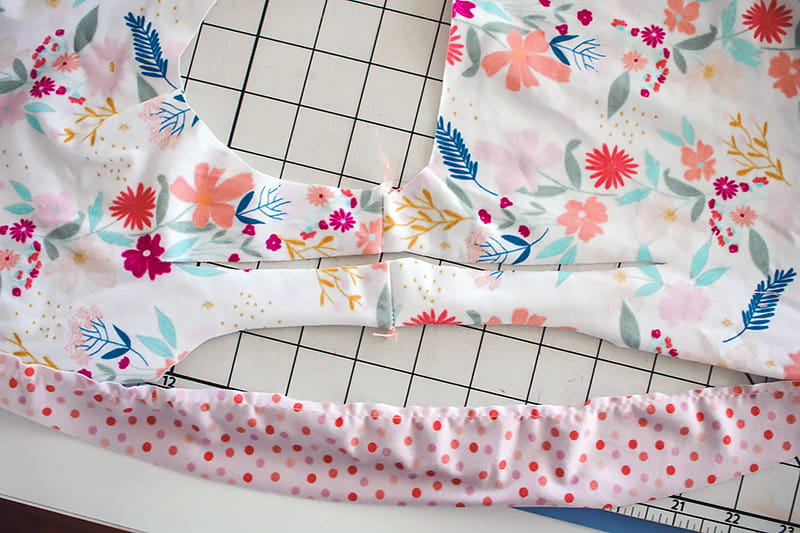
Lay your shirt flat and find the center of the shoulder about ⅔ of the way down from the top of the shoulder.
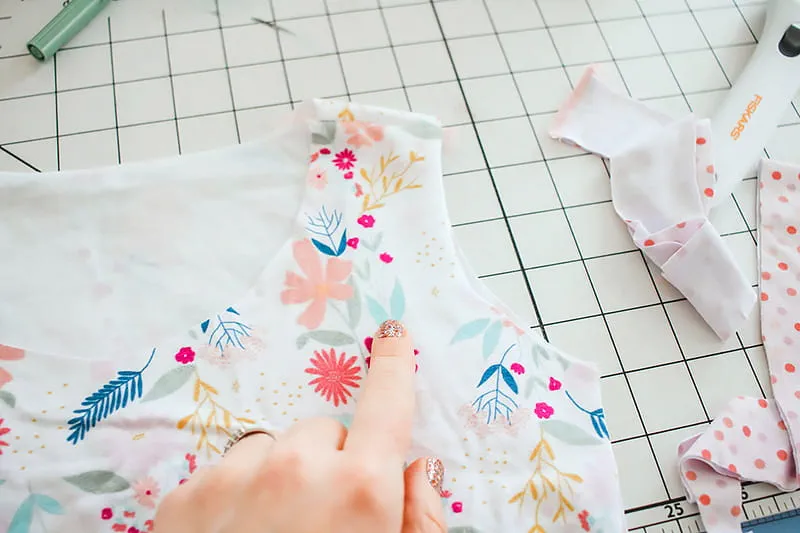
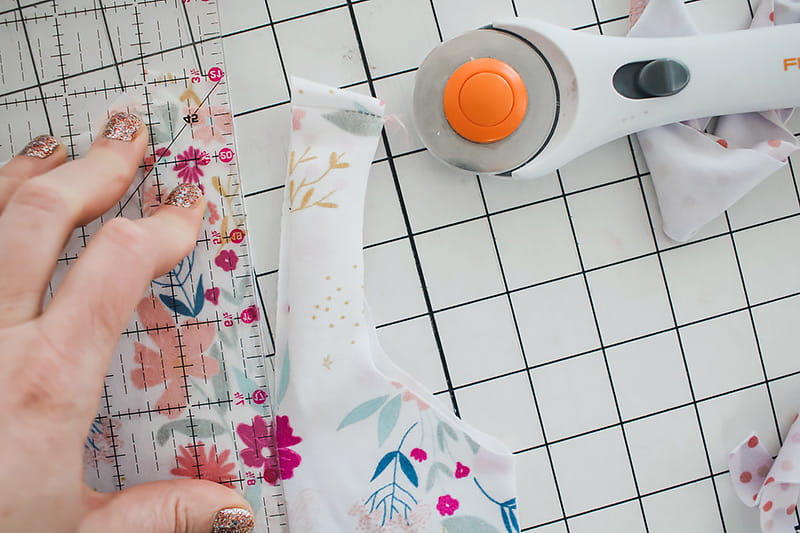
Place a mark at this point, then lay your ruler at this point and go straight up to the shoulder seam. Cut along this straight edge. Repeat on the other side.
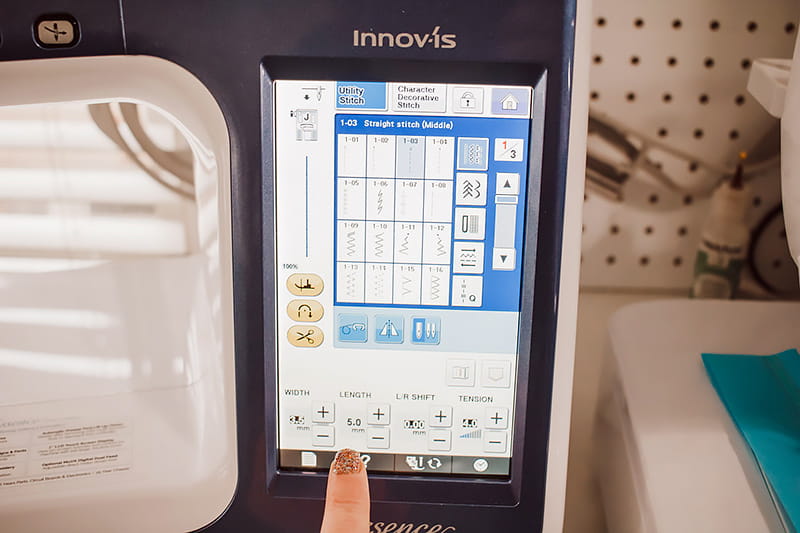
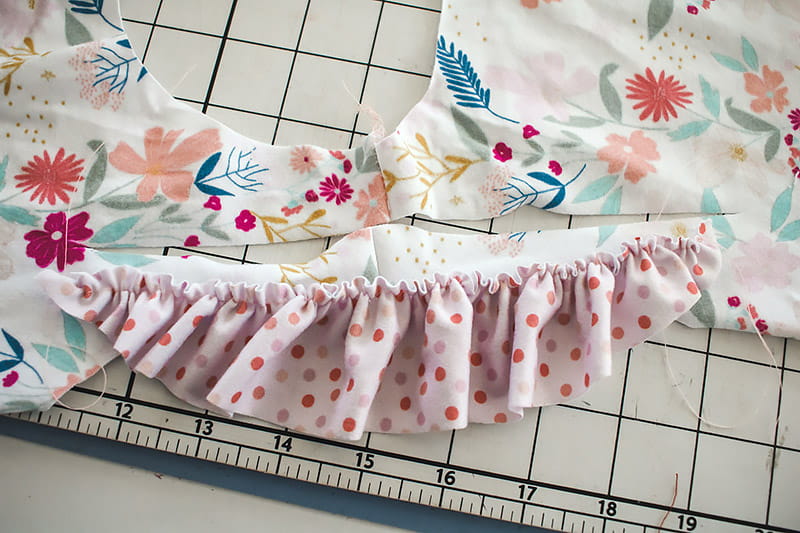
Run a gathering stitch along the curved edge of your ruffle piece. A gathering stitch is just a long straight stitch. My machine is set to five.
Gather your ruffle to match the length of the opening cut in the shoulder. Lay the ruffle so the gathering is towards the neckline and the ruffle side is towards the shoulder.
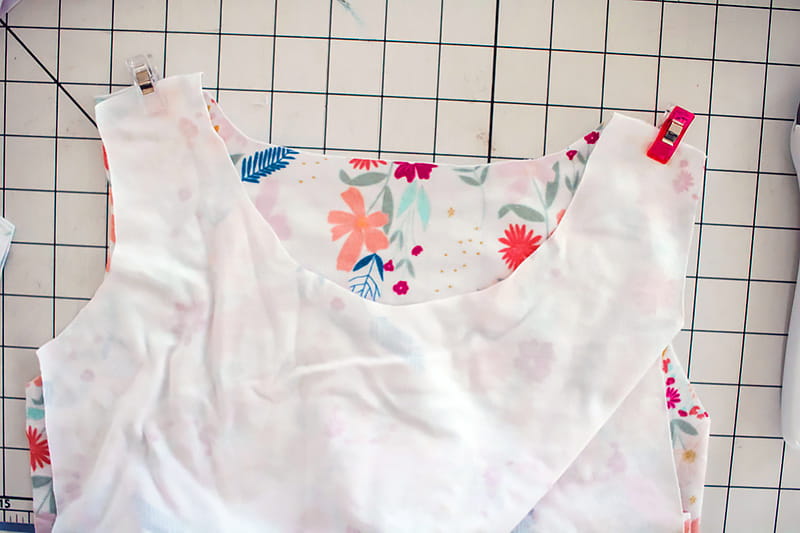
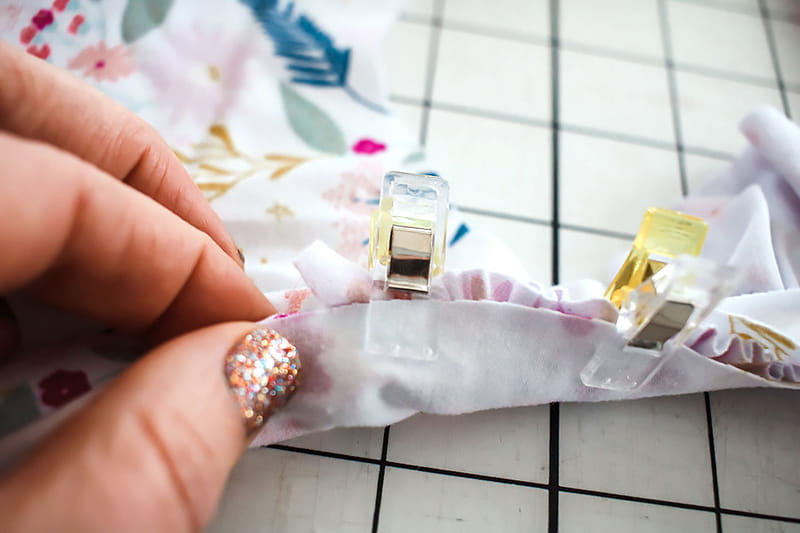
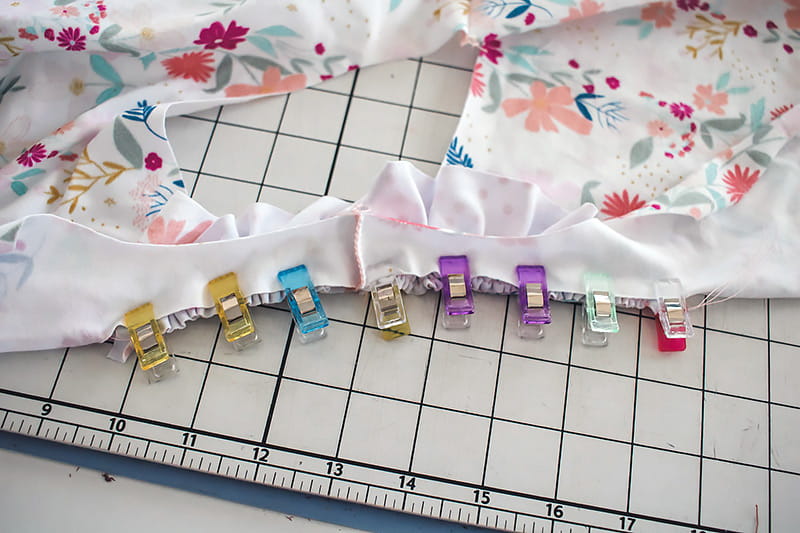
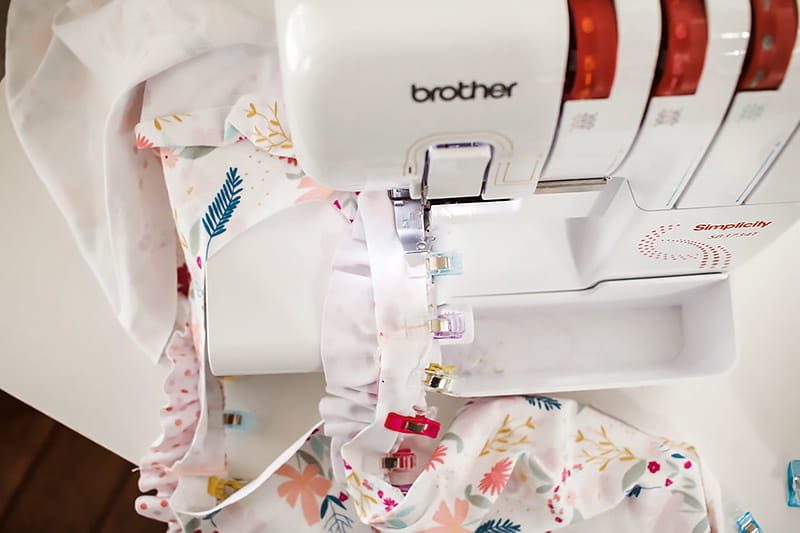
Sandwich the ruffle between the two layers of the cut shirt. Use a lot of pins or clips to hold it all in place.
Sew the ruffle in place with a narrow ¼” seam allowance. You don’t want to lose too much of the shoulder width.
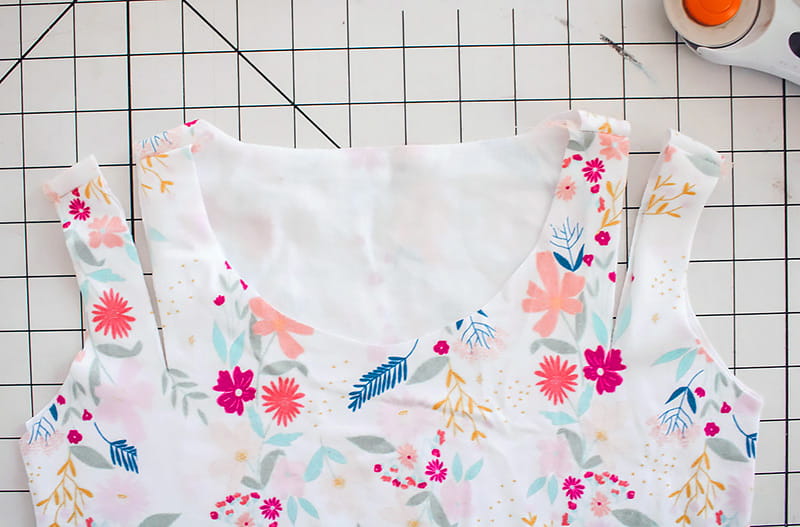
Now your ruffle should look like this.
Topstitch the seam allowance towards the neckline. This will also help the ruffle stay over the shoulder.
Now you can finish the neckband, sleeves and bottom as directed in your shirt pattern. Then you end up with an handmade adorable shirt that looks like this. I love it so much.


Tags
Shop this Project
No sewing machine? No problem! Any products mentioned in this project are available to buy and listed below so you can stay stitching.
Related Projects
Stay Connected
* Required fields