How to Sew a Button
-Brother Sews Blogger
Sewing a button on a garment is something we will all probably have to do at some point in our lives. This can seem challenging for beginner sewers, but with a few tips and tricks you’ll find button sewing to be fast and easy. Let us walk through the steps for attaching a button either by hand or with your Brother sewing machine.
SUPPLIES NEEDED
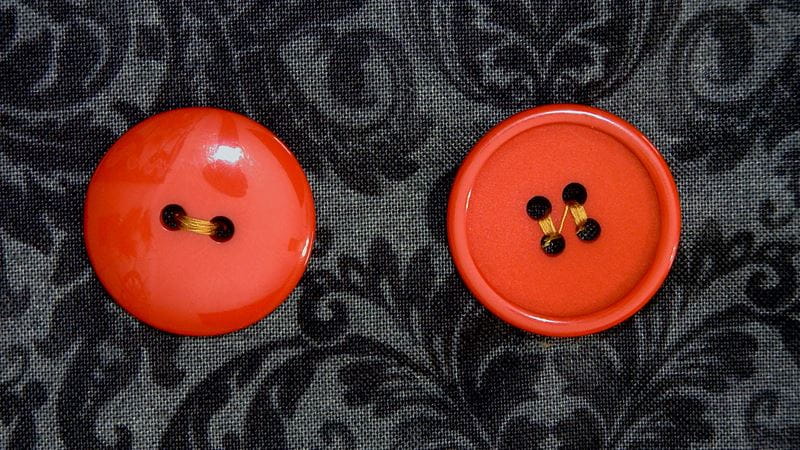
-Button(s)
-Scissors or snips
-Sharp hand sewing needle
-Washaway marker
-Desired sewing thread
-Sewing machine with Pre-programmed Button Sewing Stitch or Zigzag Stitch (if sewing on by machine)

SEWING ON A BUTTON BY HAND
Step 1
With a water-soluble pen, mark button placement on your fabric or garment.

Step 2
Thread hand sewing needle with approximately 18” of desired thread. Match the two ends of the thread and tie a knot.
Step 3
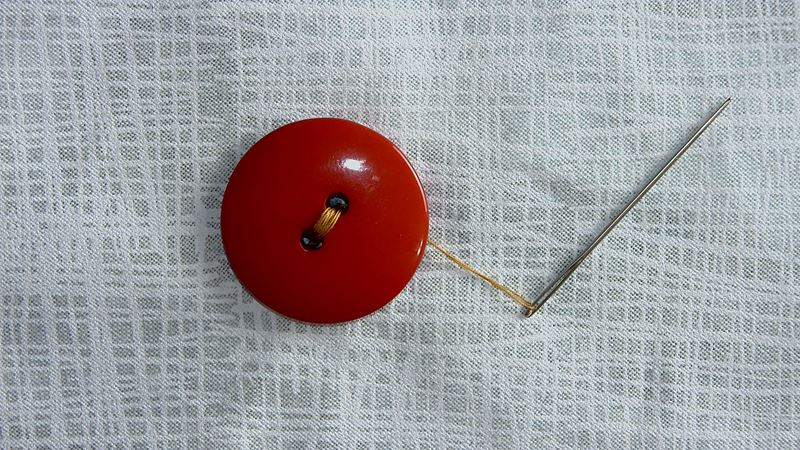
From the right side of fabric, push the needle through one of the buttonhole marks and pull to the back. Then pass the needle back up through the other mark and the button. Check to be sure your button is centered over the markings.

Step 4
Continue to sew button on by putting the needle back through the opposite hole and pulling the thread to the back. Repeat this procedure 4 to 5 times until secure or as desired.
Step 5
To add a thread shank (adds space between the button and garment to provide space for fabric to sit in between button and garment), bring your needle back up through the fabric but not through the button.
Step 6
With the thread between the right side of the fabric and needle, wrap the thread around the threads securing the button 4-5 times (this will depend on the thread type and garment it is being sewn to) or as desired.
Step 7;
To tie off, push needle through to back of fabric and slide needle under stitches to form a loop. Slide needle back through loop and pull taut. Repeat to form a double knot.

Step 8
Cut thread tails. You have finished sewing on a button by hand!!

Note
To sew on a button without a thread shank, simply tie-off at Step 4.
SEWING ON A BUTTON WITH A SEWING MACHINE – WITH PRE-PROGRAMMED STITCH
Option 1 by machine
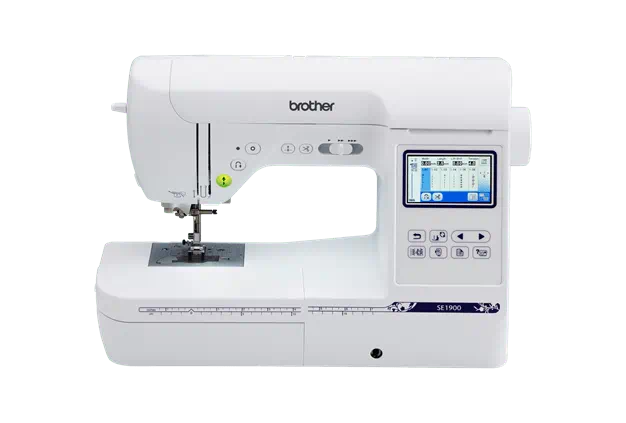
If your machine has the pre-programmed stitch for sewing on buttons, it is a great feature. We are using the Brother Luminaire XP1 Sewing and Embroidery Machine with upgrades 1 & 2 and the “M” foot for button sewing to sew on a 2-hole flat button.

Step 1
Mark button placement on your fabric or garment.
Step 2
At your machine, select the pre-programmed stitch for Button Sewing. Make sure your Button Sewing foot is attached and add the button. If needed, consult your sewing machine manual for directions on using the Button Sewing feature.

Step 3
Gently holding the thread tail, rotate your handwheel to check that the needle goes into each hole correctly. If not, adjust the width of the stitch and check again. Once correct, slowly start sewing. The machine will stop and tie-off automatically when sewing is finished.
NOTE: Do not use automatic thread cutter
Step 4
Using scissors clip upper and bobbin threads leaving 4–5” tails.
Step 5
From the wrong side of your fabric, gently pull-on bobbin thread tail until you see the top thread peek through. Pull top thread through to the backside.
Step 6
Using both top and bobbin thread, tie two double knots. Clip thread tails. You are done!

SEWING ON A BUTTON WITH A SEWING MACHINE – USING A ZIGZAG STITCH
Option 2 by machine
Step 1
Mark button placement on your fabric or garment.
Step 2
Set-up your sewing machine with a zigzag stitch and attach the zigzag sewing foot.
Step 3
Lower the feed dogs and/or adjust your machine to 0.0mm length.
Adjust stitch width to approximately 3.5-4.0mm.
Step 4
Slide button under presser foot and line up the holes in the sewing area. Rotate your handwheel to check that the needle goes into each hole in the button without hitting the button. If not, adjust the stitch width and check again.

Step 5
Once the correct stitch width is set, hold the button securely while gently holding top thread and slowly start sewing. Continue to sew 5-6 stitches or as desired.
NOTE: Do not use automatic thread cutter
Step 6
Using scissors clip upper and bobbin threads leaving 4–5” tails.
Step 7
From the wrong side of your fabric, gently pull-on bobbin thread tail until you see the top thread peek through. Pull top thread through to the backside.
Step 8
Tie two double knots. Clip thread tails. You are done!

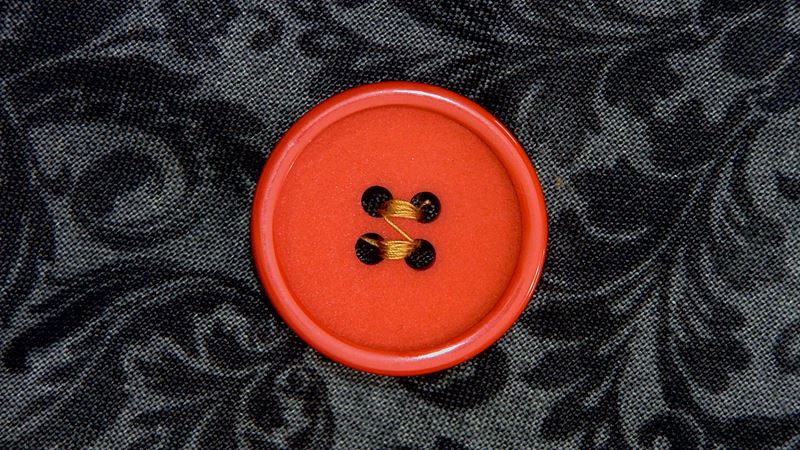
SEWING ON A 4-HOLE BUTTON WITH A SEWING MACHINE – WITH OR WITHOUT PRE-PROGRAMMED STITCH
Same as 2-hole buttons steps, just repeat steps for the additional 2 buttonholes.
Happy Button Sewing!
Tags
Shop this Project
No sewing machine? No problem! Any products mentioned in this project are available to buy and listed below so you can stay stitching.
Related Projects
Stay Connected
* Required fields
Follow Us
- Product Support
- Product Support Assistant
- Terms of Sale
- Product-Registration
- Search Supplies/Accessories
- Ordering & Shipping Information
- Ordering & Account FAQs
- View Order Status
- Warranty & Extended Warranty Information
- Recall Information
- Return Policy
- Security Support Information(Opens in a new tab)
- Contact Brother
