Sew Up a Simple Tank in a Few Easy Steps!
I recently added a handful of tank tops to my wardrobe. Not only are tanks a staple in my wardrobe for every season, they are quick and easy to sew. There are a few different techniques that I use to finish the hems, neckline, and armholes all using the Brother Coverstitch Machine; I will cover these in two different blog posts. Start with a tank top sewing pattern, I am using Ruched-T pattern.
Here is a list of supplies if you are sewing the tank from scratch:
- Brother Coverstitch Machine (CV3440,
CV3550
or 2340CV
) - Brother Serger / Overlock Machine (3234T,
DZ1234,
1134DW,
5234 PRW
) - T-shirt or Tank Top Sewing Pattern – I am using the Angela Wolf Ruched-T Pattern
- Brother Sewing Machine
- 3 spools of serger / overlock thread
- Knit fabric
- Tailors Clapper
- Steam Iron
- Pressing Cloth
- Ballpoint or stretch sewing machine needle
Note: I am using contrasting thread so you can see the stitches 😊
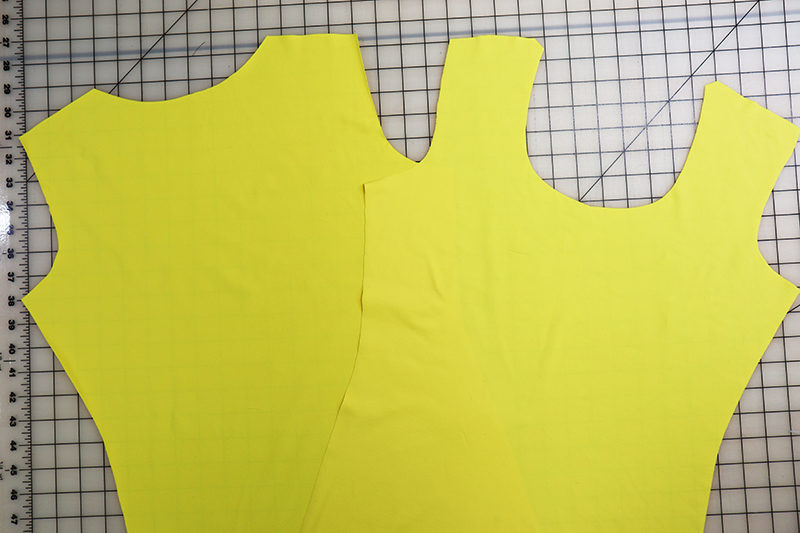
1. Cut out the t-shirt front and back, leaving off the sleeves and collar.
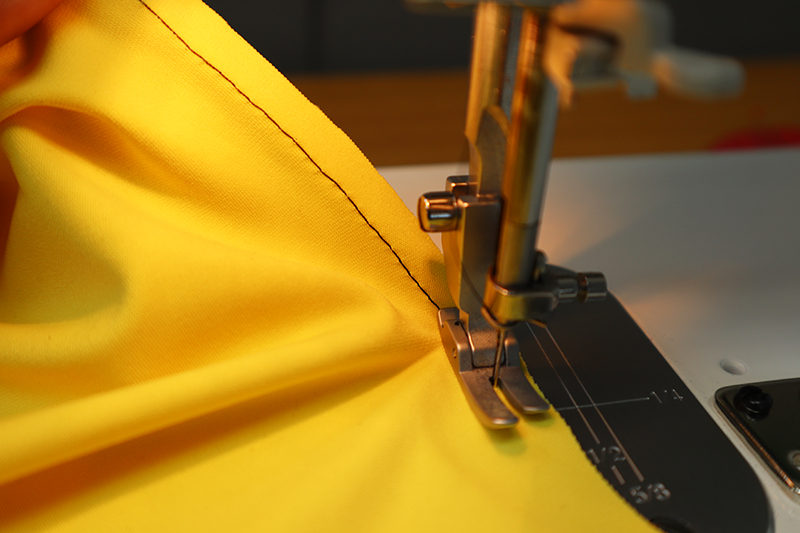
 2. Follow the pattern instructions to sew the shoulders and side seams on the top:
- Set up the Brother Serger/ Overlock Machine for a 3-thread wide overlock stitch.
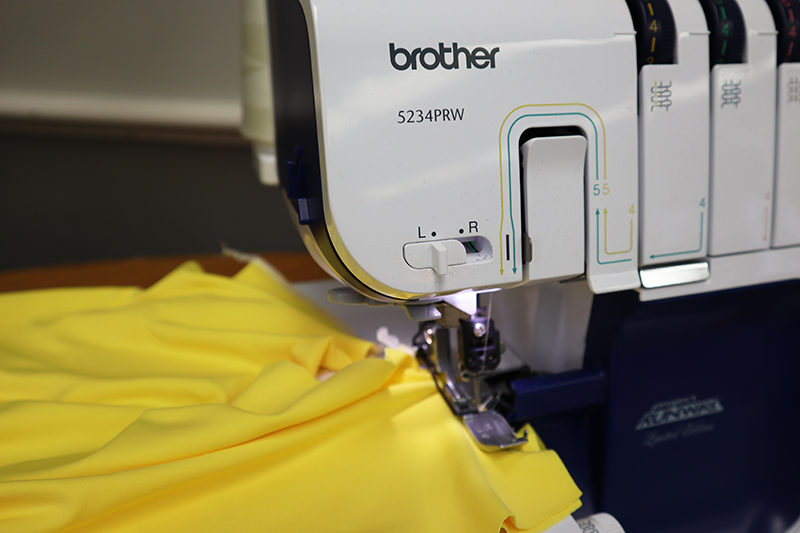
- With right sides together, line up the front shoulder seam to the coordinating back shoulder seam. Serge.
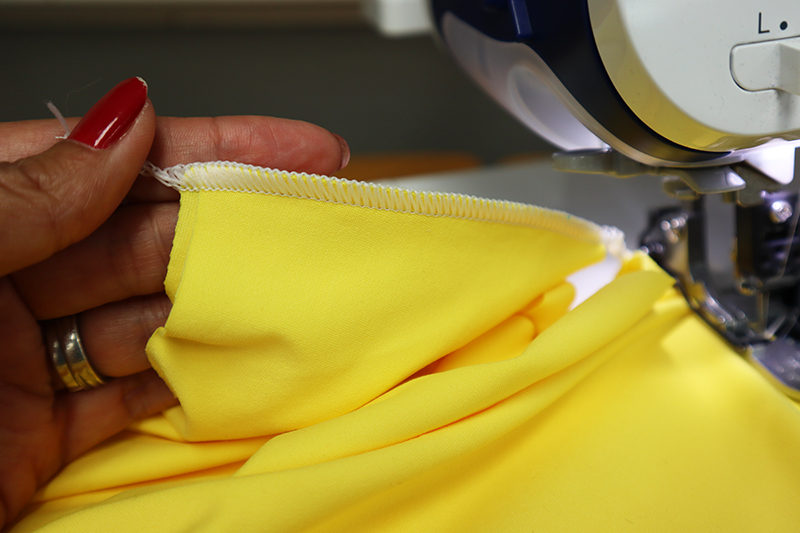
- With right sides together, line up the coordinating front side seam to the backside seam. Serge.
Hemming
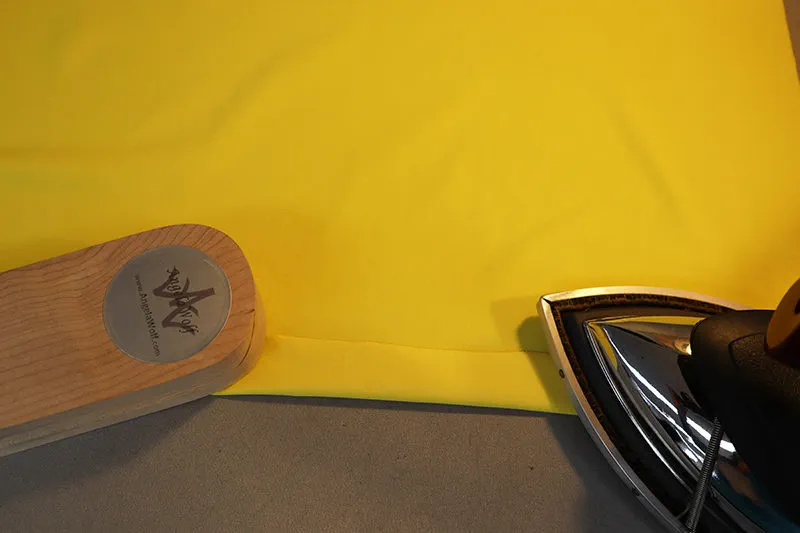
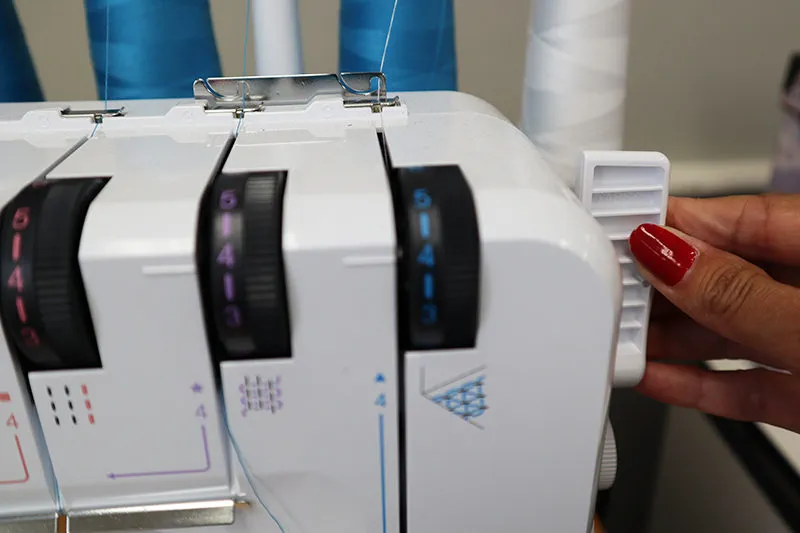
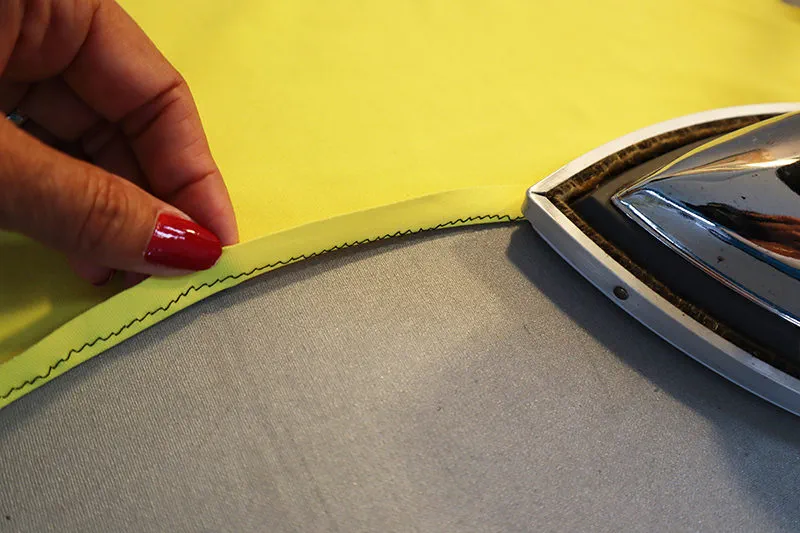
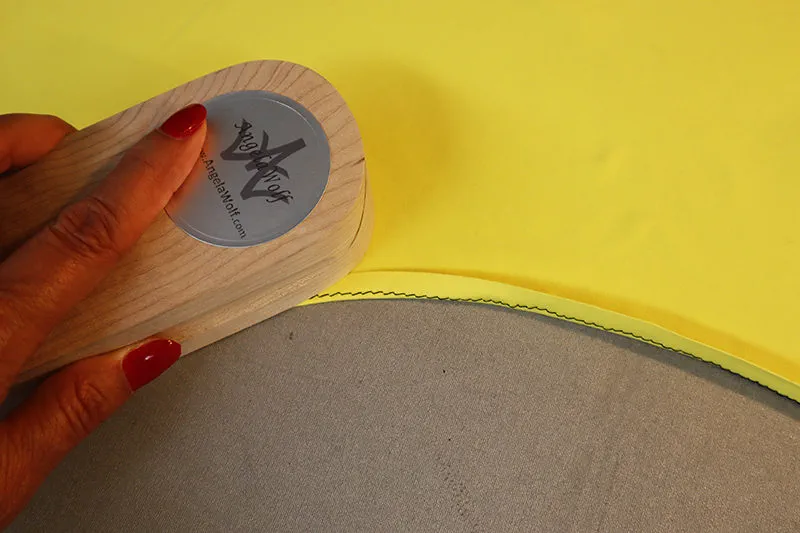
3. Set up the Brother Coverstitch machine for a 2-thread narrow coverstitch (this will use the middle needle, right needle, and looper). 4. Some knit fabrics, especially the polyester blends, are slippery to the touch and tend to slide around making it difficult to hem.Here is a tip: Press up the hem with an iron using steam and a tailor’s clapper. The steam combines with the wood on the clapper and creates a deep crease on the fabric hem. (Depending on the knit fabric, you might need to use a press cloth to prevent the iron from scorching.) The creased fabric will glide through the coverstitch machine without twisting.
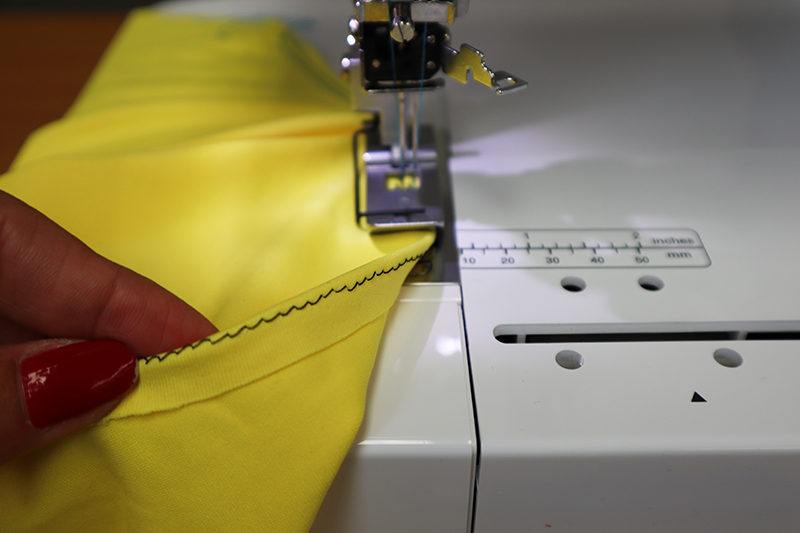
 5. With the right side of the garment fabric facing up, turn the hem allowance toward the wrong side of the fabric. Line up the needles on the coverstitch machine with the edge of the hem allowance. Stitch.
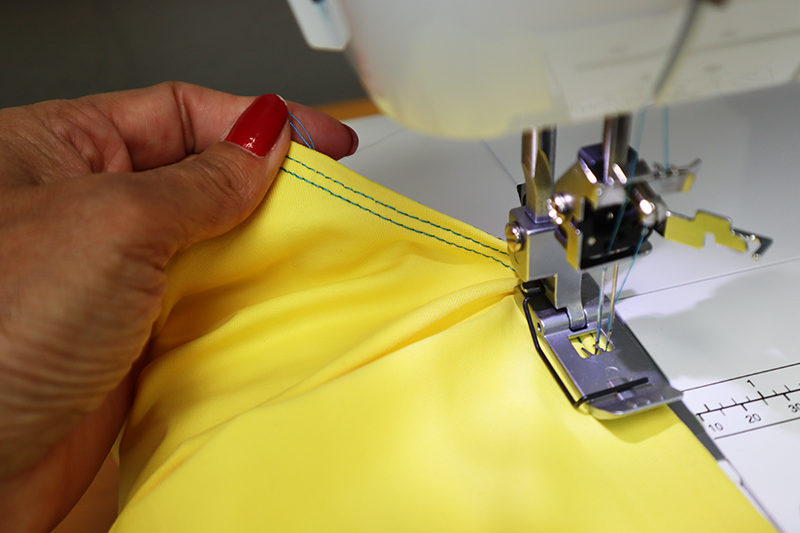
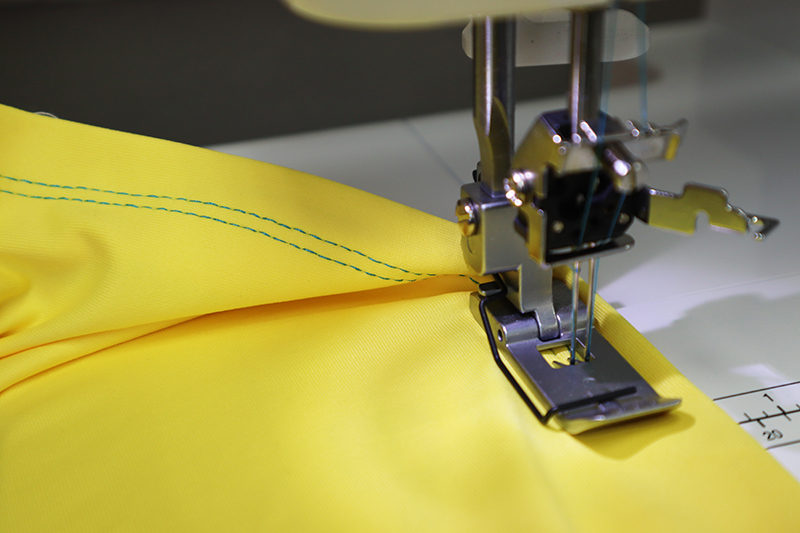 6. Stitch all the way around the hemline, stitch 2 to 4 stitches past the start of the stitch line.
7. Lift the presser foot up to release the tension.
6. Stitch all the way around the hemline, stitch 2 to 4 stitches past the start of the stitch line.
7. Lift the presser foot up to release the tension.
 8. Depending on what coverstitch machine you are using, you might need to gently pull the needle threads to allow for some slack to get the fabric out.
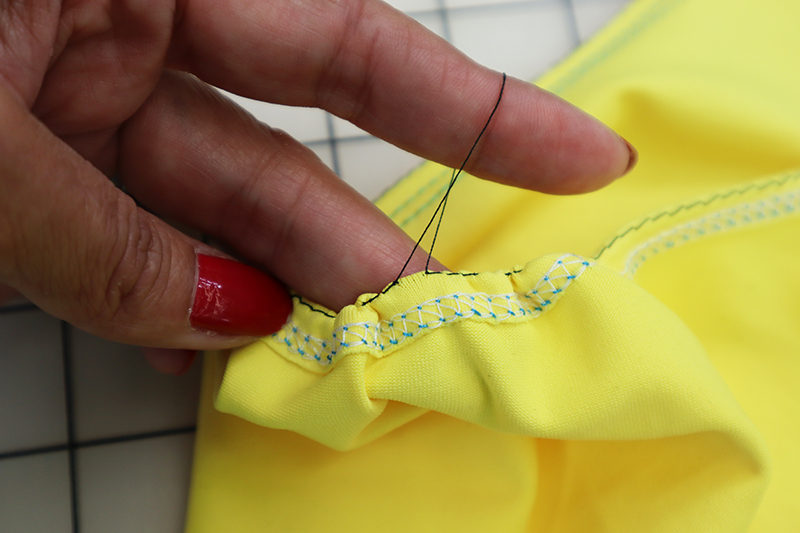
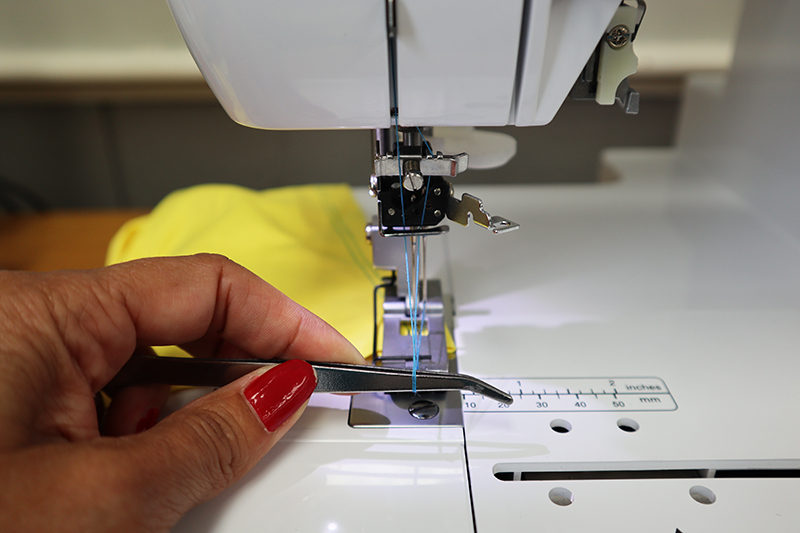 9. Cut the top needle threads leaving about a ½" thread tail; leave the looper thread attached.
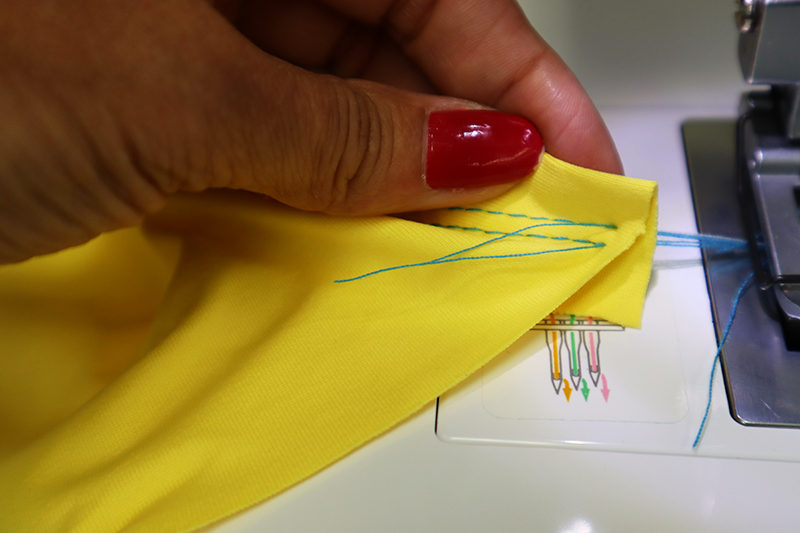 10. Give the fabric a gentle tug and the needle thread will pull to the backside of the hem. Pulling the needle threads to the back of the fabric will prevent the chainstitch on the backside of the hem from unraveling in the future.
 11. Trim off the excess thread tails and the hem is finished.

Finishing the Neckline and Armhole
To finish the neckline and armhole edges, fold under the hem allowance and coverstitch the edges in place; thus, finishing the raw the edges and hemming all in one step. Turning under the hem allowance on a curve can be a little challenging, but I have a tip for that too: 12. Start by changing the sewing machine needle to a ballpoint or stretch needle. 13. The seam allowance on the neckline and armholes in my pattern is ½". If you are using a different pattern, check the seam allowance. If it’s wider than ½", trim off the excess so the seam allowance matches mine - ½' wide. Run a basting stitch (stitch length of 5.0) along each opening, ½" from the raw edge.Note: The basting stitch will look a loose, but that is ok as we are only using it as a guide.
 14. Using the basting stitch as a guide, turn the hem allowance toward the wrong side of the fabric. Press. Again, using steam with the tailor’s clapper to create a crease along the hem edge.
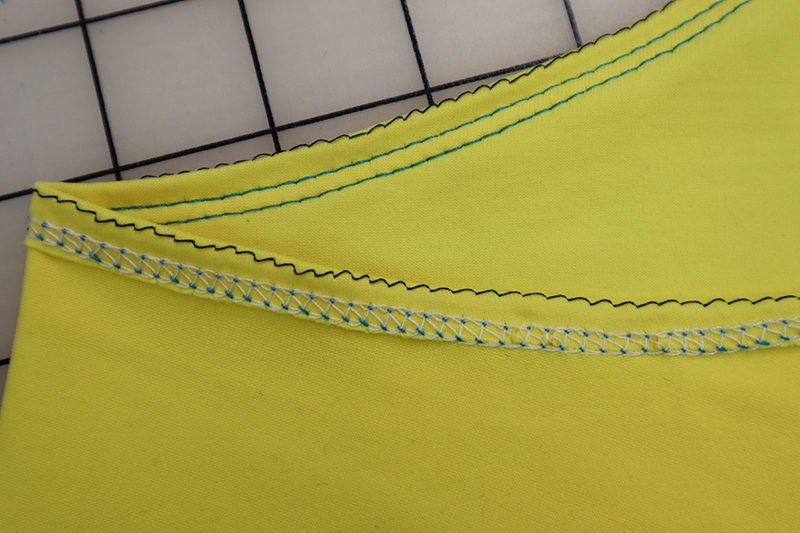
 15. From the right side of the garment, run the edge of the hem through the coverstitch machine. Follow the same steps as mentioned above for ending the circle of stitching and securing the threads.
 16. Gently pull out the basting stitch.
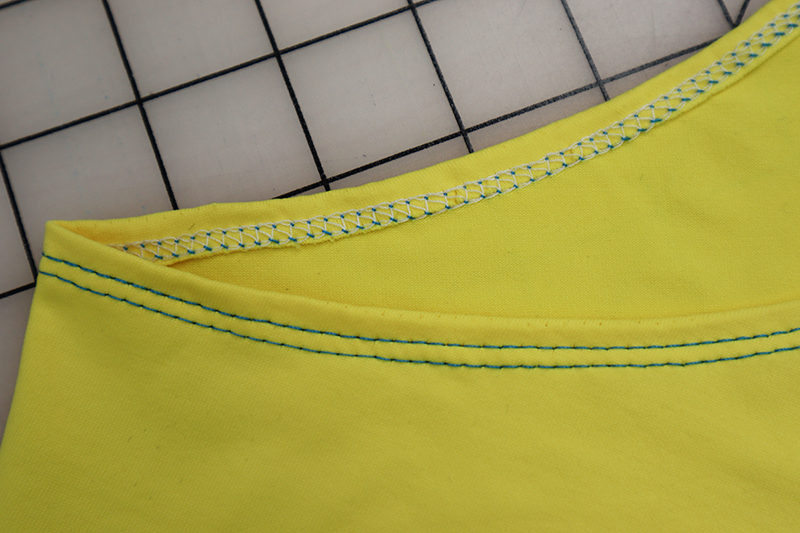 That’s it! This is such a fast way to sew up a tank. The coverstitch offers a professional finish, it will look as if you purchased the top right out of a boutique! In my next blog post I will show how to finish the neckline and armholes with binding. Then we will add the final touch with a double coverstitch.
 Let me know if you try these techniques and be sure to tag us #angelawolf #brothersews so we can see your fabulous tops!
Cheers,
Angela
Let me know if you try these techniques and be sure to tag us #angelawolf #brothersews so we can see your fabulous tops!
Cheers,
Angela

Related Projects
Stay Connected
* Required fields