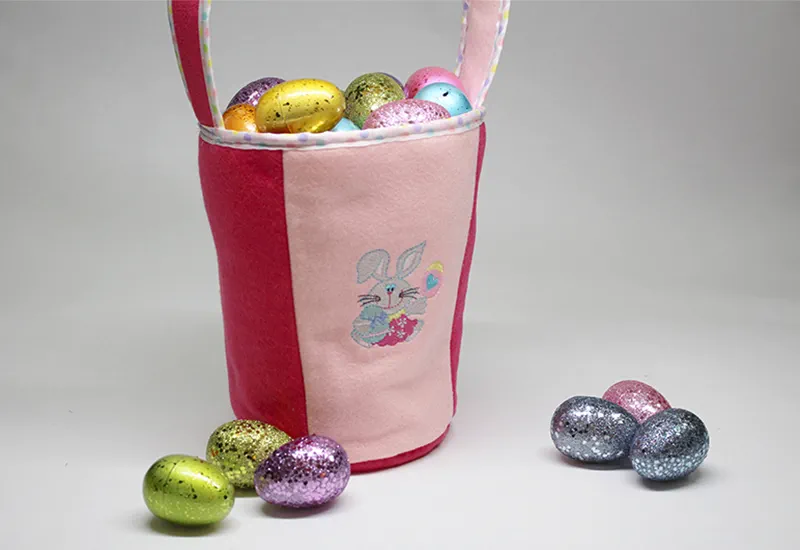
Sewing Tutorial: How to Sew an Easter Basket

Materials and Supplies
- Machine Used: THE Dream Machine®
or use any Brother Sewing and Embroidery machine with 4x4 or larger embroidery area - Felt Fabric Color 1
- Felt Fabric Color 2
- SA5810 Medium-weight Tear Away Stabilizer
or SA5929 Heavy-weight Cut Away Stabilizer (I used cut away.) - Fusible fleece
- Peltex® 71F Single-Sided Fusible Ultra Firm Stabilizer
- Embroidery thread
- Scissors
- Iron
- Seam ripper
- FREE Easter Basket Pattern - Click Here to Download
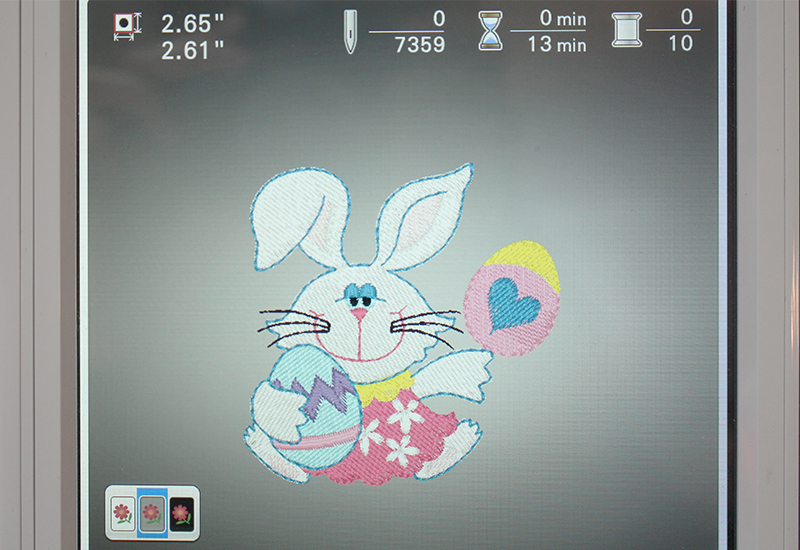
- Easter Bunny Embroidery Design: Although included in THE Dream Machine®, it is available for purchase on iBroidery

Pattern Pieces to Cut Out:
Piece A: Bag Bottom (1pc for outside, 1pc for lining plus interfacing)- Cut 2 of either color
- Cut 1 fusible fleece
- Cut 4 of Color 1
- Cut 4 of Color 2
- Cut 4 of Fusible fleece
- cut 1 of color 1
- Cut 1 of color 2
- cut 1 Peltex® 71F
Embroidering the Easter Basket
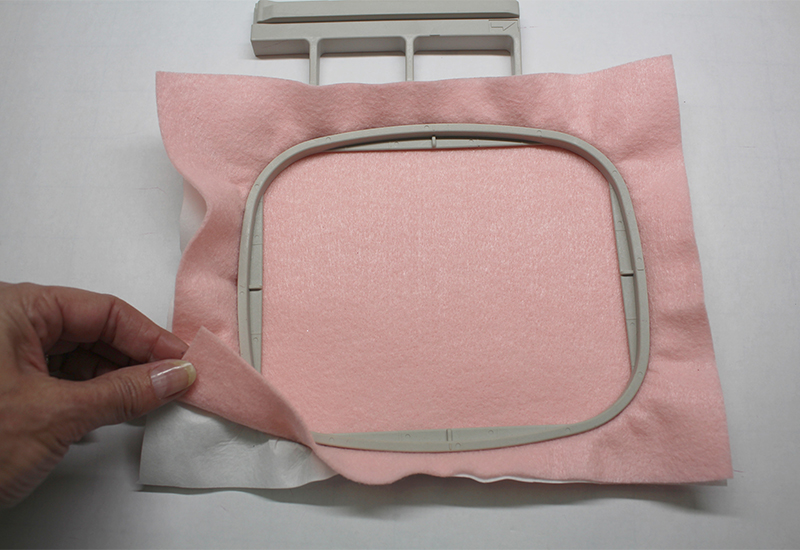
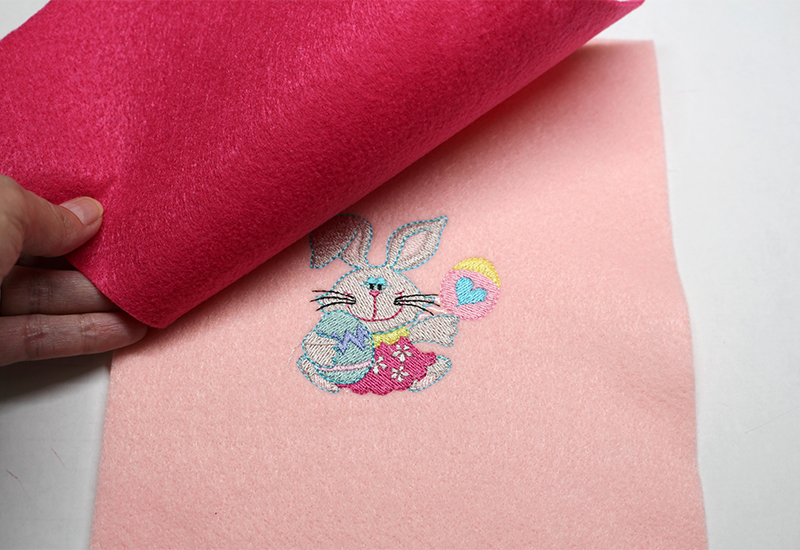
- Choose one of the felt panels to embroider and insert the fabric and cut away or tear away stabilizer into the embroidery hoop – keep in mind, the shortest edge of the fabric is the bottom of the basket. Be careful not to tighten the screw on the embroidery hoop too much or the felt fabric can end up with “hoop burn”.
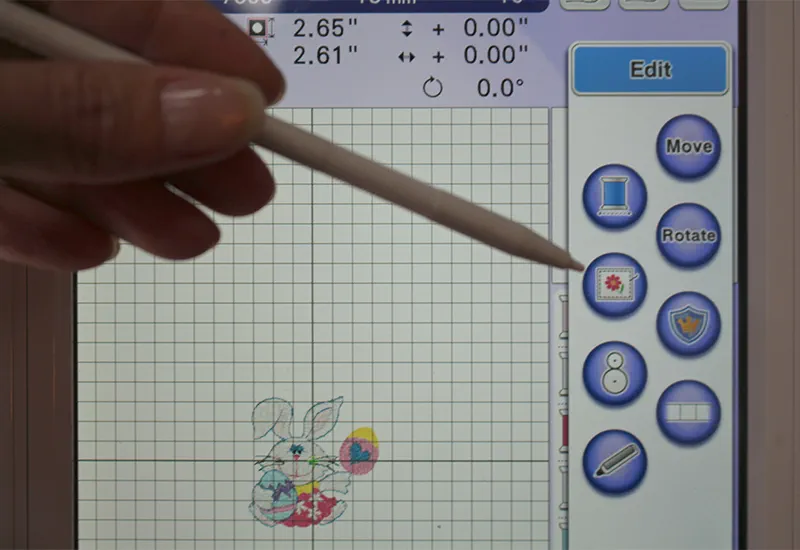
- Choose an embroidery design.
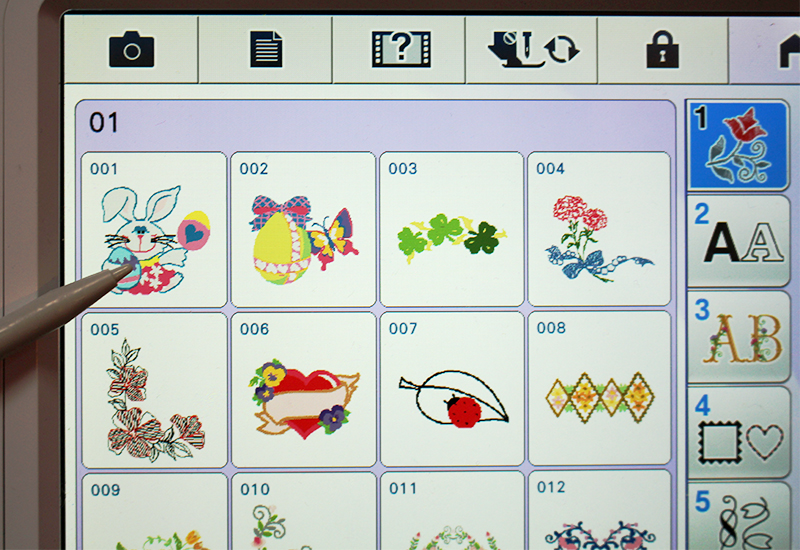
Designer Tip: I'm using a design that is in THE Dream Machine® which is also available here for purchase on iBroidery
, here are a few other designs from iBroidery. Click on each to see them on iBroidery:


Making a batch of these baskets as gifts? Using a different design on each recipient's bag could be fun!
, here are a few other designs from iBroidery. Click on each to see them on iBroidery:
Making a batch of these baskets as gifts? Using a different design on each recipient's bag could be fun!
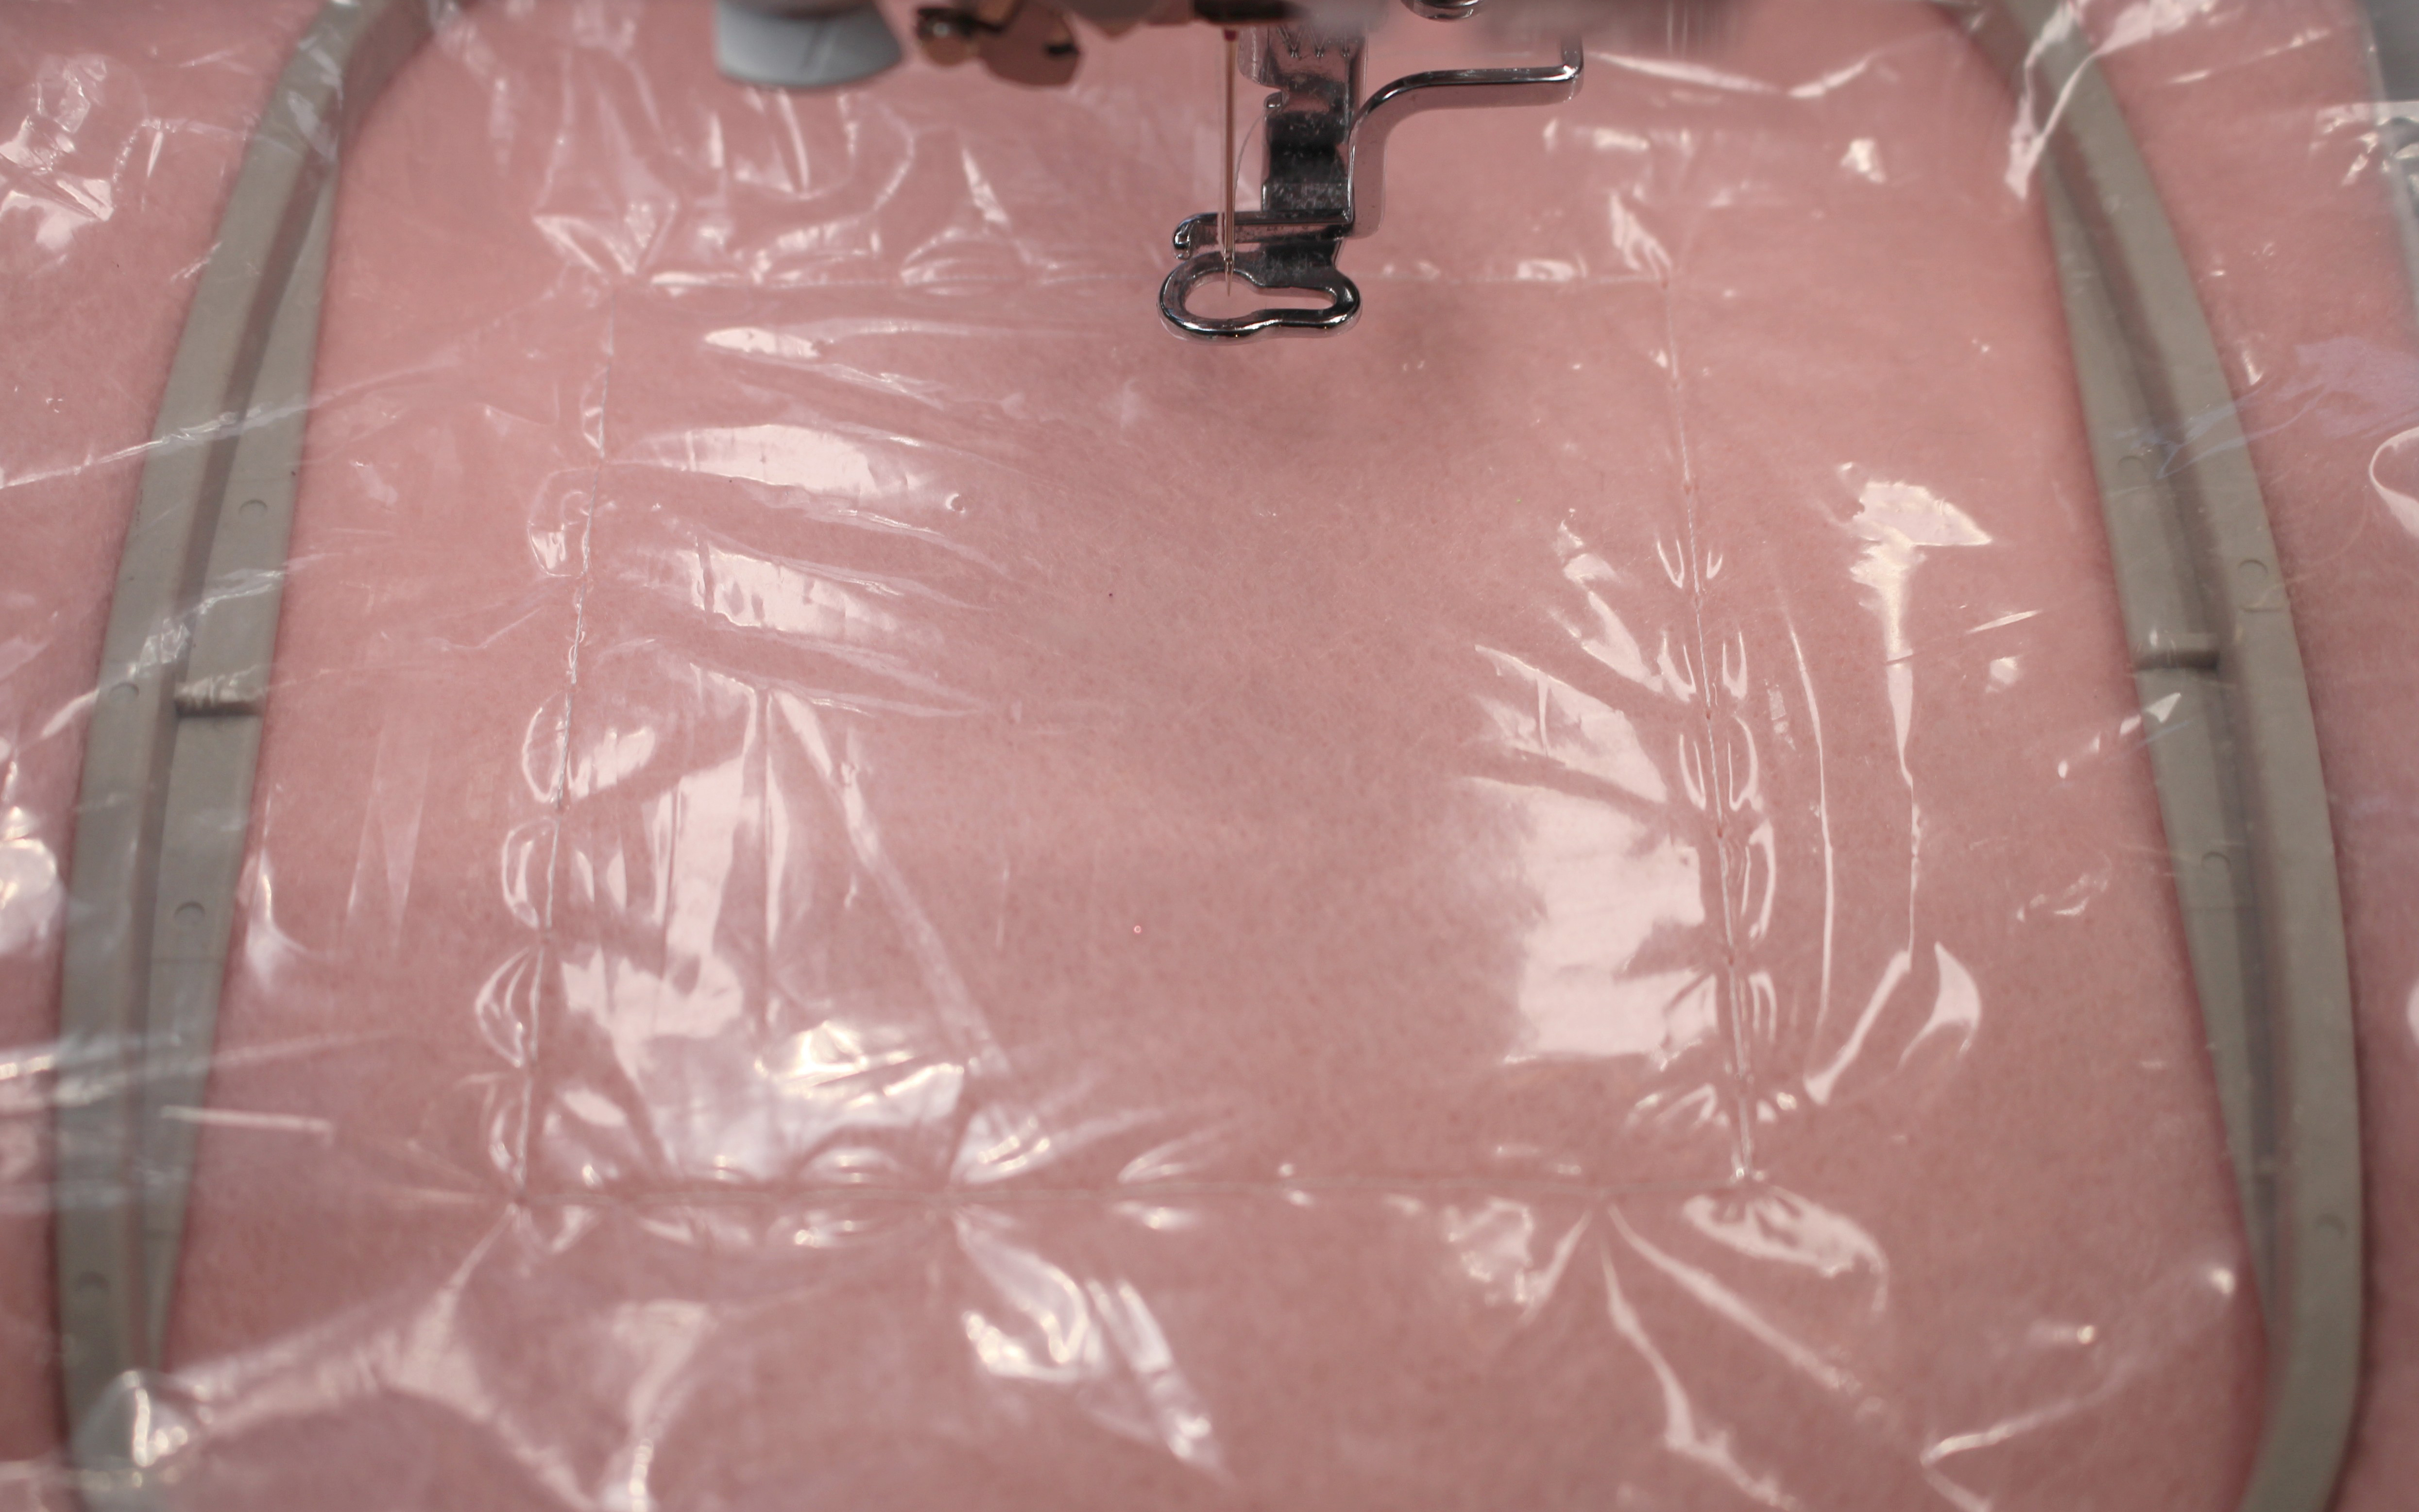
- Add a topper to prevent the stitches from embedding in the felt fabric. I am using a piece of plastic from a dry cleaner bag as my topper.
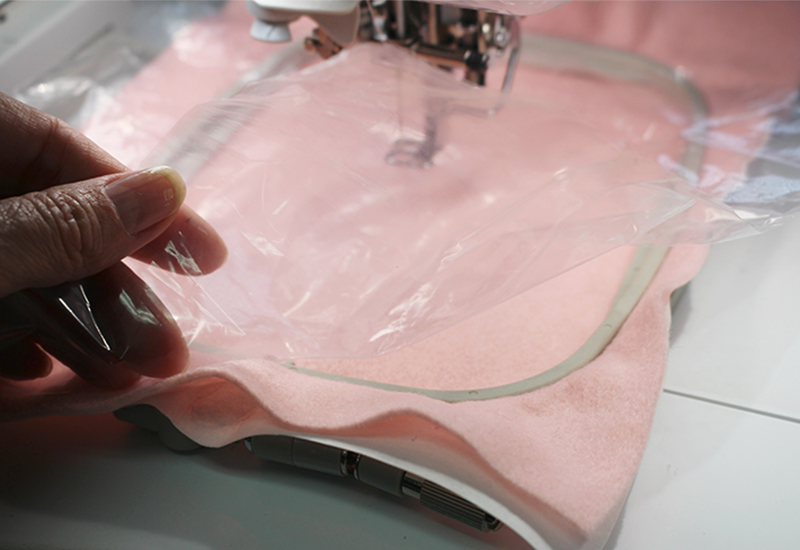
- Add a basting outline to hold the plastic topper in place.
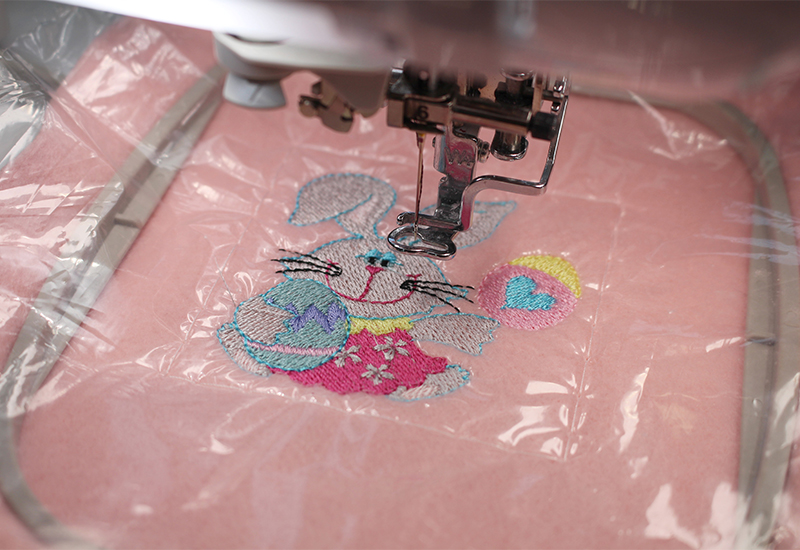
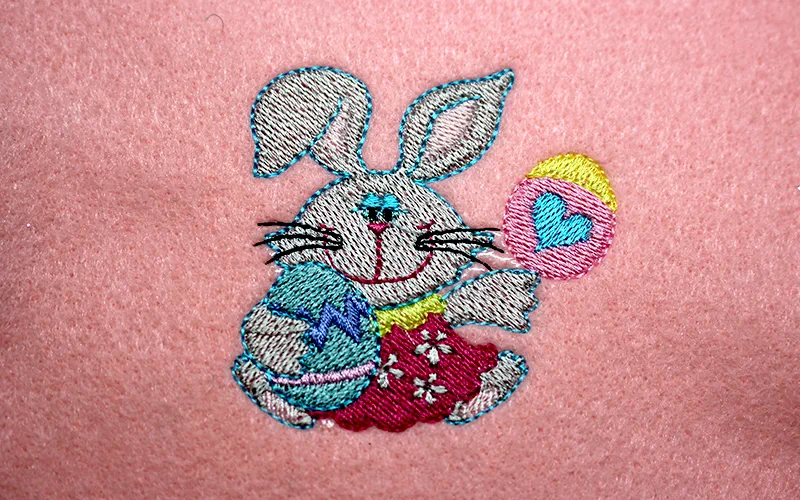
- Embroider the design.
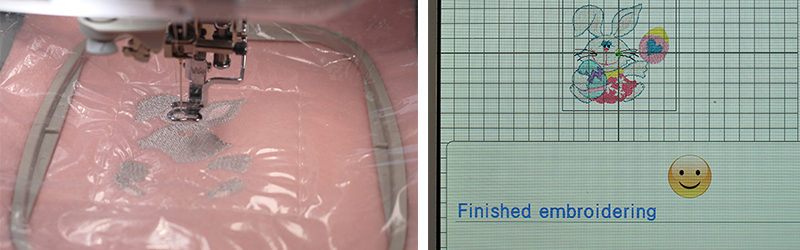
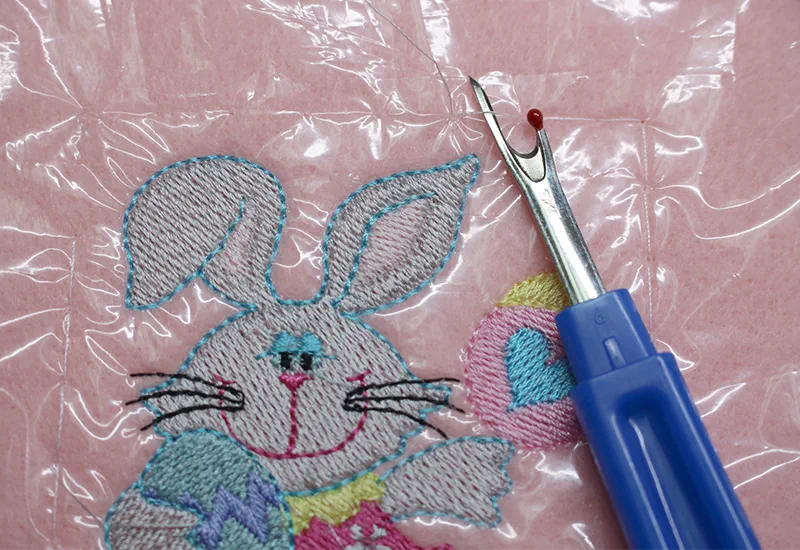
- Use a seam ripper to rip out the basting stitches.
- Cutaway or tearaway the embroidery stabilizer.
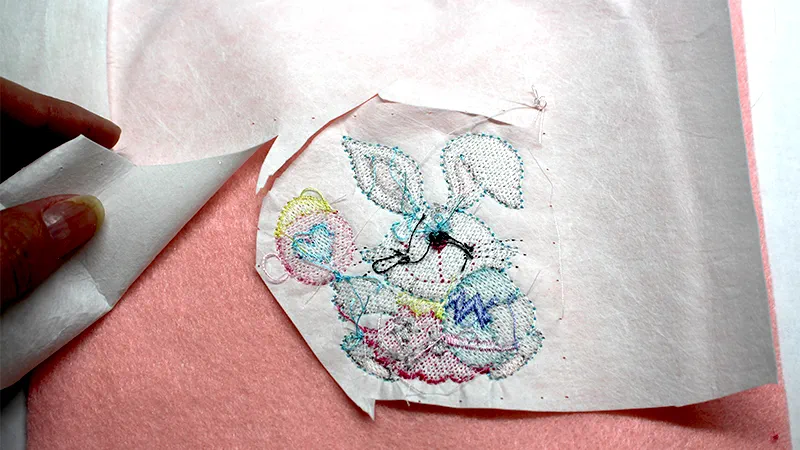
- Pull away the plastic topper.
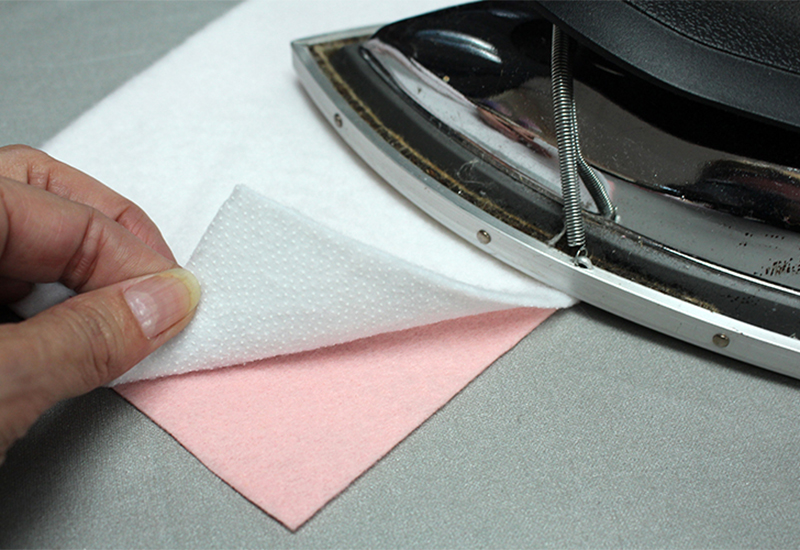
Designer Tip: If the fabric has hoop marks, hold the iron above the felt (not touching the fabric) and steam the fabric. After the fabric cools, gently rub the fabric with your fingers.
Sewing the Easter Basket Sides
- Press the Fusible Fleece Stabilizer to the back of the 4 outside basket pieces.
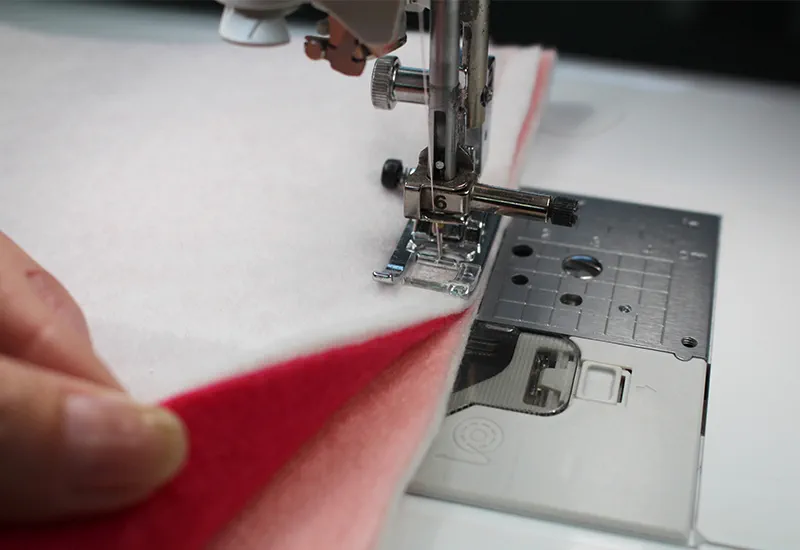
- With right sides together pin the outside bag pieces together along the longest edge.
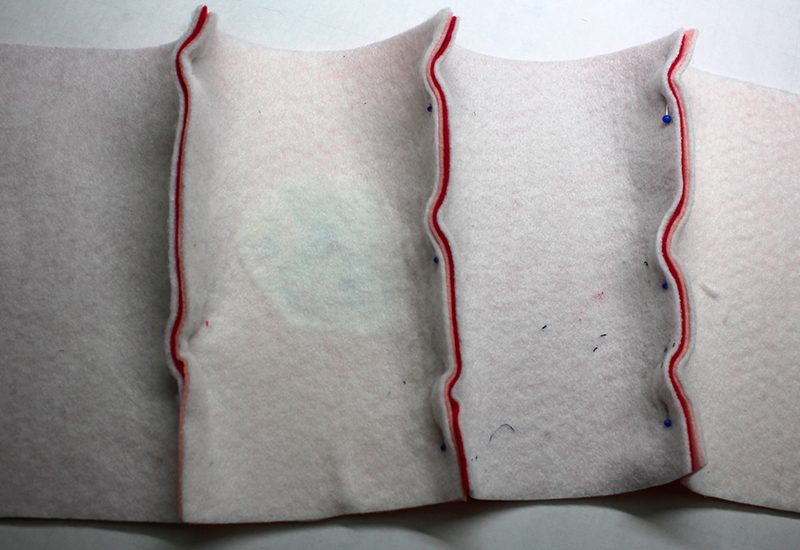
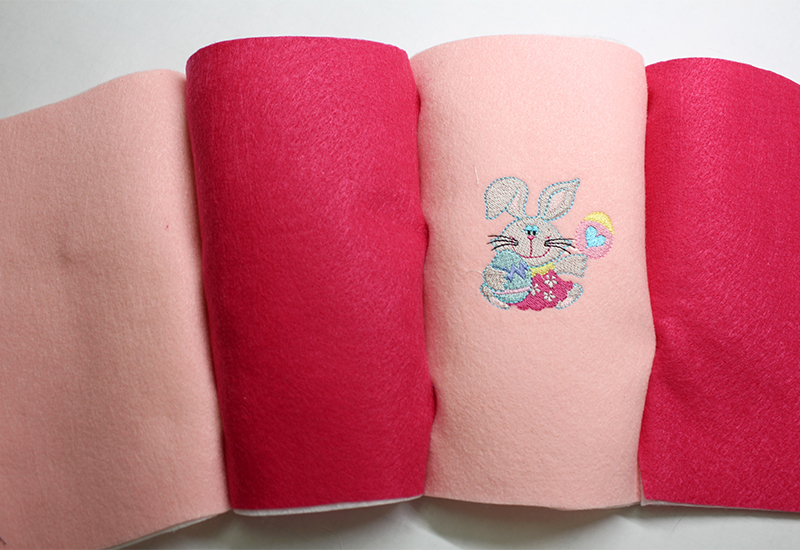
- Stitch each seam with a ½” seam allowance. Press the seam allowances open.
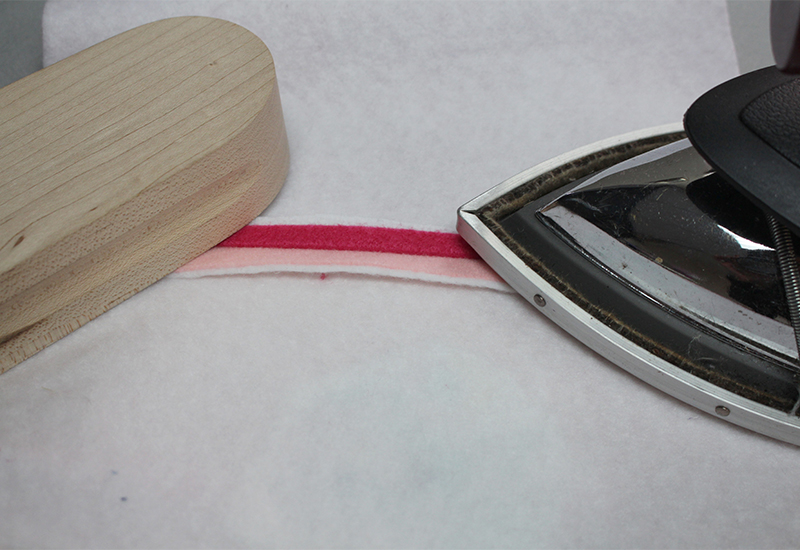
Editor's Note: Using a tailor's clapper when ironing can give you a more crisp edge. After you have pressed a fold, place your clapper on the still hot fold and allow it to cool with the clapper upon it. Repeat. You'll find on most fabrics, your folds are more crisp.
- Follow steps 10 and 11 for the Felt Fabric Lining pieces.
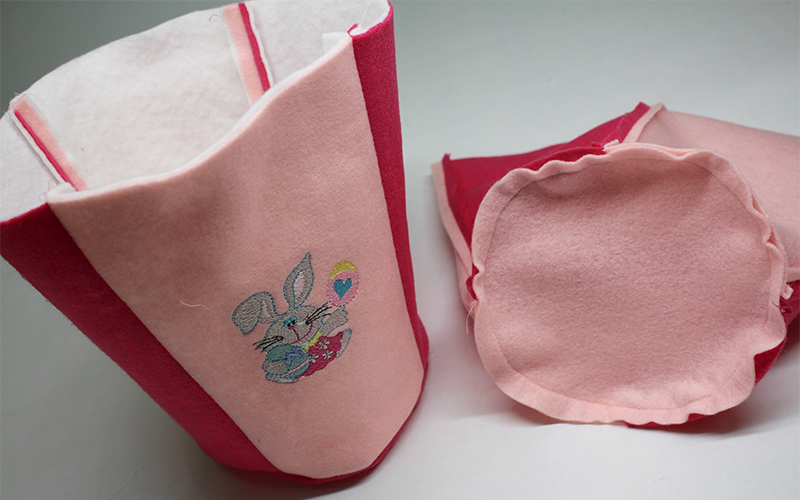
Sewing the Easter Basket Bottom
- With right sides together, pin the coordinating circle bottom pieces to the smaller opening of the side pieces.
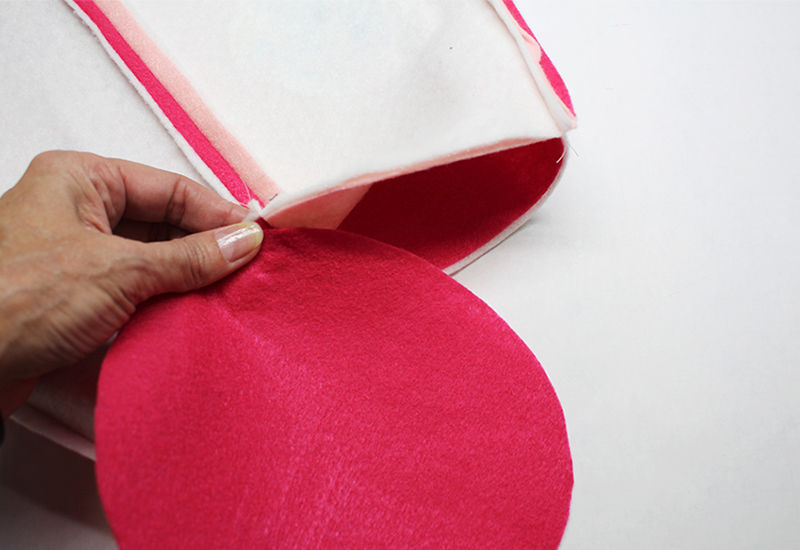
- Stitch with a ½” seam allowance.
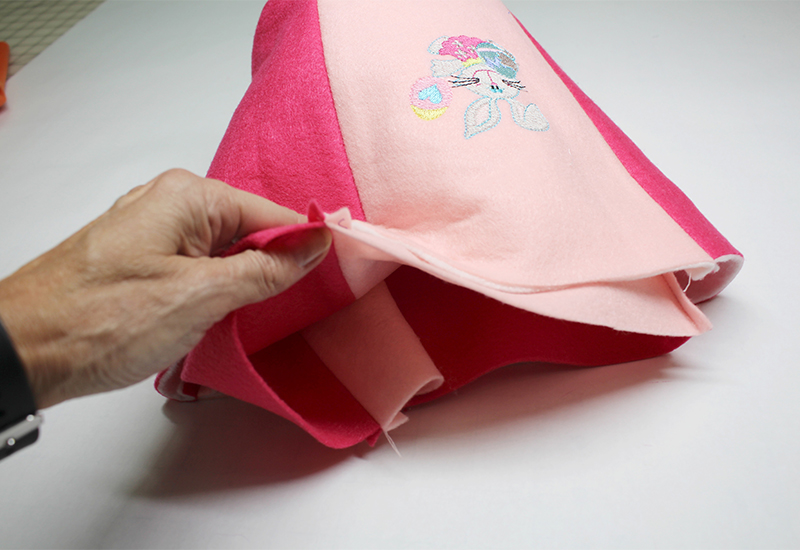
Attaching the Lining
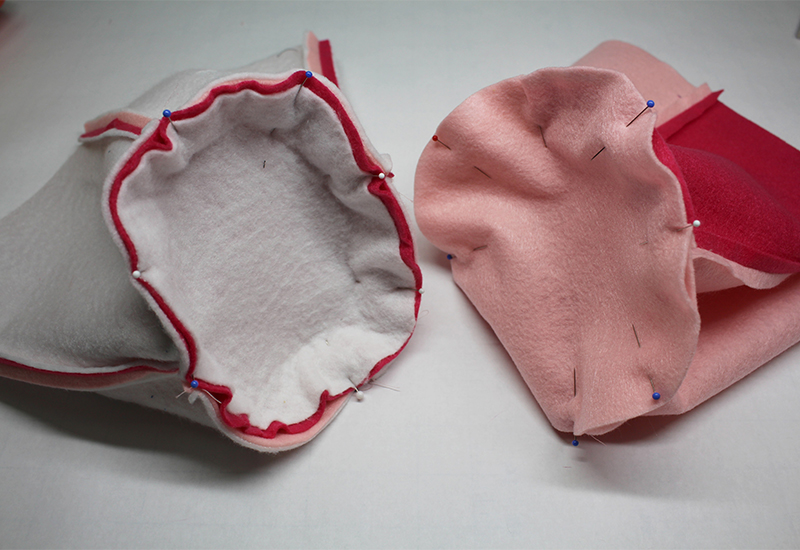
- Turn the outside of the basket right side out and the lining inside out as shown.
- Insert the lining into the outside basket fabric.
- Line up the seams and pin.
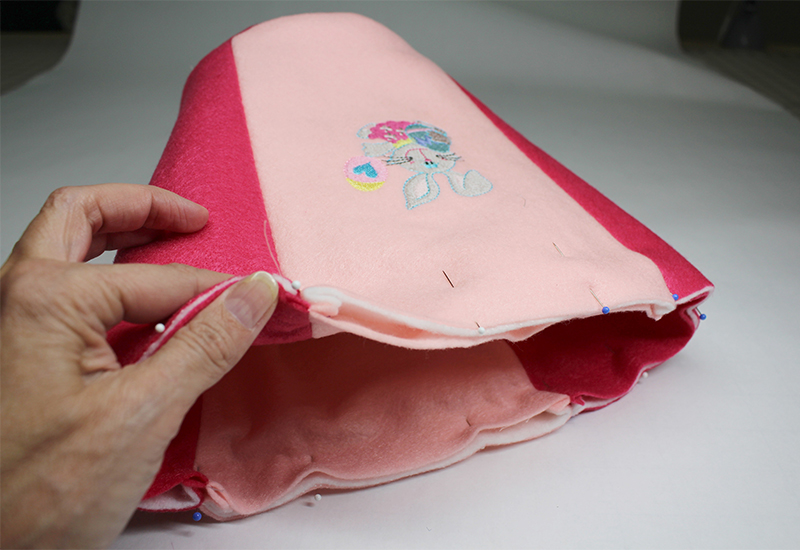
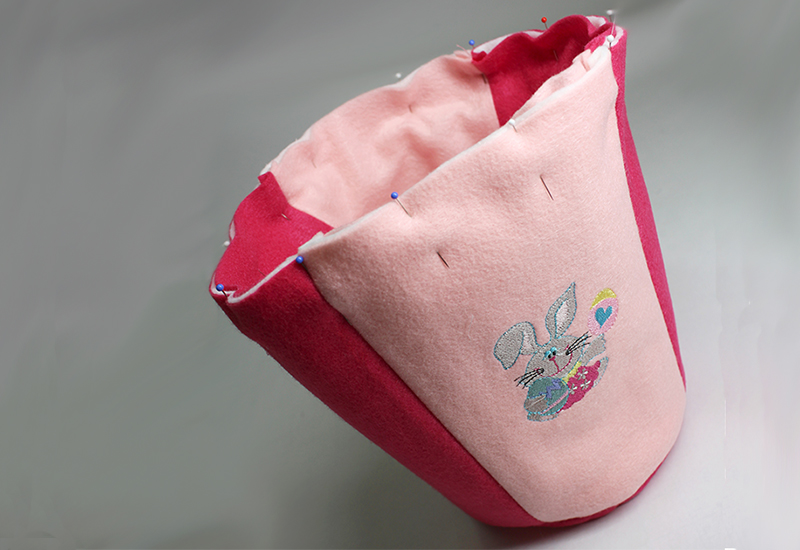
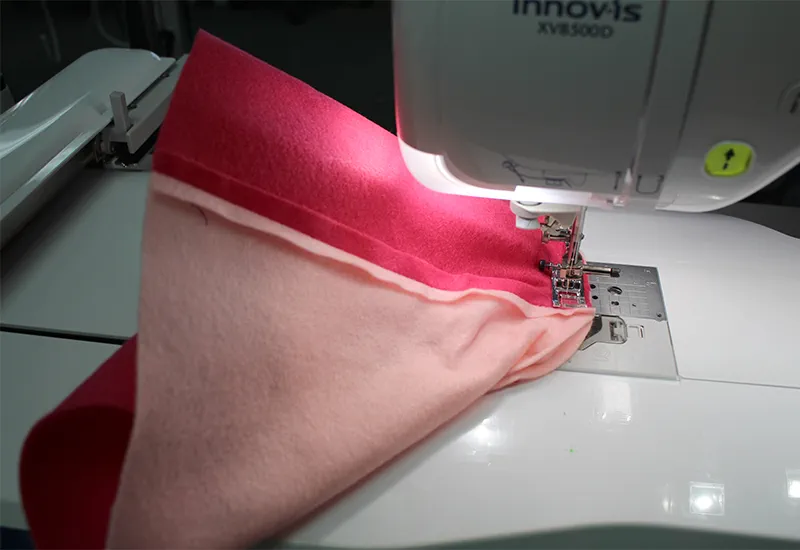
- Stitch along the top edge of the basket, attaching the outside of the basket to the lining with ¼” seam allowance.
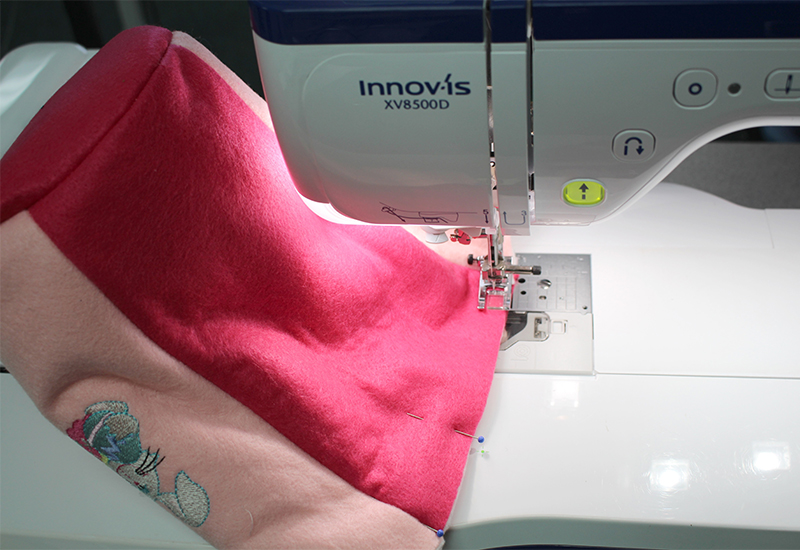
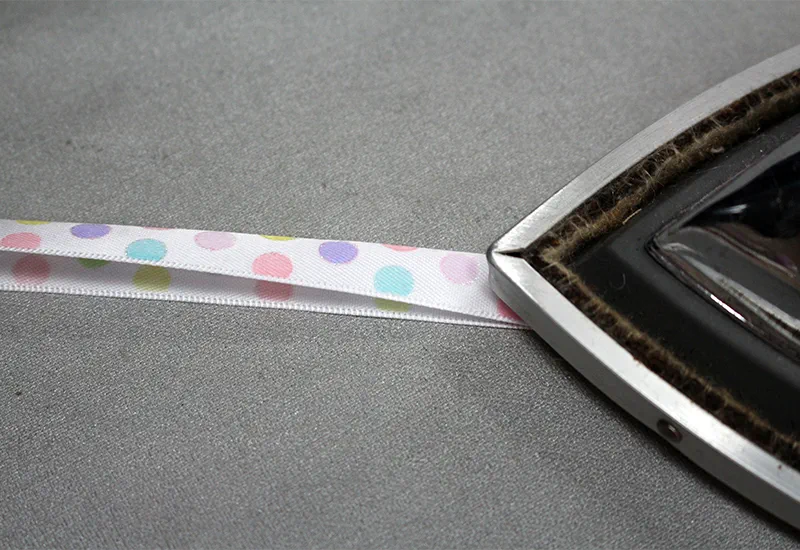
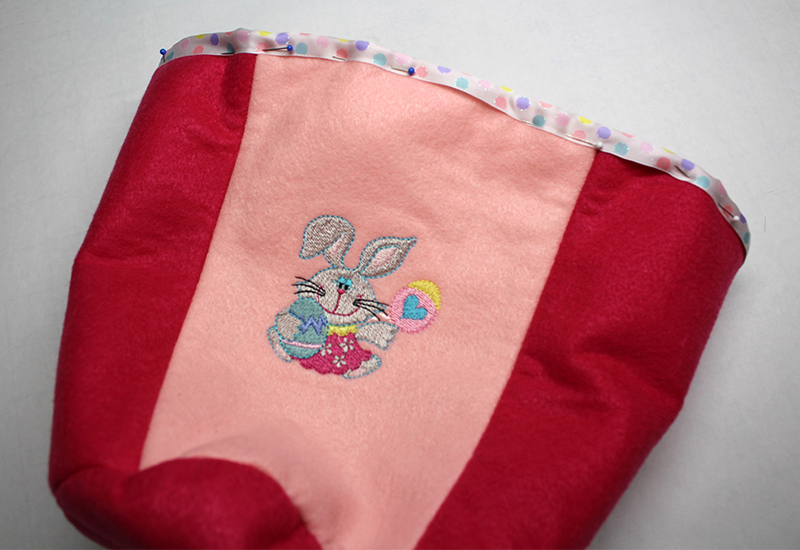
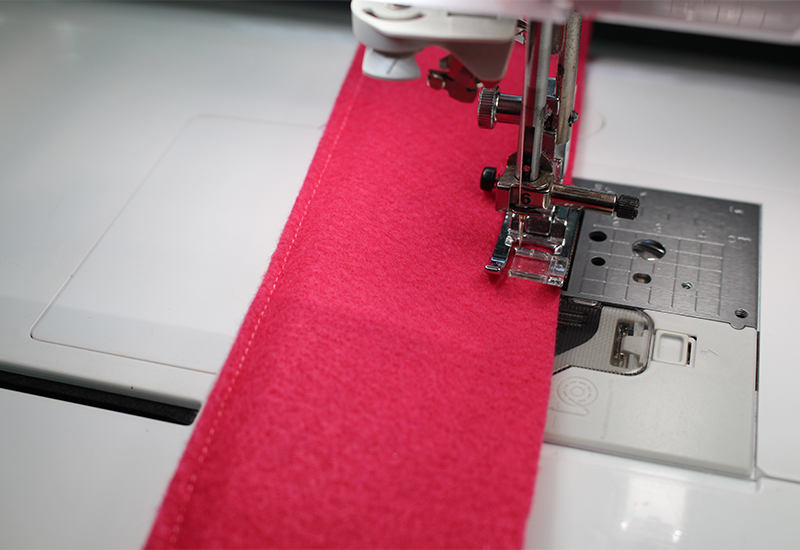
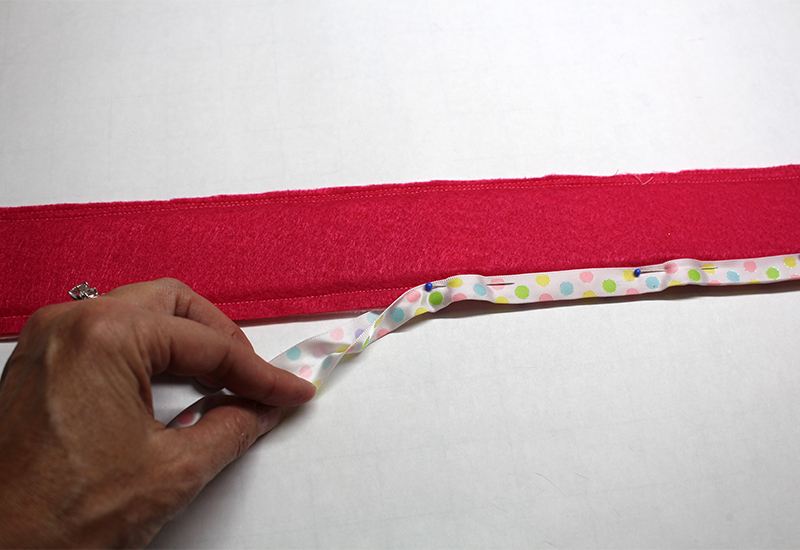
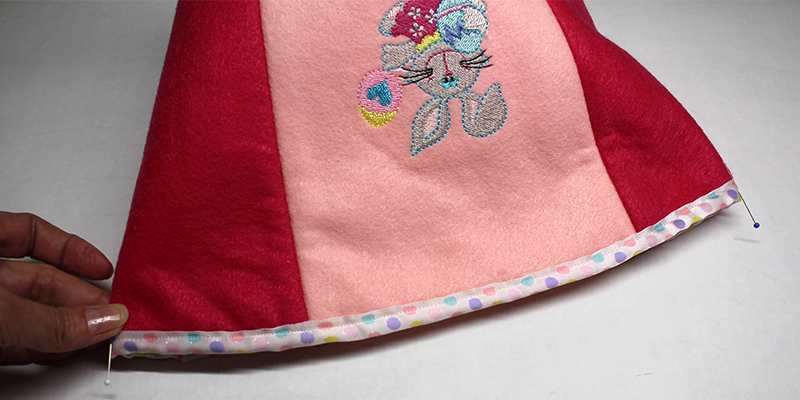
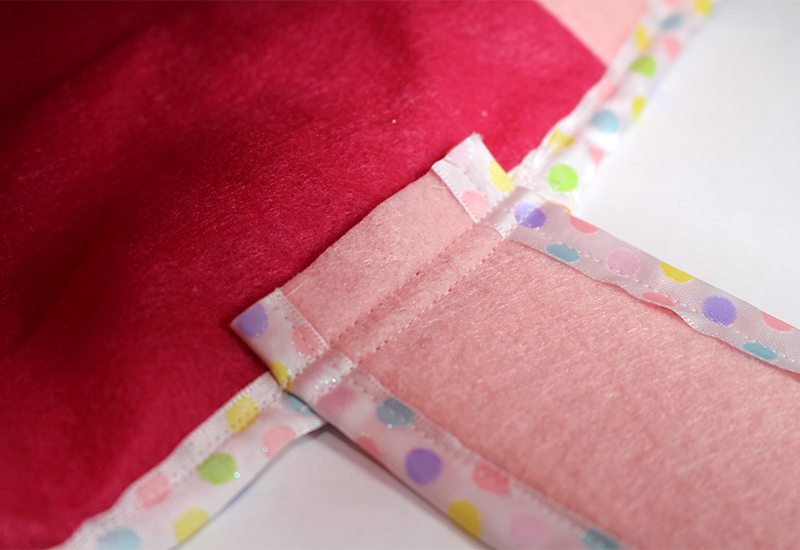
- Press the 1” ribbon in half.
- Pin to the top edge of the basket. Stitch along the edge of the ribbon.
Sewing the Easter Basket Handle
- Press the stabilizer to one of the handle pieces.
- Layer the second piece of felt for the handle.
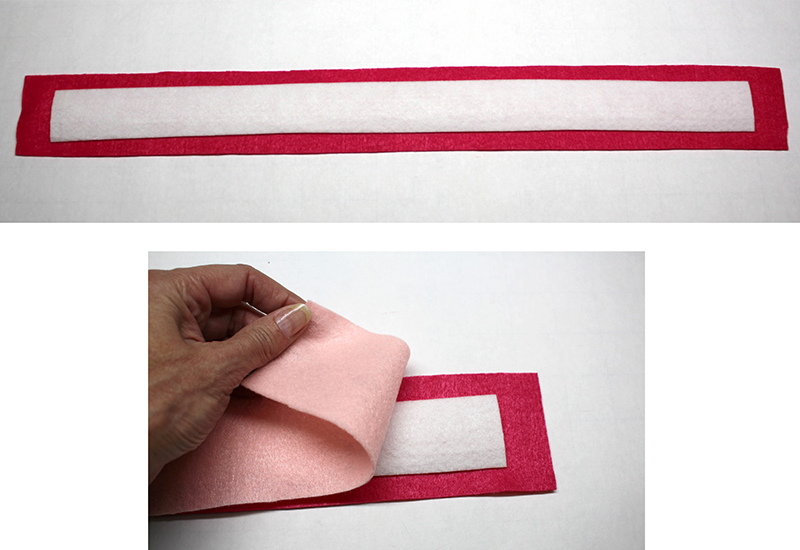
- Stitch ¼” from the edge, all the way around the handle.
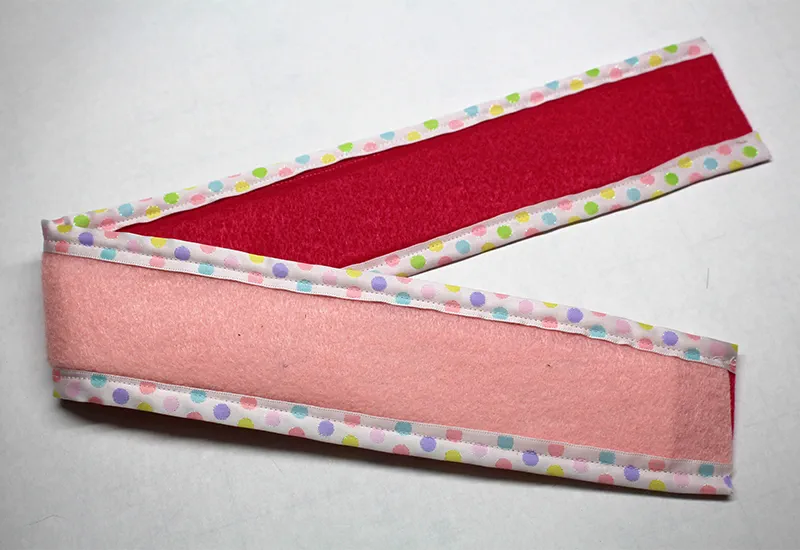
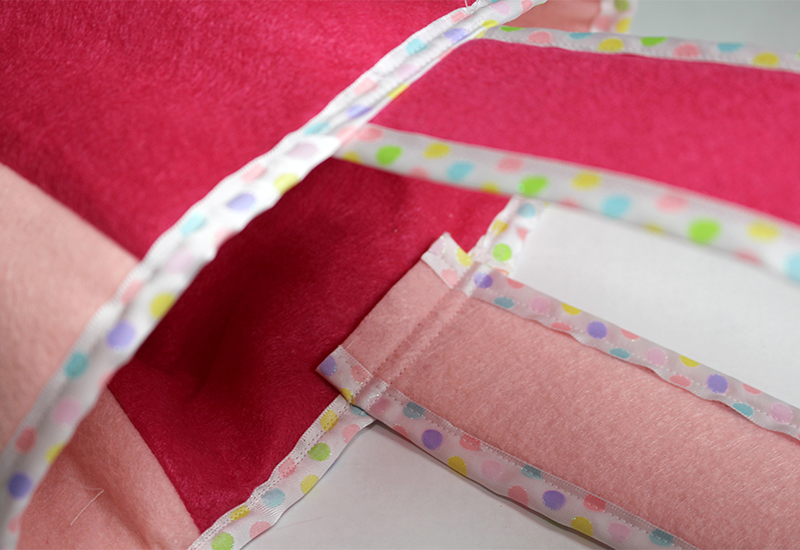
- Press the ribbon in half.
- Attach the ribbon along each edge of the handle, pin.
- Stitch along the edge of the ribbon.
- Lay the bag flat and locate each side.
- Pin the handle inside the bag at each side as shown.
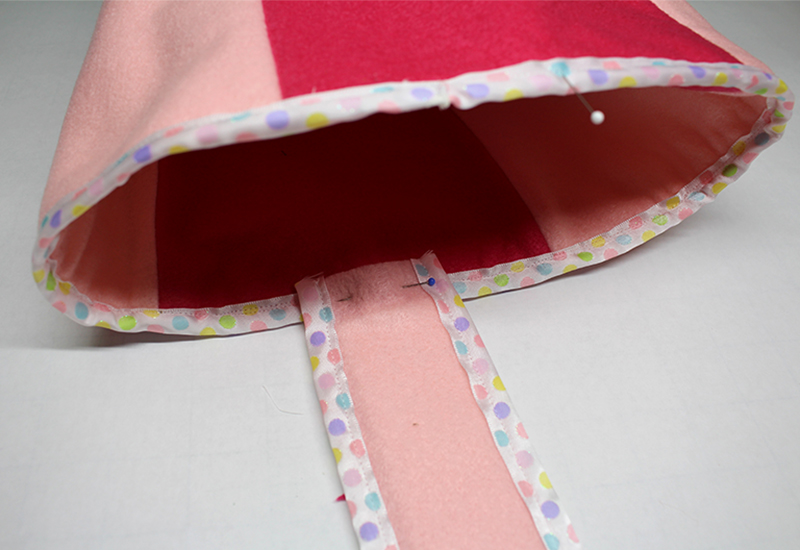
- Stitch the handle to the bag. (You might want to stitch 2 rows of stitching for extra strength to hold all those Easter eggs. 😊)
 That’s it! Be sure to share photos and tag them with #StitchingSewcial and #BrotherSews on Facebook
and Instagram
and do leave comments here with any questions!
 Cheers,

Peltex® 71F is a product by Pellon® distributed in the United States through the PCP Group, LLC, and Brother International Corporation makes no representations or warranties regarding such products.
The Tailor's Clapper is an Angela Wolf Pattern Collection™ product and Brother International Corporation makes no representations or warranties regarding such product.
Related Projects
Stay Connected
* Required fields
Follow Us
- Product Support
- Product Support Assistant
- Terms of Sale
- Product-Registration
- Search Supplies/Accessories
- Ordering & Shipping Information
- Ordering & Account FAQs
- View Order Status
- Warranty & Extended Warranty Information
- Recall Information
- Return Policy
- Security Support Information(Opens in a new tab)
- Contact Brother
