How to Embellish a Sunglass Case for Summer
As a fashion girl, I have a ridiculously large collection of sunglasses. I love them because they make me look cooler than I actually am (I'm, of course kidding). I am actually pretty cool! and because they add a bit of flair to my entire look. Keeping them protected in a case is a must when I’m carrying them in handbag. If not, the surface of my lenses will get scratched. So since I like to keep stylish and trendy, even with my sunglasses case, I decided to add some extra glamour to bring out that wow factor.
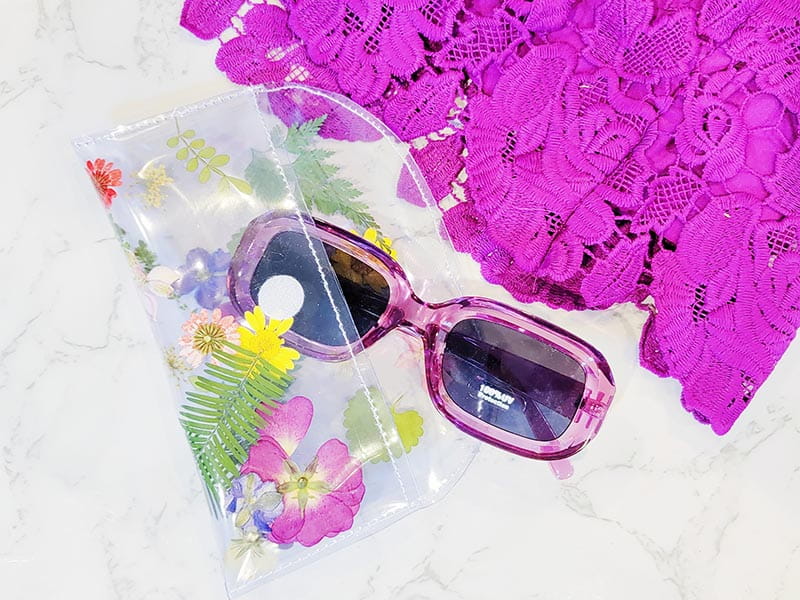
If you’ve been following me for any length of time, you know that I do not shy away from color and I’m obsessed with all things that add that over-the-top glamour. While scrolling across social media, I came across this sunglasses case that I had to have. I don’t know why I do this to myself, but social media scrolling makes me want everything I see! However, if you like crafting as much as I do, this was a golden opportunity to make my own custom glam sunglasses case, and save some money at the same time.
With all the projects that I create, I like to spark joy and happiness. Color immediately makes anyone happy. Imagine adding some fun embellishments to the mix. Everyone needs some joy in their lives and the project I want to share with you today does just that. As with any project that I share with you, I’m here to spark your creativity and open up your mind to new things. You can customize your sunglasses case however you want and choose whatever colors strikes your fancy.
EMBELLISHMENT IDEAS
- Pressed Flowers
- Confetti
- Rhinestones
- Glitter
- Torn Colorful Paper
- Nail Decal Stones or Stickers
SUPPLIES
- Brother Stellaire Innovis XJ1(Opens in a new tab)
- Clear Vinyl Fabric 20 gauge
- Confetti
- Matching Thread
- Thin Clear Velcro Circles or Silver Snaps
- Scissors
- Embellishments
- Ruler
- Paper
- Fabric Clips
INSTRUCTIONS
- Let’s start by creating a pattern. Fold your sheet of paper in half (hotdog style). Starting on the fold of the paper, draw a rectangle 8” x 4”. Cut it out. On the top corner, round the corners out with your scissors.
- Using your pattern, cut out two pieces of vinyl.
- Place the vinyl on top each other and hold in place using the fabric clips.
- Starting on the rounded edge side, sew as close to the edge possible using the edge of your sewing foot as a guide. Sew slowly to ensure that your stitches are straight. Do not sew down the sides. Adjust your fabric and sew across the bottom of the vinyl.
- Grab the embellishment of your choice and place them in between the two pieces of vinyl. If you are using confetti or any loose material, it doesn’t have to be perfect. When the case is in use, the embellishments will move around anyway.
- Fold the case up towards the top leaving enough to fold over the glasses. Hold in place using fabric clips. Following the stitches that were previously sewn, stitch the sides closed.
- Cut away excess vinyl being careful not to cut too close to the threads.
- Let’s add the closure. Starting with the velcro with the rough texture, place it in the top center of the flap. Place the soft textured velcro directly on top of the rough one you just placed. Fold the flap over to close the case and stick the opposite velcro circle to the vinyl. This ensures it’s in the perfect position when closed. (Note: Place your sunglasses inside the case when setting your closure. This will help create the perfect amount of space when folding the closure.
- That’s it!


Tags
Shop this Project
No sewing or embroidery machine? No problem! Any products mentioned in this project are available to buy here so you can stay stitching.
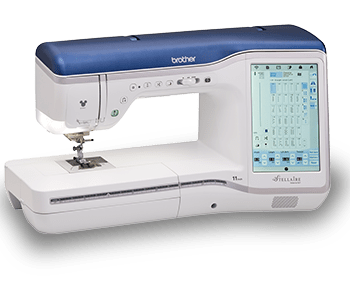
Brother Sewing and Embroidery Machines
- My Design Snap Mobile app for Background, Line Art and Illustration Scan.
- Large 9.5” x 14” embroidery area
- 11.25” needle to arm and 5” height from sewing bed to top of machine arm
Related Projects
Stay Connected
* Required fields
Follow Us
- Product Support
- Product Support Assistant
- Terms of Sale
- Product-Registration
- Search Supplies/Accessories
- Ordering & Shipping Information
- Ordering & Account FAQs
- View Order Status
- Warranty & Extended Warranty Information
- Recall Information
- Return Policy
- Security Support Information(Opens in a new tab)
- Contact Brother
