How To Make A DIY Sunglass Case
-Brother Sews Blogger
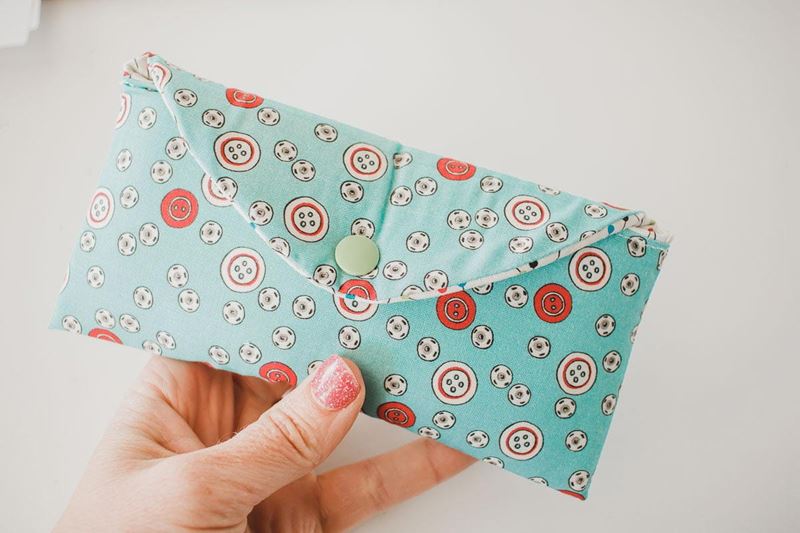
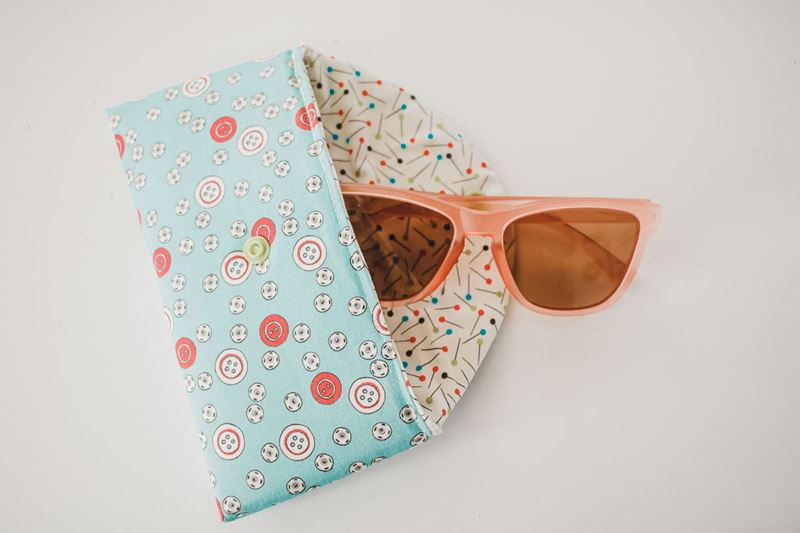
I live in the sunny city of Denver, so I always keep a pair of sunglasses close by. However, I am terrible with keeping my glasses protected and often end up with broken or scratched glasses from being careless. A few years ago I was tired of having to buy new sunglasses, so I created this padded sunglass case to keep my glasses safe and protect them from my treatment.
I’ve created a video for you today to show you how easy it is to sew your own DIY padded glass case. This is an easy sewing tutorial that you can use to create a sunglasses case like this one for your sunny adventures.
Padded Sunglasses Case Supplies:
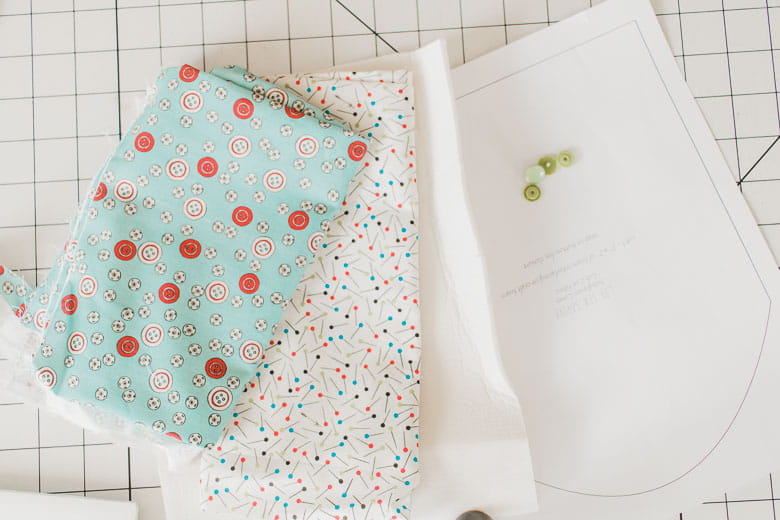
● Free glasses case pattern
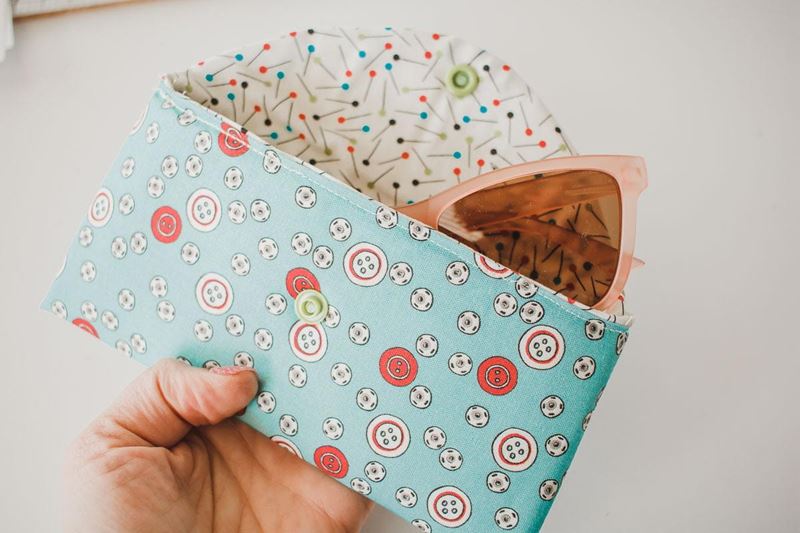
● Fabric {fat quarters work great for this project. You can use one or two fabrics for this case}
● Fusible or non-fusible foam
● Snap or hook and loop for closure
● Brother sewing machine and/or serger
The video will give you the full walk through of this project, but I also wanted to give you the main steps here and then you can watch the video to see it all in action.

Directions
1. Download and print pattern
2. Use the template to cut out two shapes of fabric and one of foam. The foam should be about ⅜” smaller on all sides as shown in the video.
3. Fold and sew the sides of both the liner and outer pieces of the case.
4. With right sides together sew the two pieces of the case together at the curved top edge.
5. Pull the inner piece out and then push it inside the outer fabric, it should now look like a case. Insert the foam between the layers of fabric. If it is too tight you may need to trim the foam piece a bit more.
6. Fold the seam allowance of the front straight edge in {where you inserted the foam} and then stitch to close the opening.
7. If you used fusible foam you can use a small iron at this point to fuse the foam.
8. Add a snap closure or hook and loop closure.
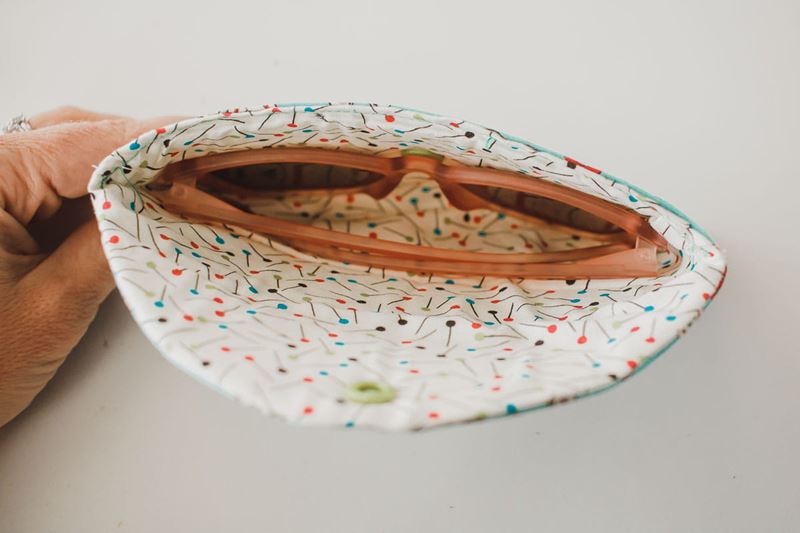
9. Put your sunglasses in the case and enjoy!
Watch Here:
Tags
Shop this Project
No sewing machine? No problem! Any products mentioned in this project are available to buy here so you can stay stitching.

Related Projects
Stay Connected
* Required fields
Follow Us
- Product Support
- Product Support Assistant
- Terms of Sale
- Product-Registration
- Search Supplies/Accessories
- Ordering & Shipping Information
- Ordering & Account FAQs
- View Order Status
- Warranty & Extended Warranty Information
- Recall Information
- Return Policy
- Security Support Information(Opens in a new tab)
- Contact Brother
