Tips for Embroidery on Faux Suede
Sewing Machine:
- THE Dream Machine 8500
(but could use any Brother embroidery machine)
Supplies:
- faux suede fabric
- plastic or vinyl
- embroidery thread
- tailor’s chalk
Characteristics of Faux Suede Fabric:
- Generally made up of 100% polyester. This means you need to be careful when pressing; use a press cloth or press from the backside of the fabric. Use a very low heat to prevent iron marks on the fabric.
- Pile: rub your hand back-and-forth on the fabric and you will see the pile runs one way. It is important to cut all the pattern pieces facing the same direction. Usually I cut with the pile facing down, yet with fashion trends these days - either way is fine.
Embroidering on Faux Suede:
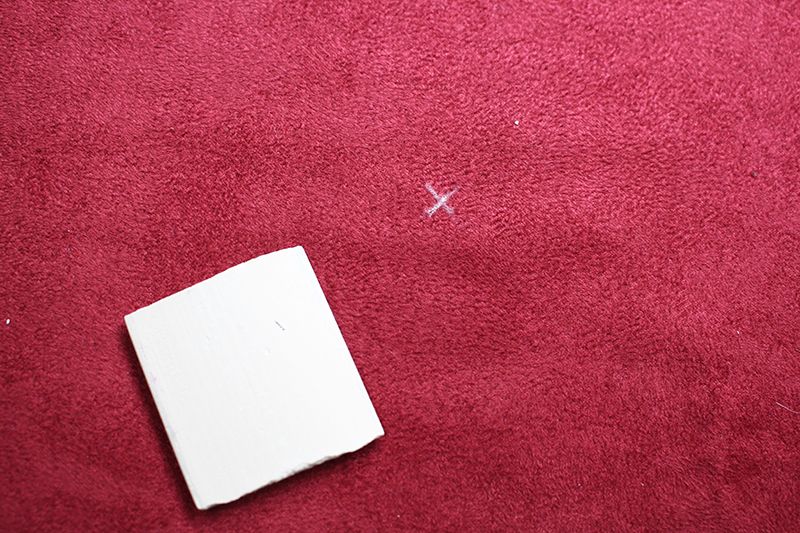
- Depending on what you’re going to be sewing, sometimes it’s easier to embroider on the fabric itself and then cut out the pattern. Ideas for this technique would be to lay the pattern out and mark the center (as I have done here) or chalking the entire pattern so you have a visual of where your embroidered design should go.
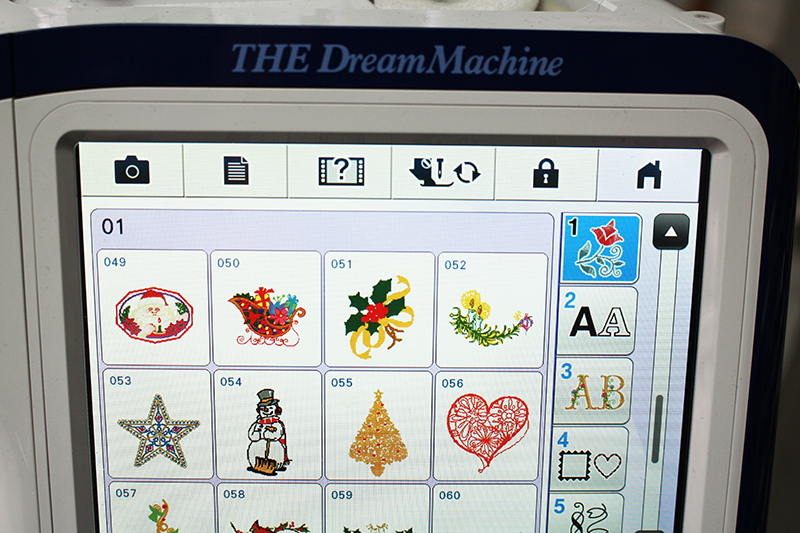
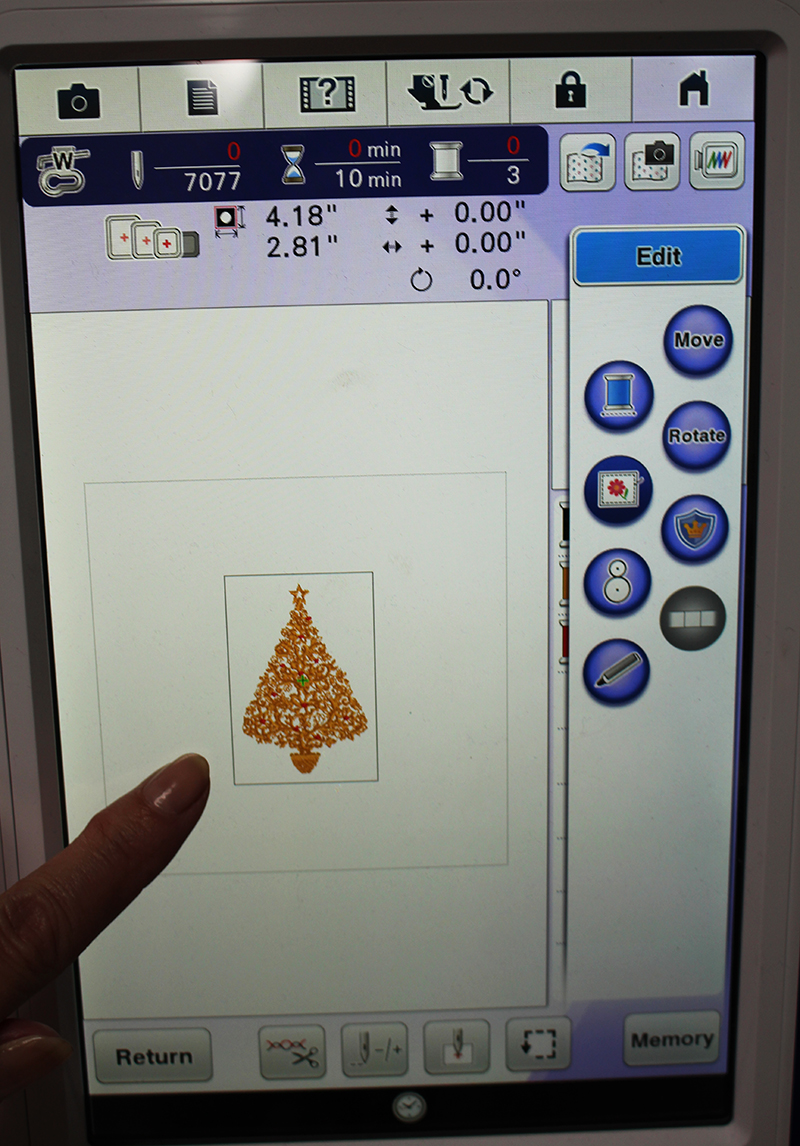
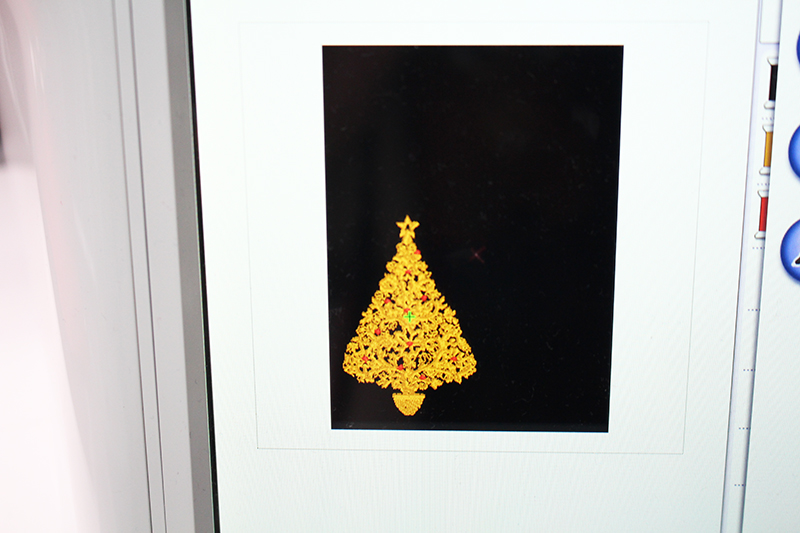
- I have chosen a design within the Brother Dream Machine.
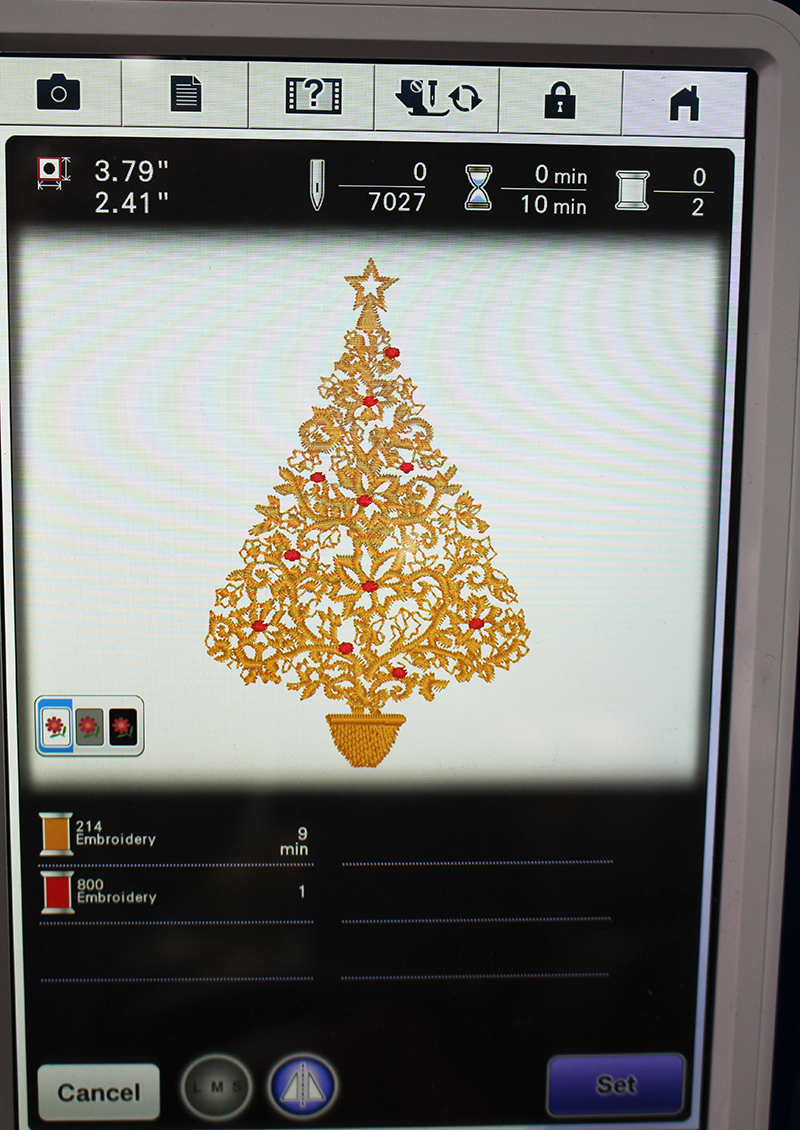
- At the top of the screen I see the dimensions of my embroidery design, the number of colors, number of stitches, and this entire design will take 10 minutes to embroider.
Designer Tip: Check out the ornament embroidery designs on iBroidery
that can be used on any Brother embroidery machine.
that can be used on any Brother embroidery machine.
Stabilizer Options & Hooping
- It is difficult to hoop faux suede fabric without getting hoop marks. Instead, hoop the stabilizer and set the fabric on top of the stabilizer.
- I am using Brother adhesive tear-a-way stabilizer.
Hoop the stabilizer with the paper side up.

- Score the paper. Tear away the center section of stabilizer.
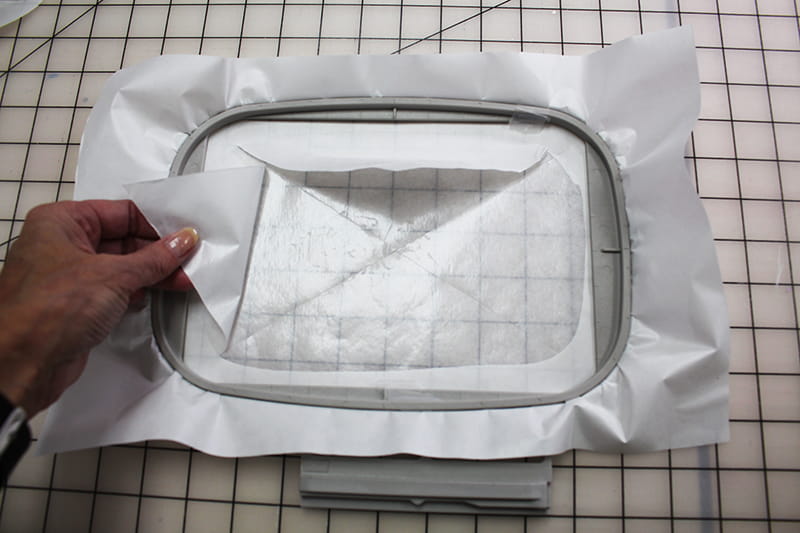
- Set the fabric on top of the stabilizer, positioning the X close to the center.
- Slide your hand across the fabric to make sure the pile is facing the direction you want.
- Cut a piece of plastic the size of the embroidery hoop.
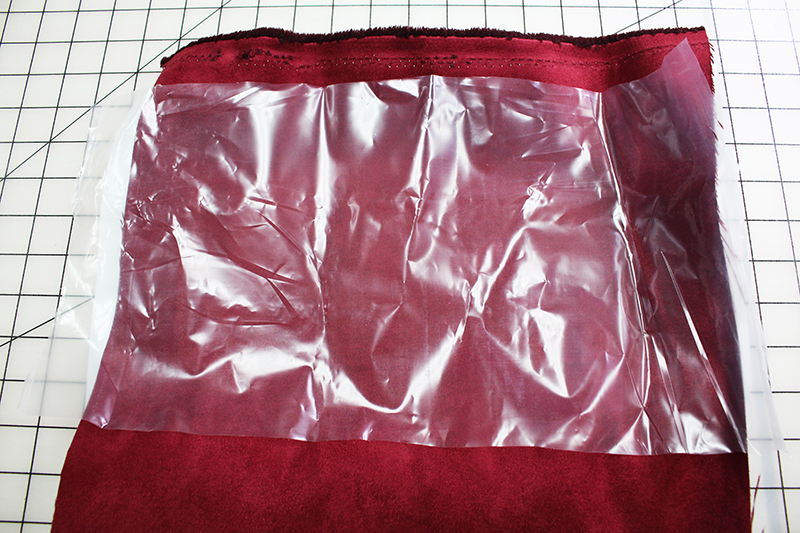
Designer Tip: I am using plastic to prevent the embroidery design from embedding into the plush fabric. This will also give the opening of my design a bit of sheen. Colored vinyl is another option, similar to what I used in the embroidering metallic letters blog.
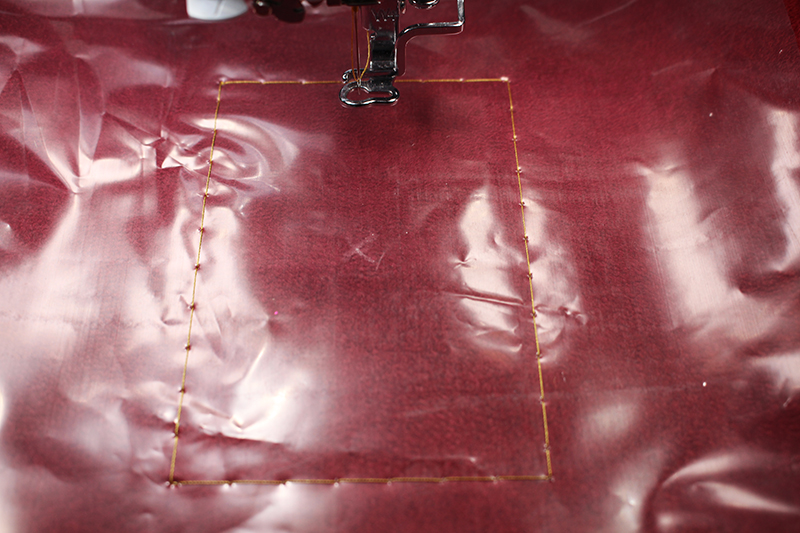
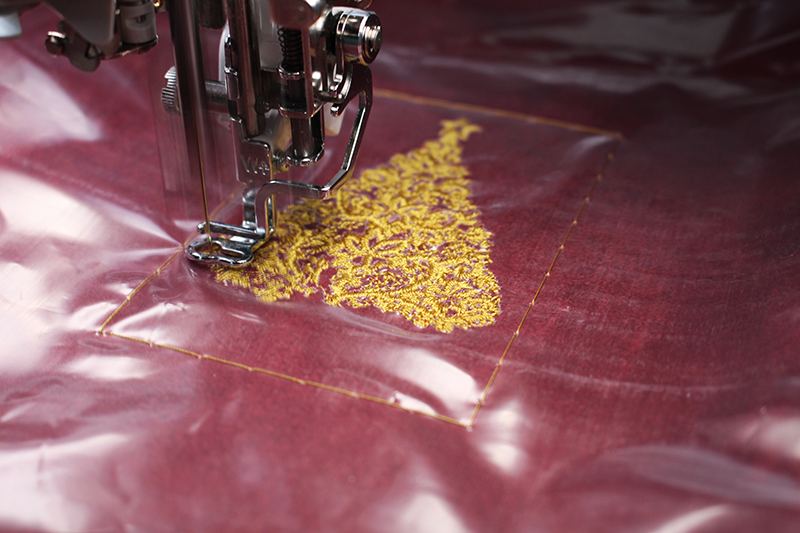
- Add a basting stitch around the designs - this will hold the plastic and fabric in place.
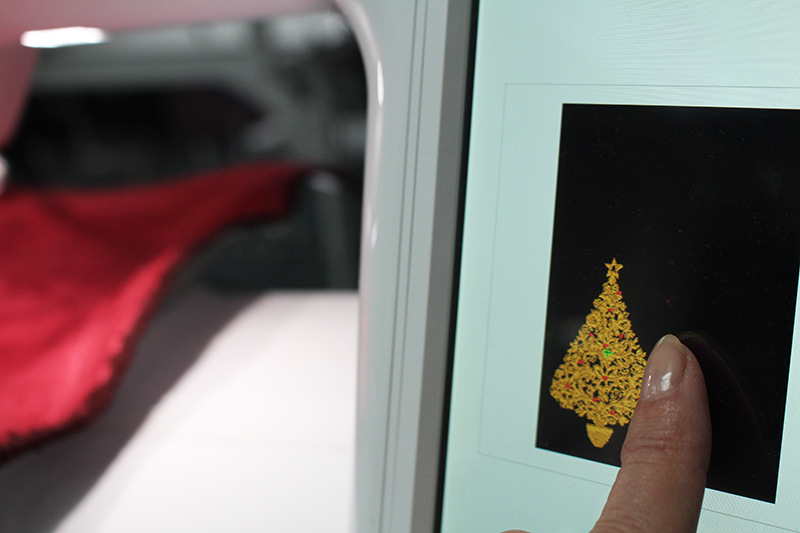
- Scan in the fabric (without the plastic)
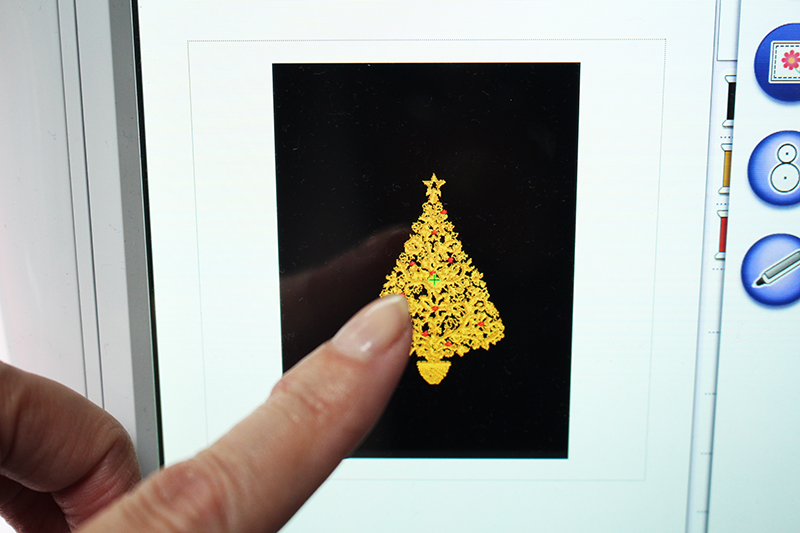
- Move the embroidery design around until you see the chalked X on the fabric.
- Move the embroidery design so the green X, which symbolizes the center of the design, lines up with the white chalked X on the fabric.
- Place the plastic on top of the fabric and stitch the basting box.
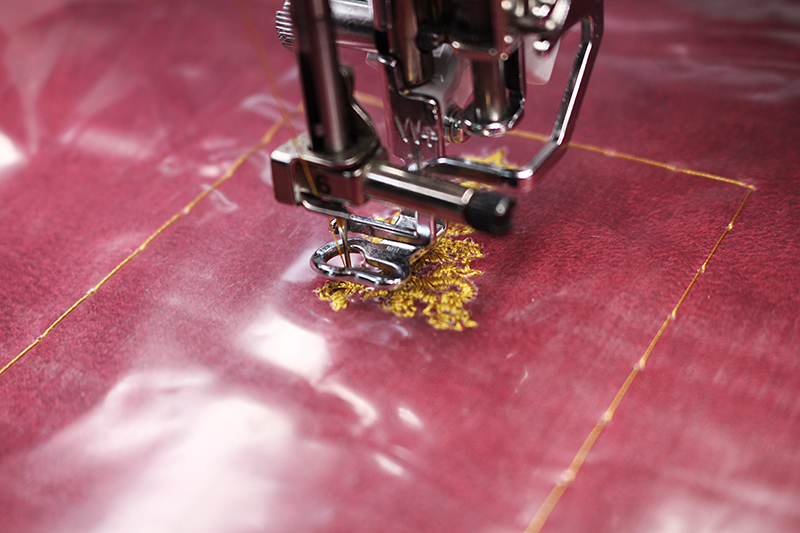
- Stitch the embroidery design.
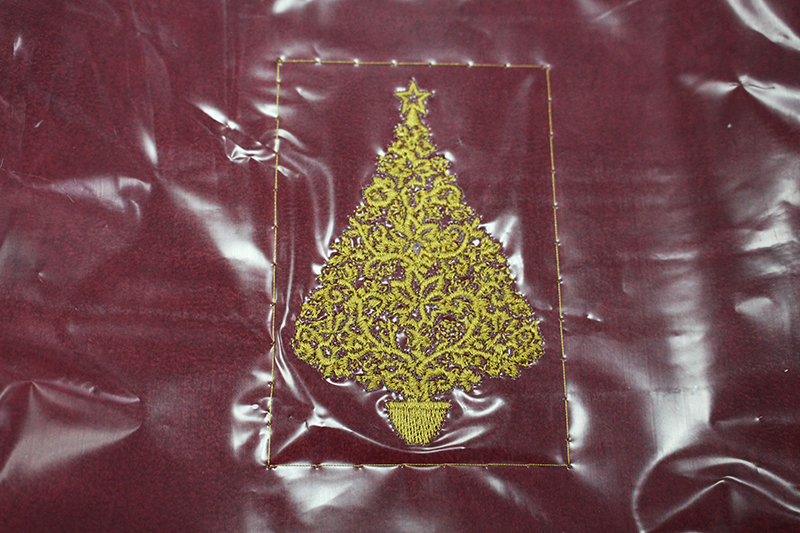
- Tear away the plastic.
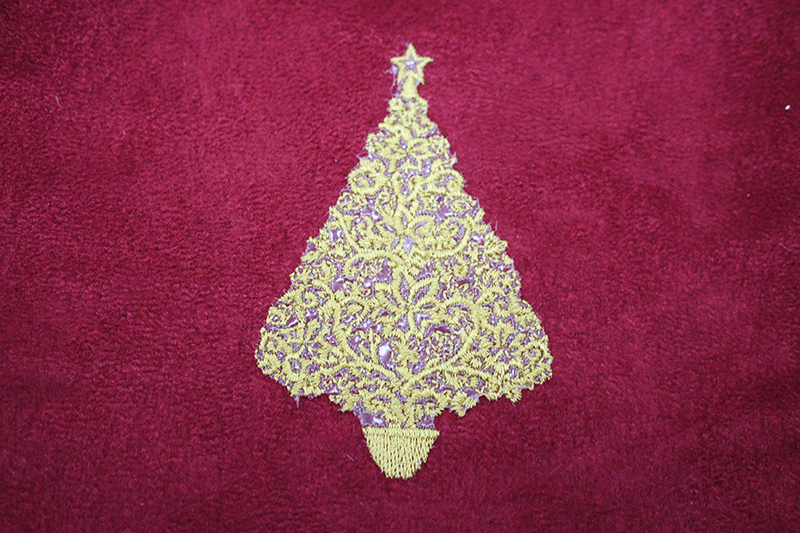
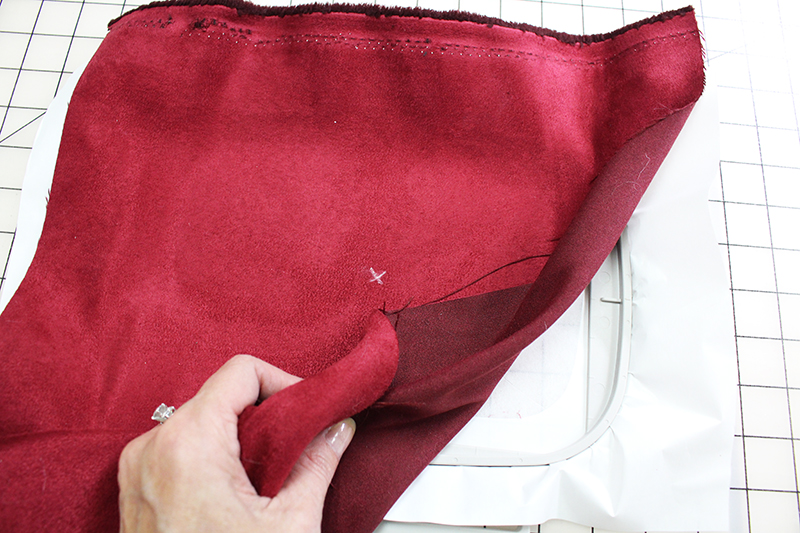
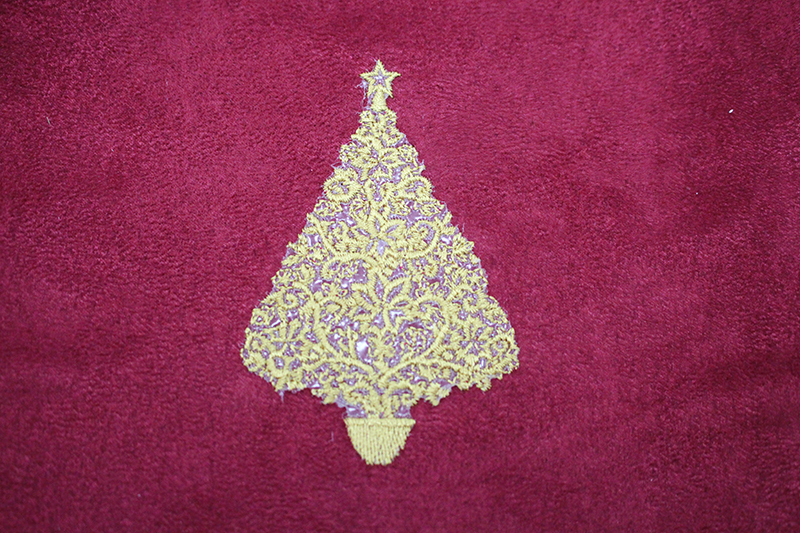
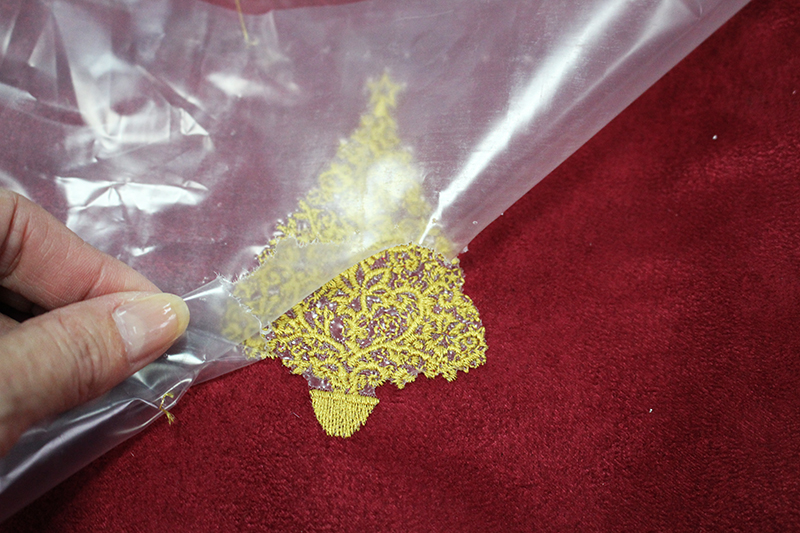 I chose to only embroider the tree, skipping the mini ornaments which is the last step of the embroidery design. You can see my designs stays above the fabric and the stitching did not get lost in the pile. There are remnants of the plastic within my design, which I plan on leaving because I want a little bit of shine within the tree. If I didn’t want the sheen I could also pick way the plastic, using a pin and tweezers.

 Now, I will cut out my Christmas stocking pattern.
Cheers, Angela

Related Projects
Stay Connected
* Required fields