Tutorial: Quilting 101
Did y’all know that National Quilting Day is March 16th? Yaaaaay! I’m very much of the opinion that everyone should be a quilter because it’s awesome. And at least a couple times a week, I get a message or a comment asking for a resource that can help those who have never quilted before but want to get started. Well, guess what? That’s what this project is all about. I came up with a beginner-friendly quilting project that will hopefully give you everything that you need to know to embark on quilting. So, whether you’re a beginner or a veteran, hopefully there will be at least a couple pearls, if not a whole strand of pearls, that you learn along the way.
What you’ll need:
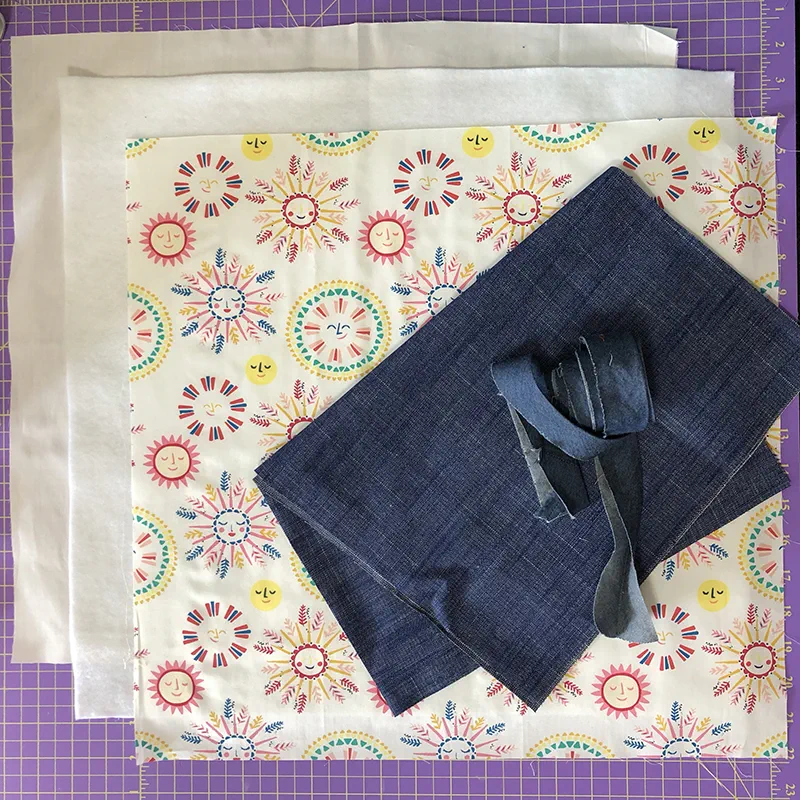
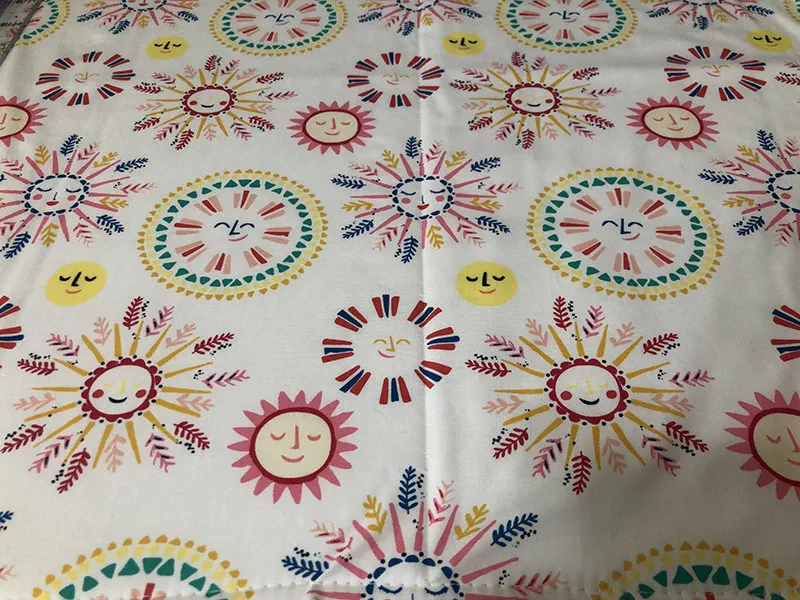
- Two 18” x 18” squares of fabric (one for pillow front and one for lining)
- Two 13” x 18” rectangles of denim
- 75” x 2.5” strip of fabric for binding (you will probably need to sew multiple strips of fabric together for this)
- One 18” x 18” square of batting (cotton or cotton/poly blend)
- 18” X 18” pillow form
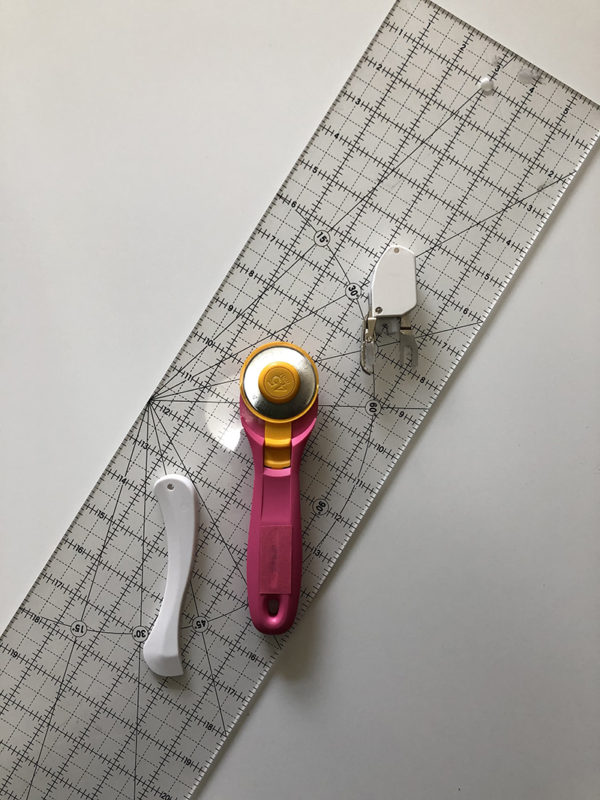
- Rotary cutter
- Cutting mat
- Quilting ruler
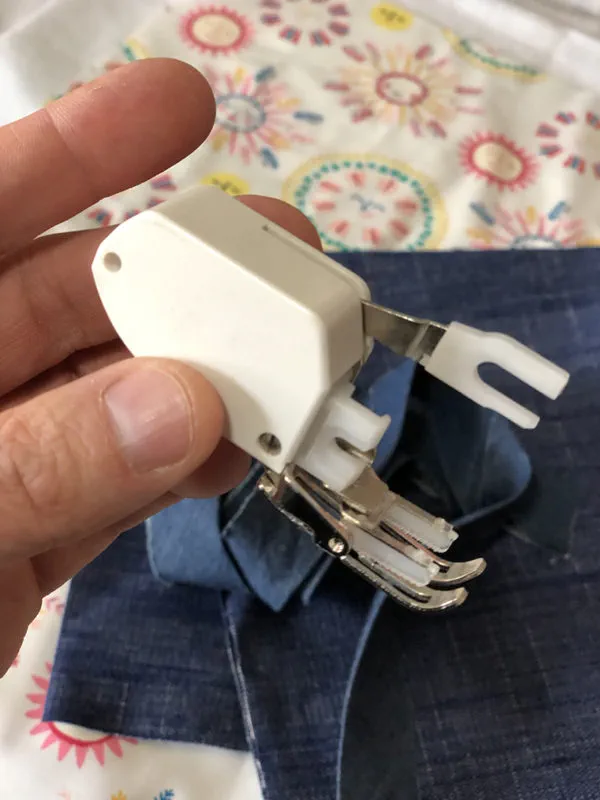
- Walking foot
- Thread (use same thread for top and bobbin)
- Marking utensil (marker, tailors chalk or erasable pen)
- Spray adhesive or safety pins for basting
Products Used:
Since this might be the first time many of you will embark on quilting, I tried to create a project that is both functional and will allow you to garner the skills necessary to tackle a larger quilt. And while mini quilts are all the rage, this tutorial will provide the option to turn yours into an envelope back pillow.Basting the Pillow Front
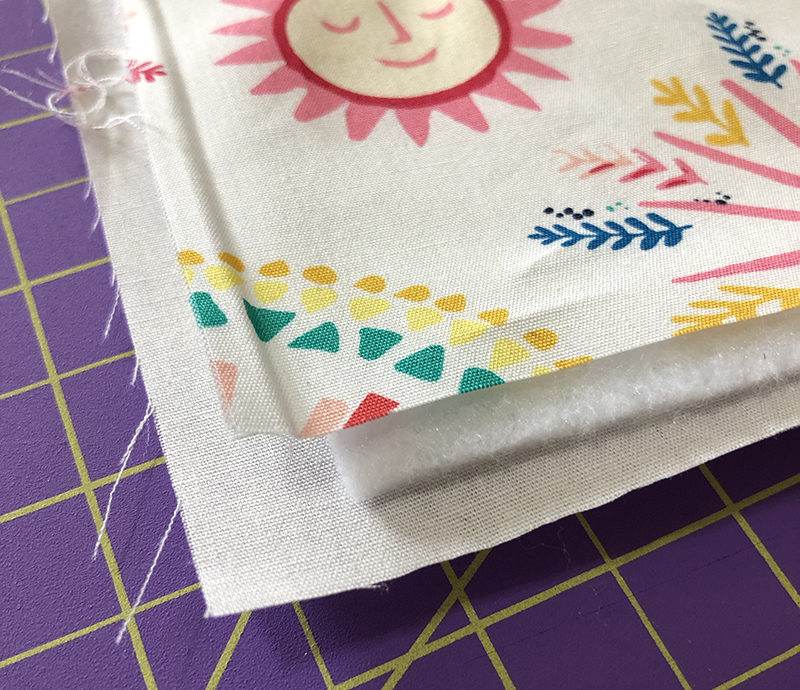
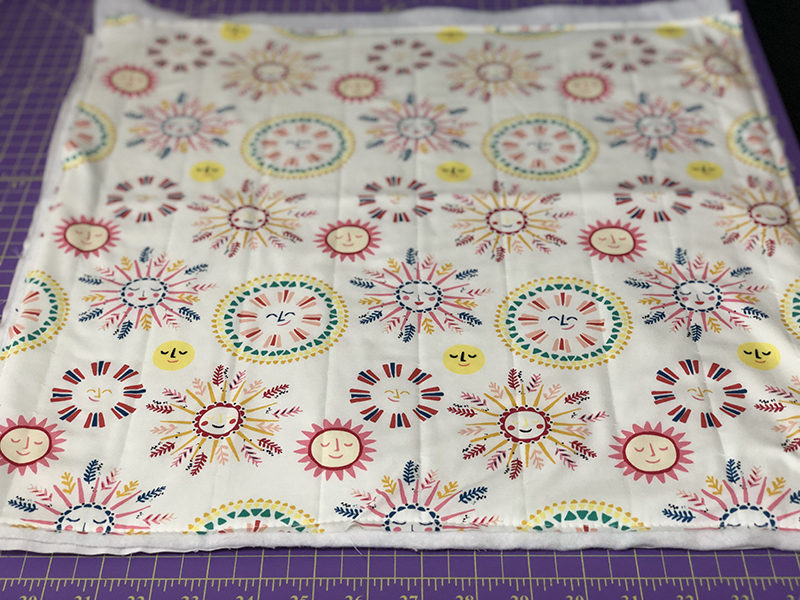
 The first thing you’re going to do is to create something called a “quilt sandwich” where the lining will be on the bottom, the batting will be in the center and the pillow front will be on the top. Make sure to line the raw edges up as best you can with the three layers. Next, you’ll need to baste the layers together using spray adhesive or safety pins. I prefer spray adhesive for my quilting projects because it’s less to fiddle with, but I would suggest trying both as you immerse yourself in quilting to see what works best for you. A tip I have with using spray adhesive is to spray the fabric and not the batting to ensure proper coverage.
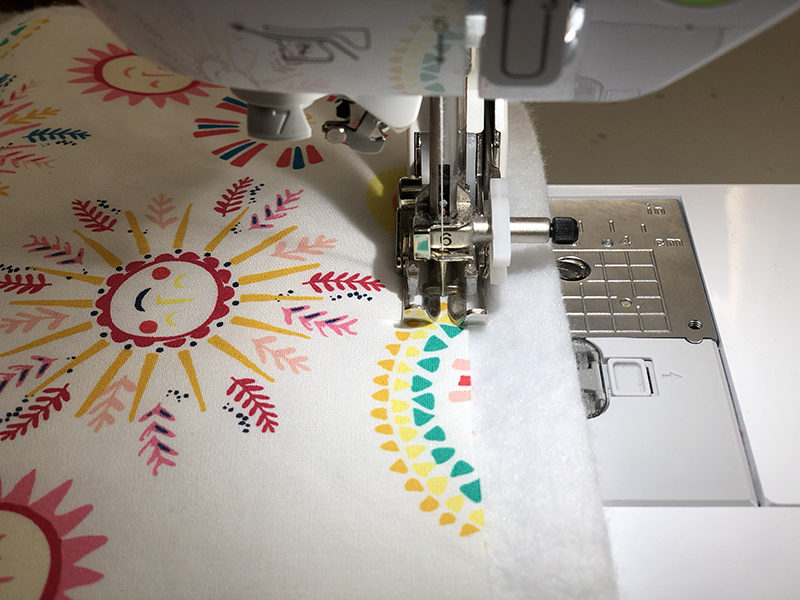 Set the stitch length of your machine to 5 mm and attach your walking foot. Stitch around the perimeter of the “quilt sandwich” securing all three layers together.
Quilting the Pillow Front
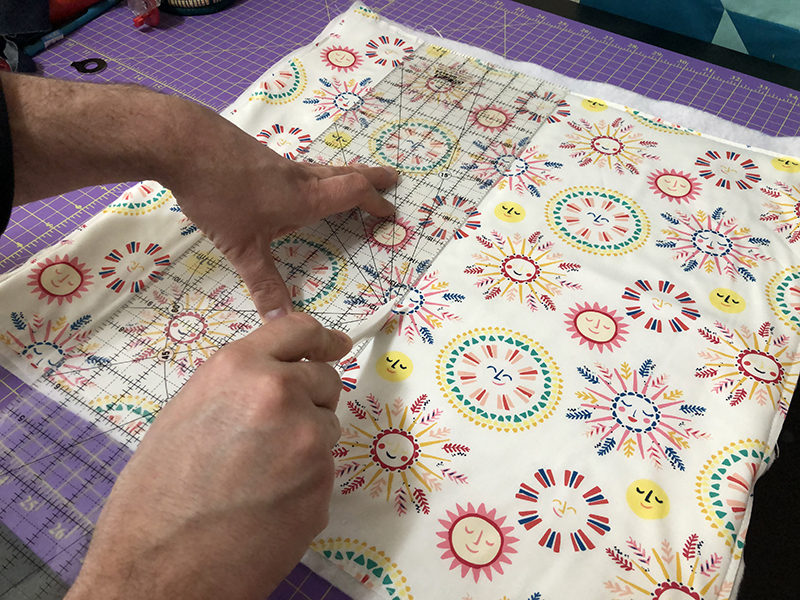
 Using a marking utensil and a ruler, draw a vertical line in the center. From that line, draw vertical lines in 2” increments until there are no more lines to draw.
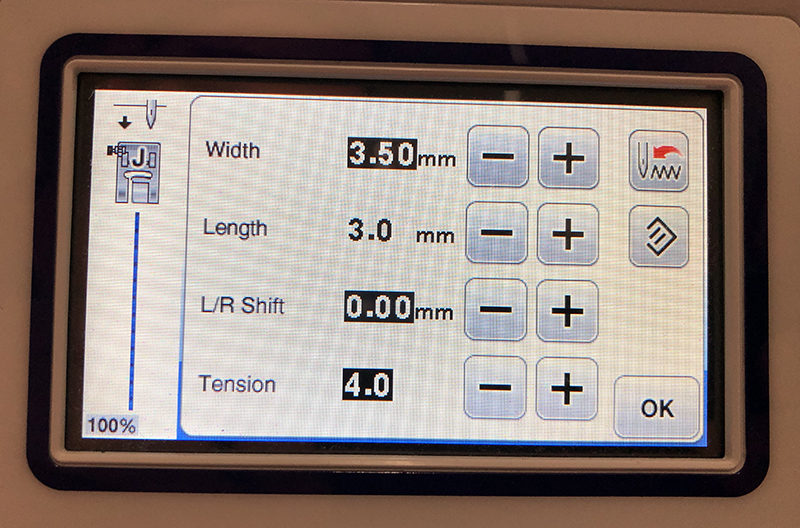
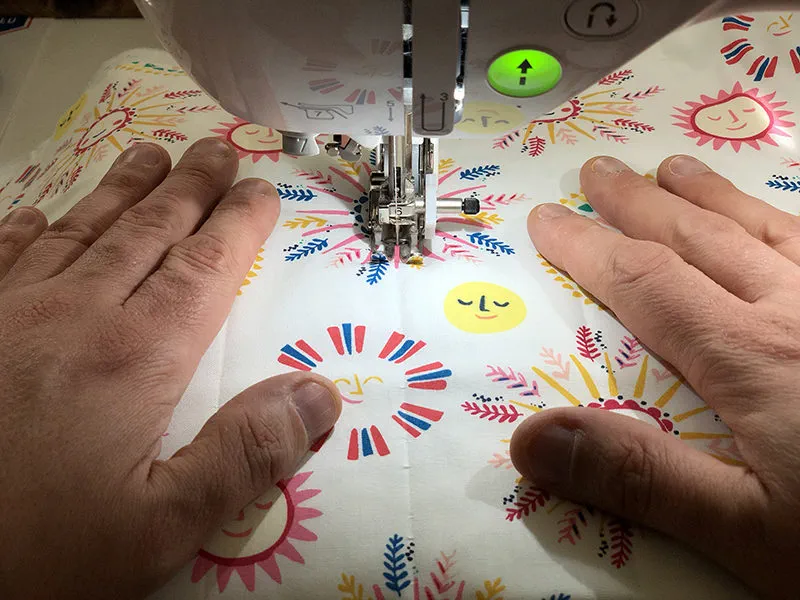
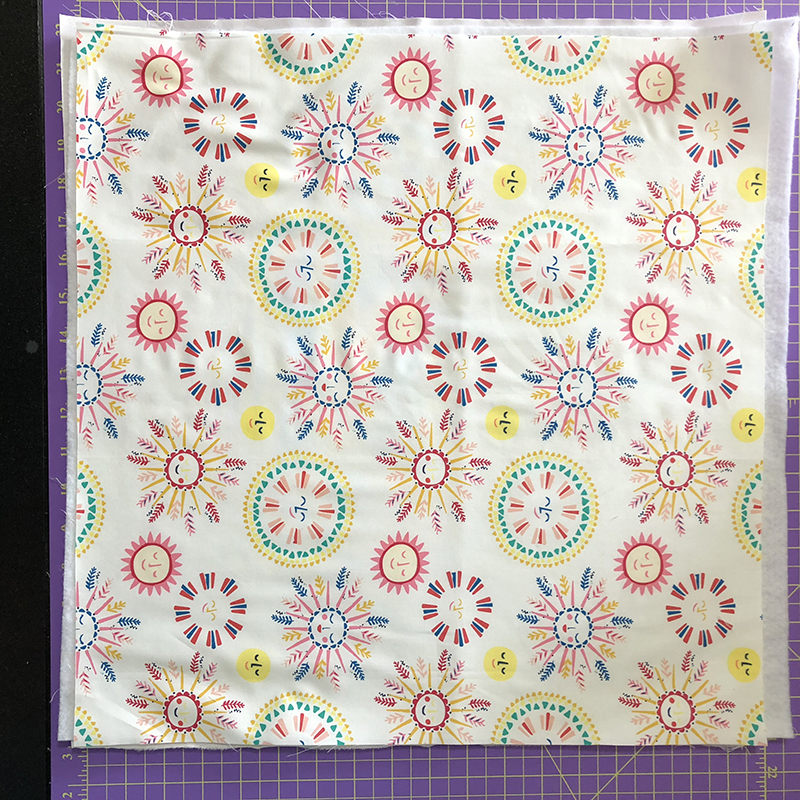
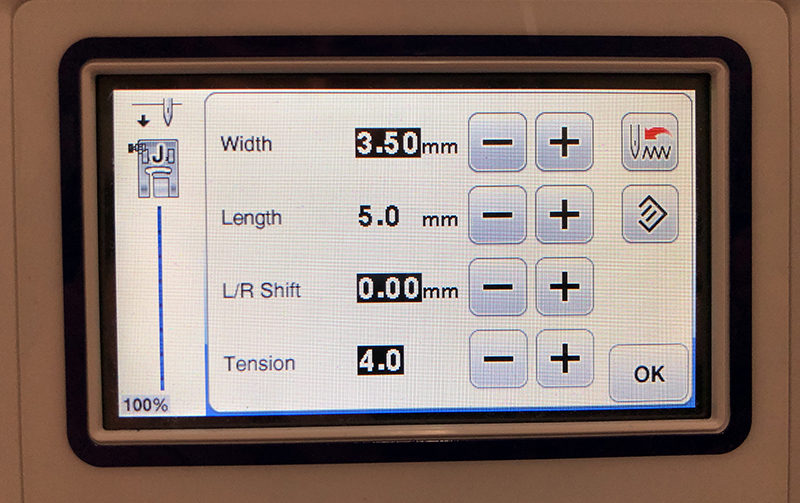
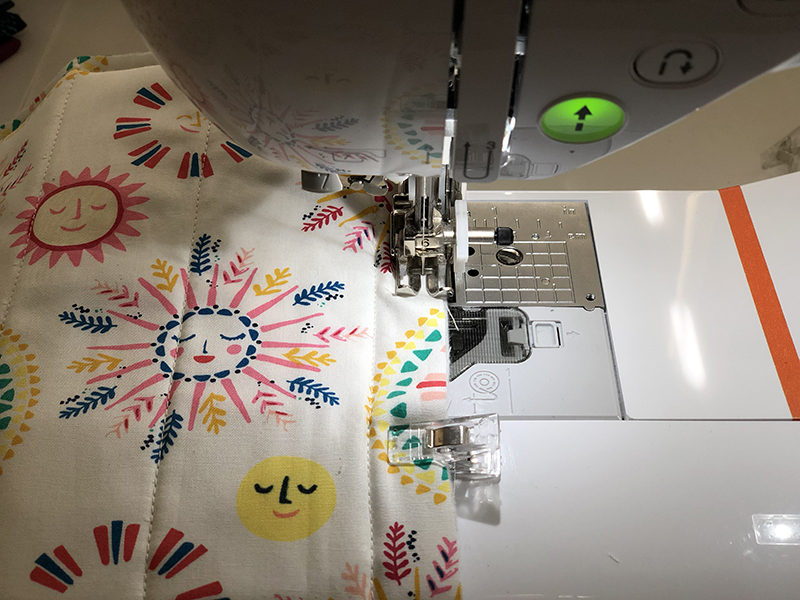
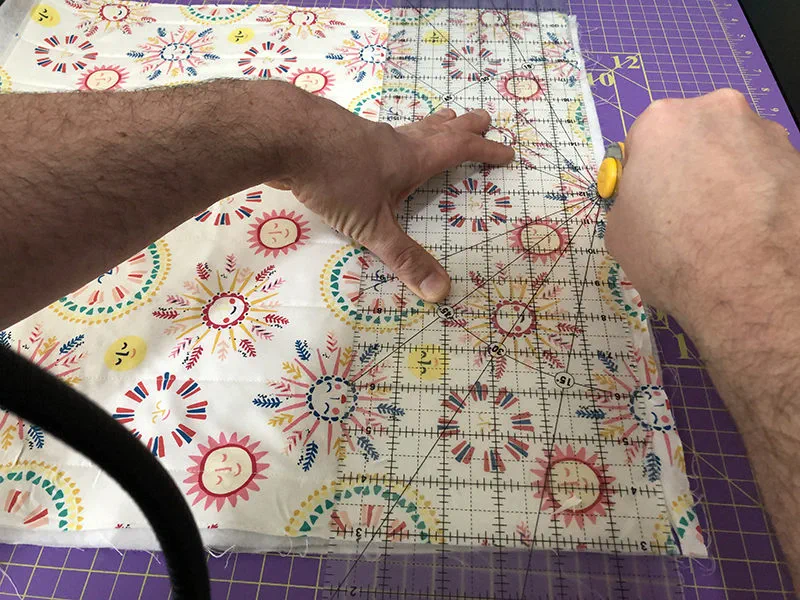 Change the stitch length to 3.0 mm and stitch over all of the vertical lines that you created with your marking utensil. Square off the pillow front with a rotary cutter and ruler trimming any excess batting.
Envelope Pillow Back
Note: If you are creating a mini quilt or using this post as a resource for quilts of a larger scale, you can skip this section.
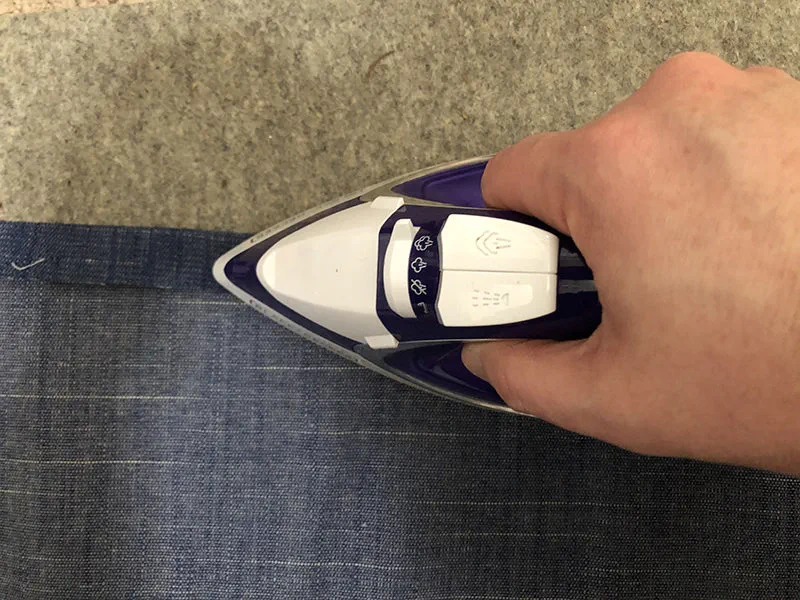
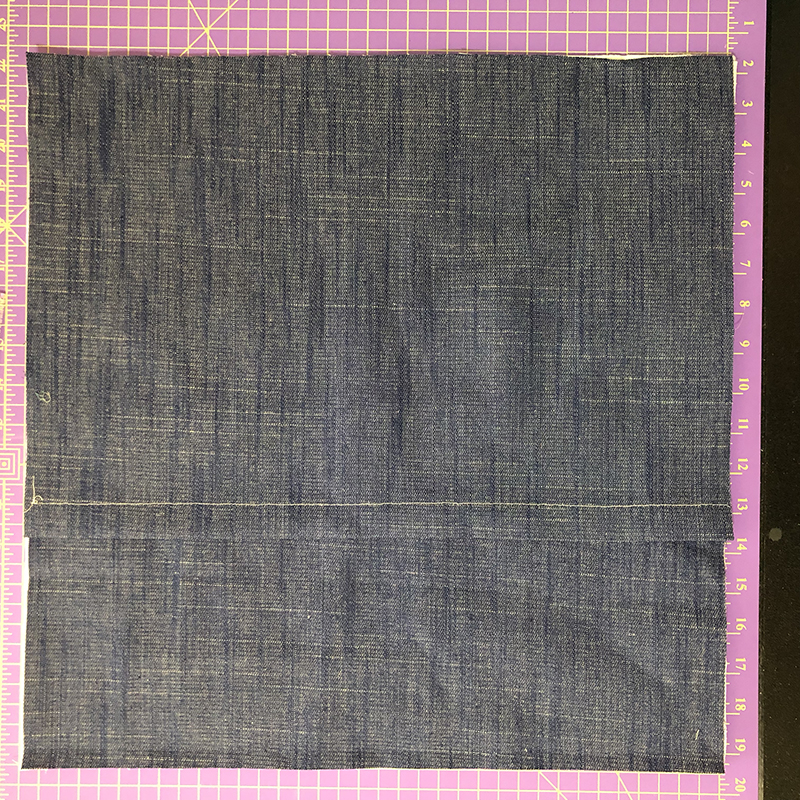
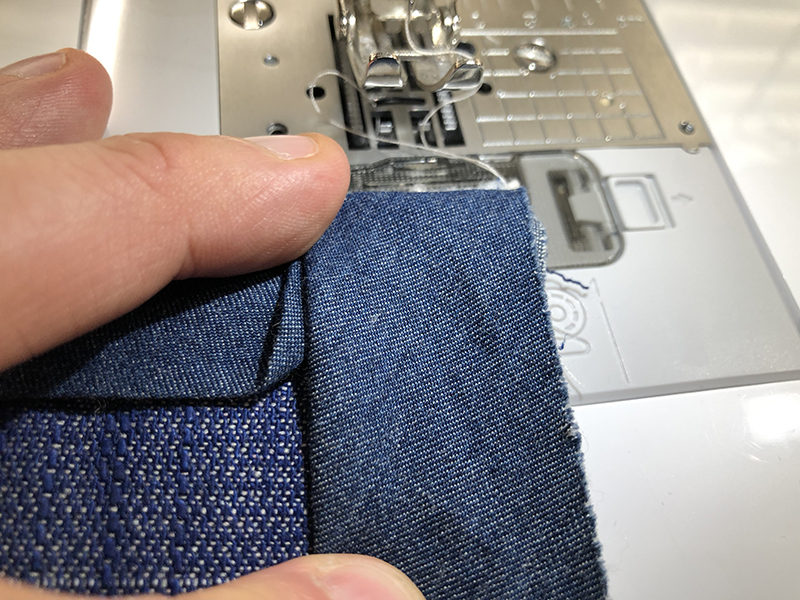
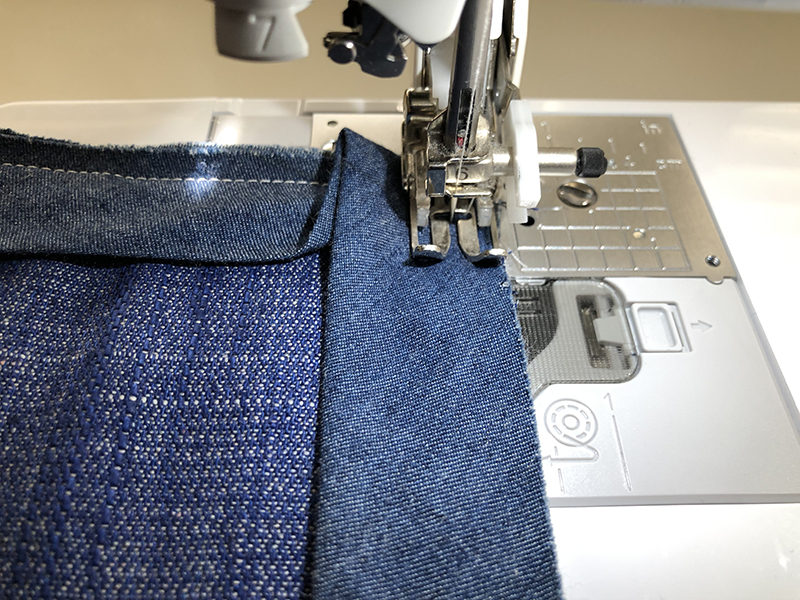
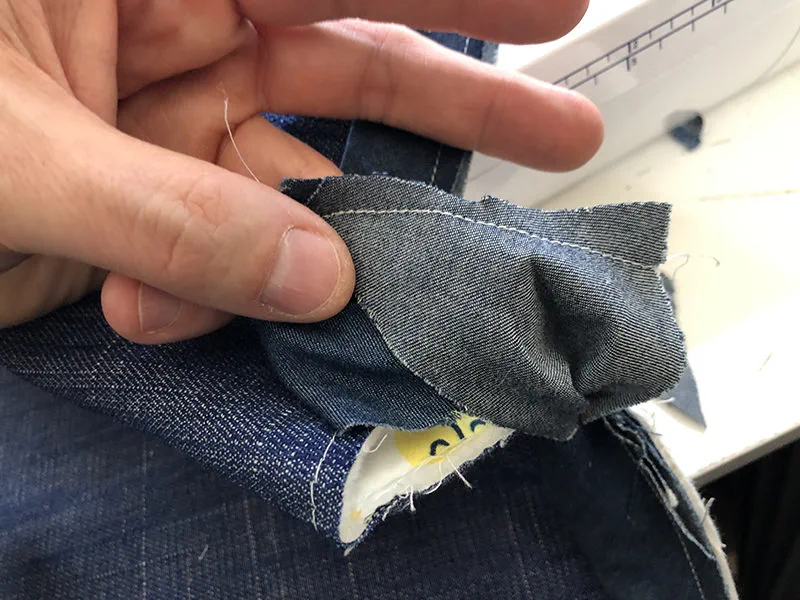
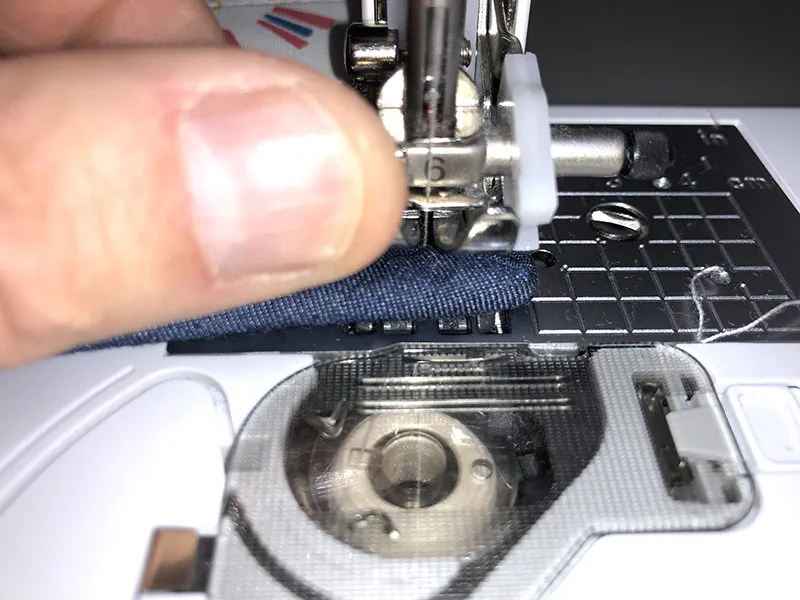
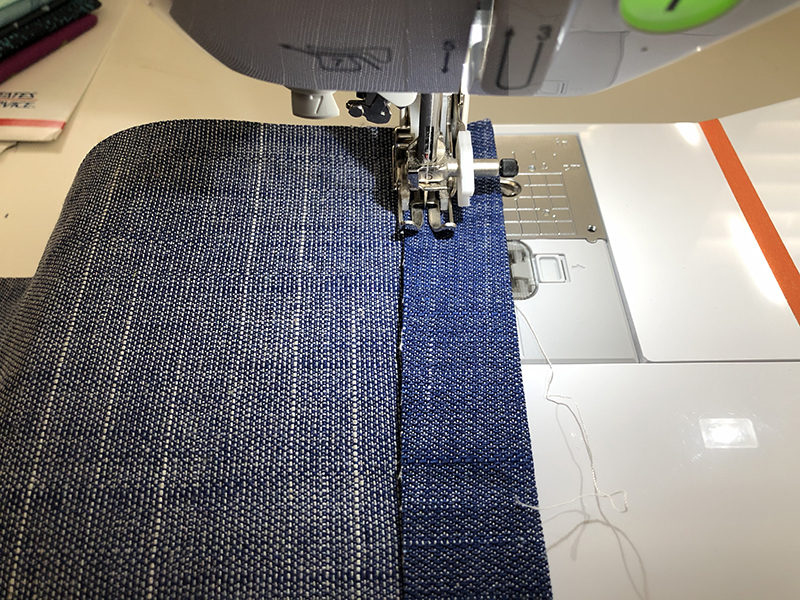 For each of the 13” x 18” rectangles, fold over a little more than 1” on the longest edge and press with an iron. Stitch the folded-over fabric down 1” from the fold.
Tip: I like to sew these types of seams down with the right side down so that I can make sure to catch all the fabric. Just make sure the same thread is in the bobbin as the top thread.
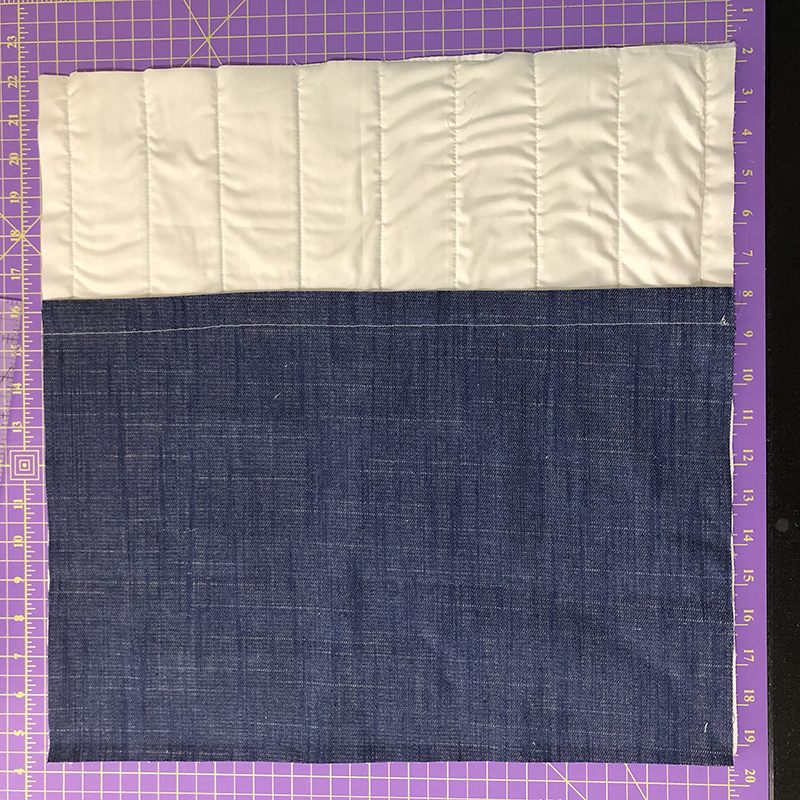
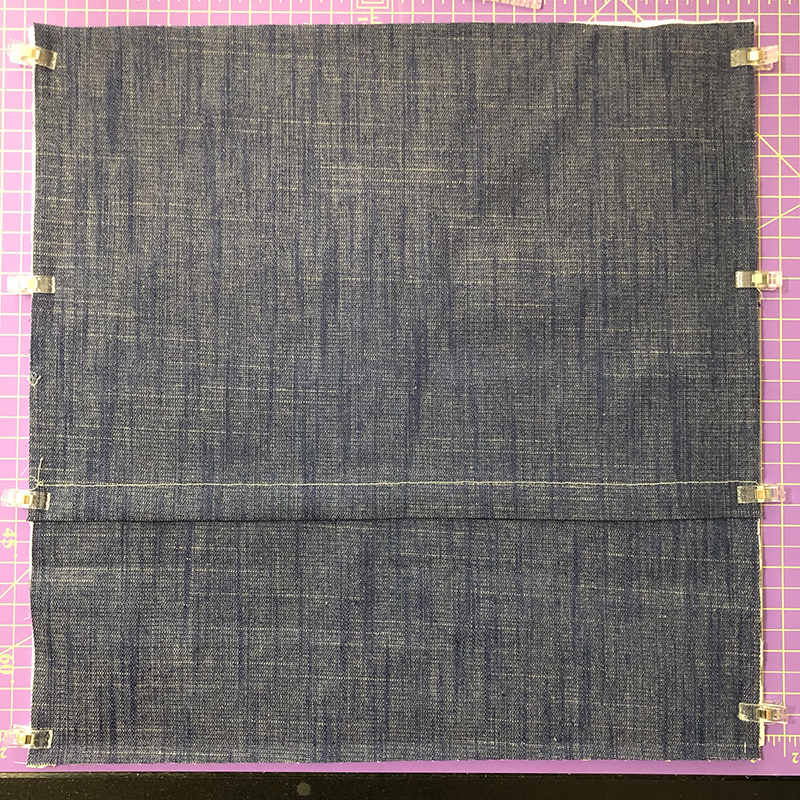
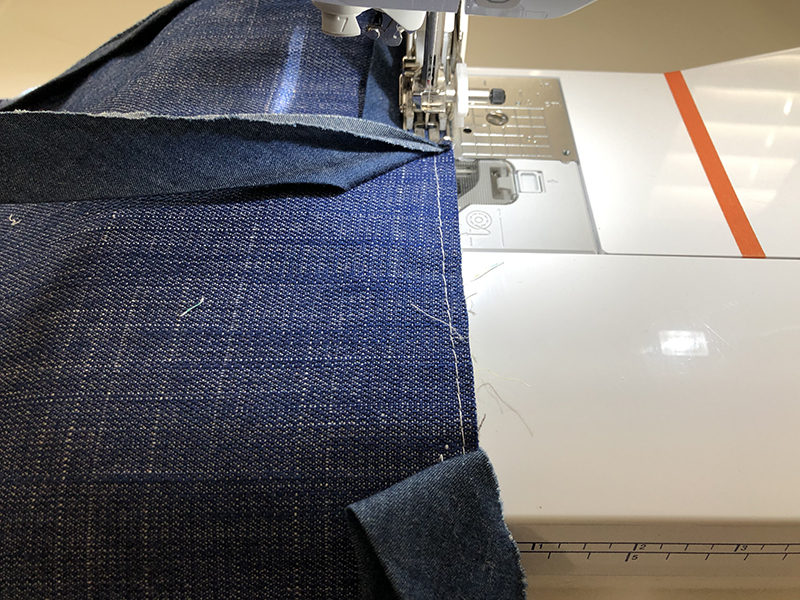
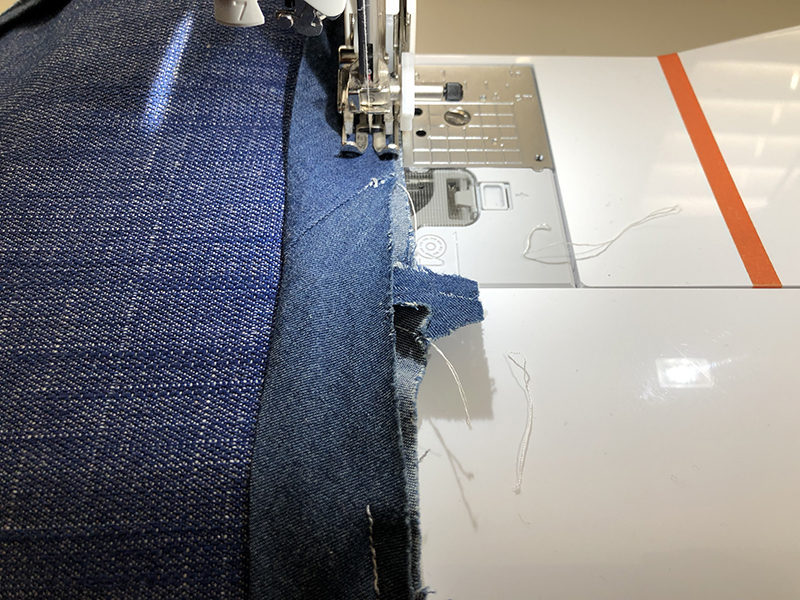
 Wrong sides together, line up the bottom half of the envelop back with the bottom and side raw edges of the pillow front. Place the top half over the bottom and line up with the top and side raw edges. Clip or pin the sides and, using a basting stitch with 5 mm length, stitch around the perimeter at 1/4” seam allowance.
Binding
Note: Traditionally, quilt binding is cut on the bias, which means it cuts on the diagonal. However, I use straight grain binding all the time. To keep it simple, I’d suggest straight grain if this is your first binding experience.
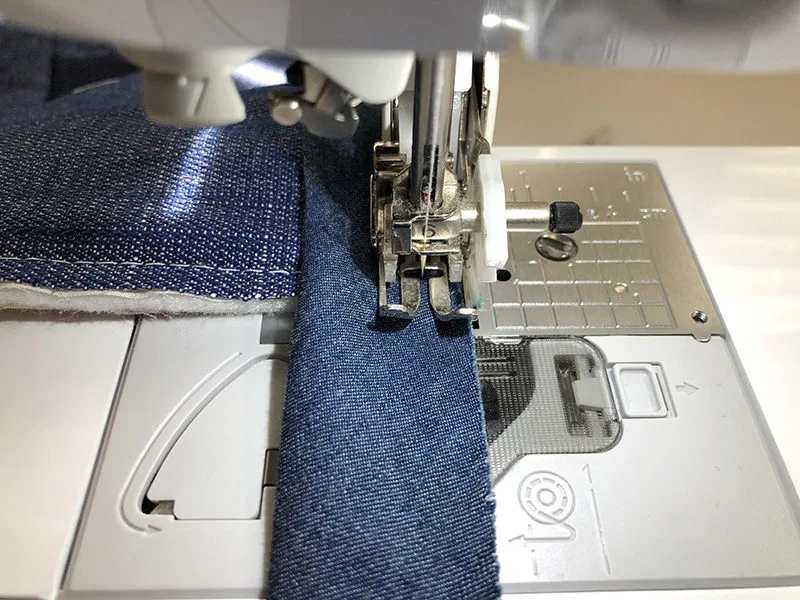
 With an iron, press the 75” x 2.5” strip in half lengthwise. Starting with the back of the pillow facing up, line the raw edge of the binding strip with one of the raw edges of the pillow back. Leaving a few inches of the beginning of the binding strip unsewn, start stitching toward the center of the pillow side using a 1/4” seam allowance, stopping 1/4” before the end. Lift the foot up, pivot the corner of the pillow toward you, lower the foot and continue sewing beyond the end.
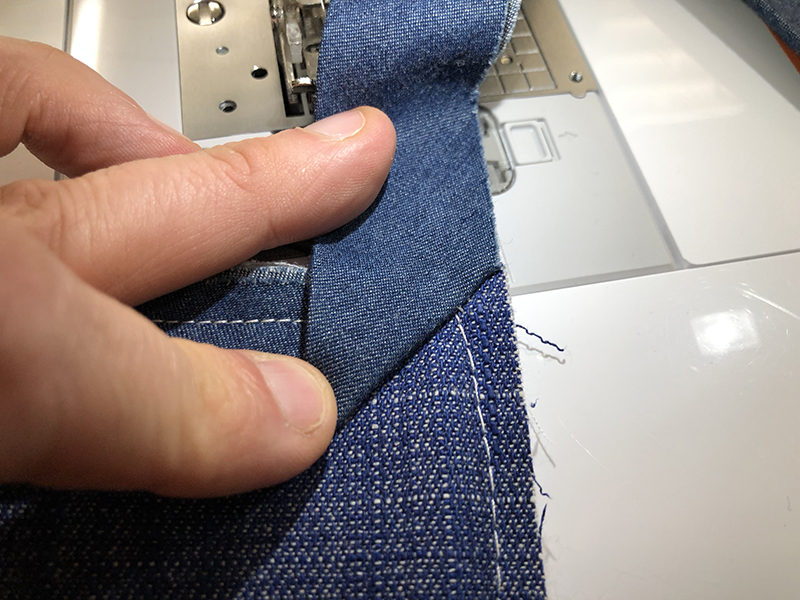
 Fold the binding strip over the diagonal stitch line. Fold the binding strip toward you with the fold lining up with the edge of the pillow. Begin stitching again down the length of that side using a 1/4” seam allowance. Repeat these steps for each side and corner until there is a length of a few inches left to sew.
Note: Now you need to join the two ends of the binding strip before the finish sewing it to the pillow back. You have the option to trim and sew this with a straight seam. A diagonal seam is a stronger seam for binding, which is shown in the following images and steps.
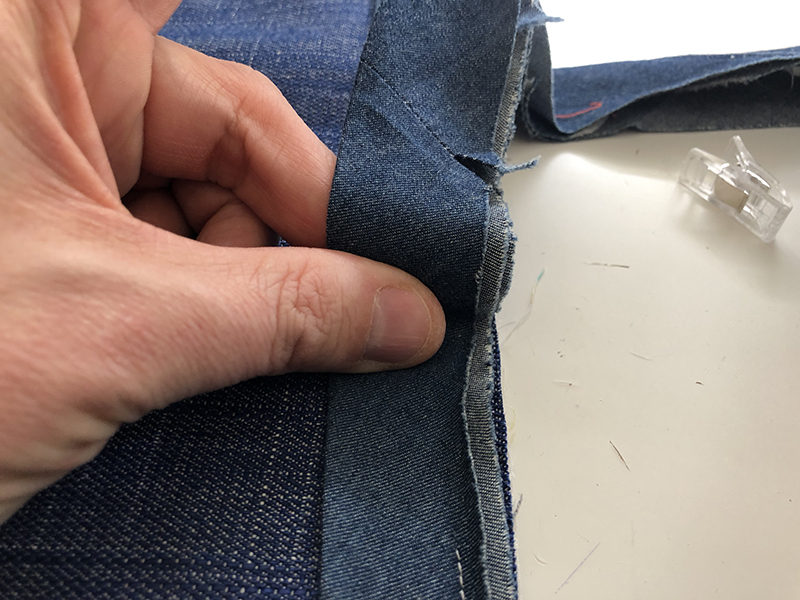
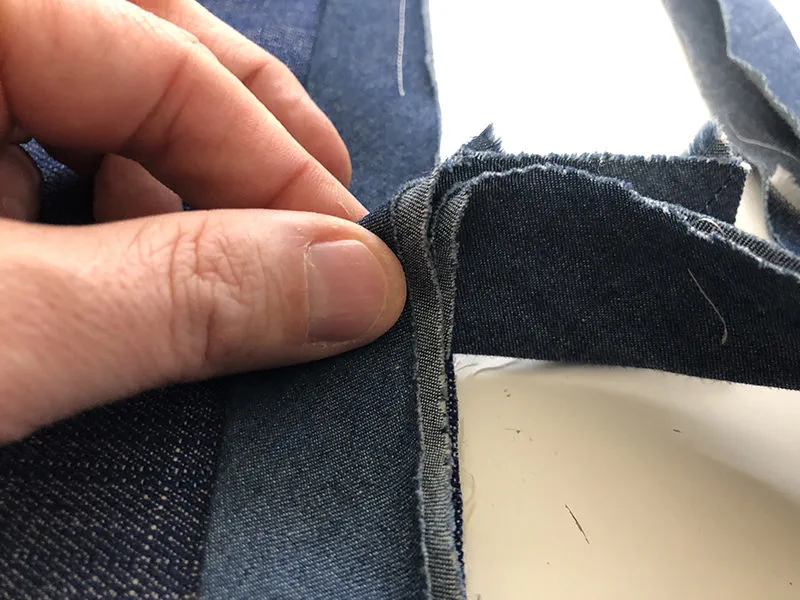

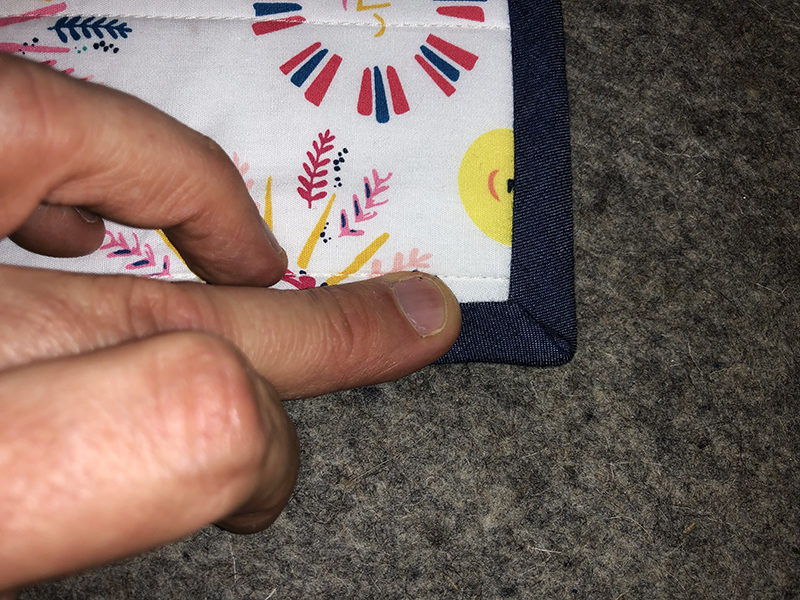
- Keeping the loose binding taut and even with the pillow back, pinch the excess ends with your fingers.
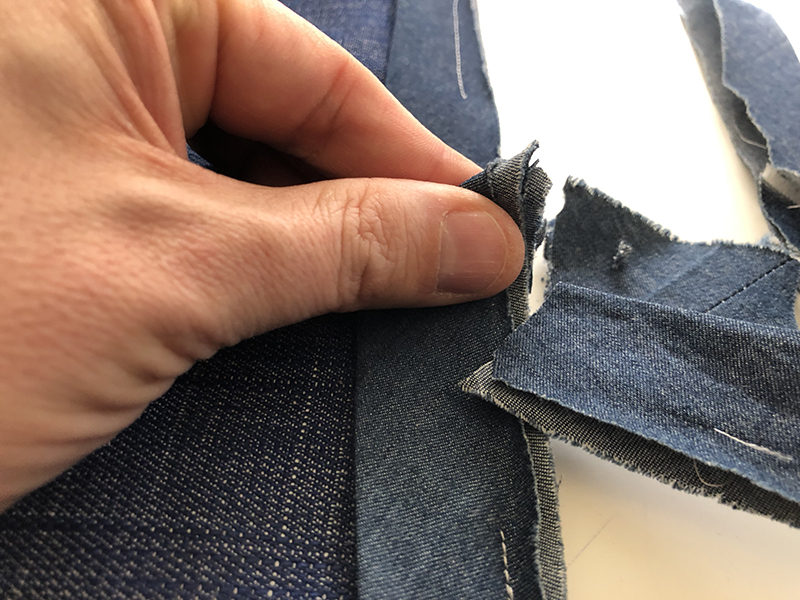
- Fold the excess on a diagonal.
- Trim the excess beyond the diagonal fold.
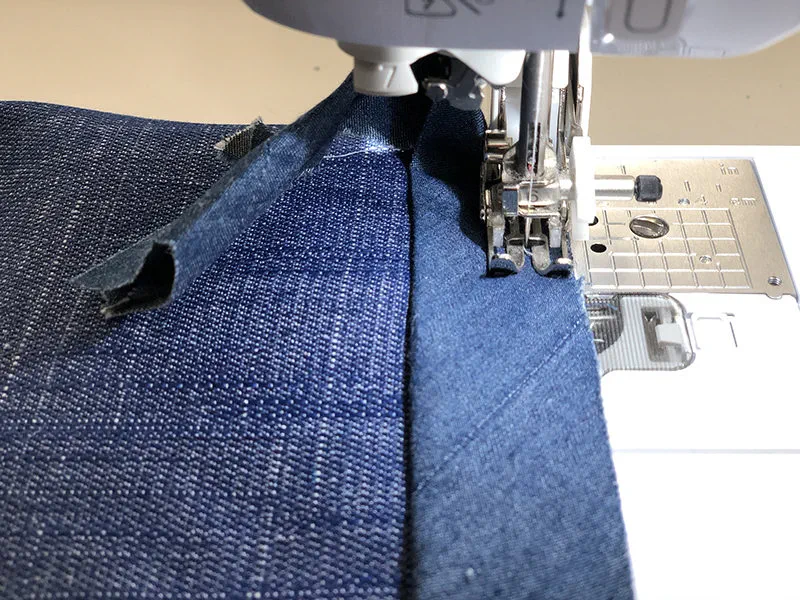
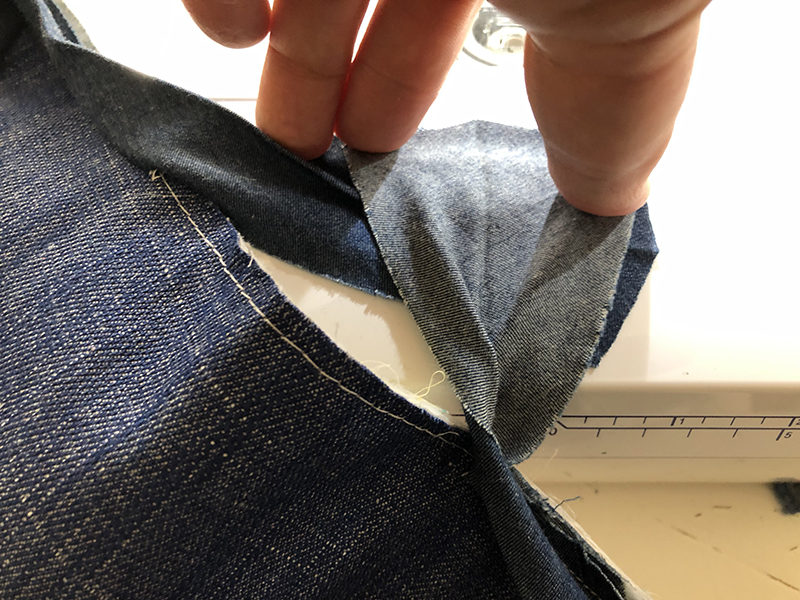
- Open up both ends of the binding and place on top of each other as shown in the image above.
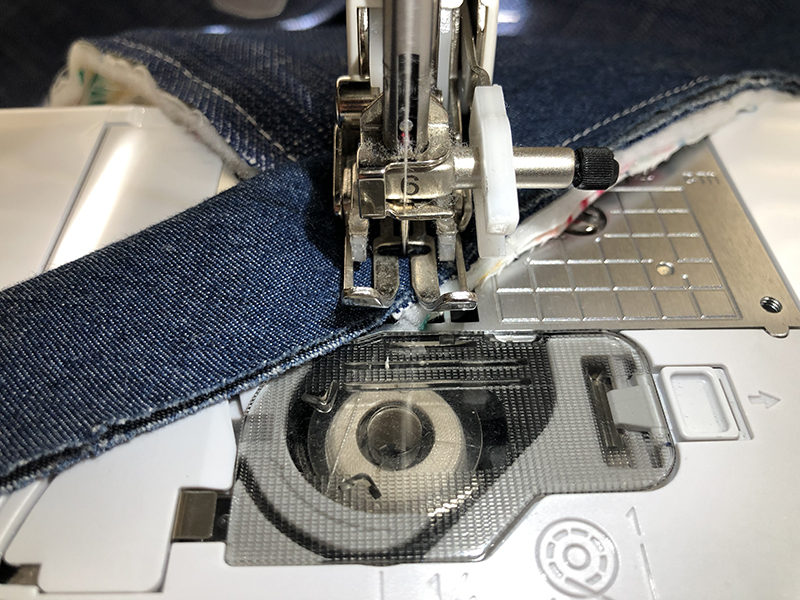
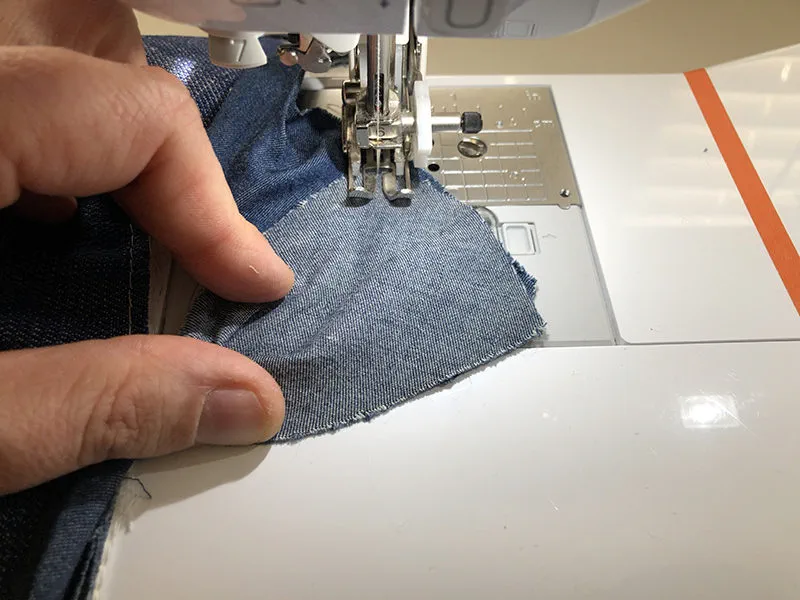
- Sew a diagonal from one corner of the square of overlapping fabric to the opposite corner.
- Trim the excess leaving 1/4” seam allowance.
- Finish sewing the binding to the pillow back, trimming any excess binding beyond the raw edge of the pillow back.
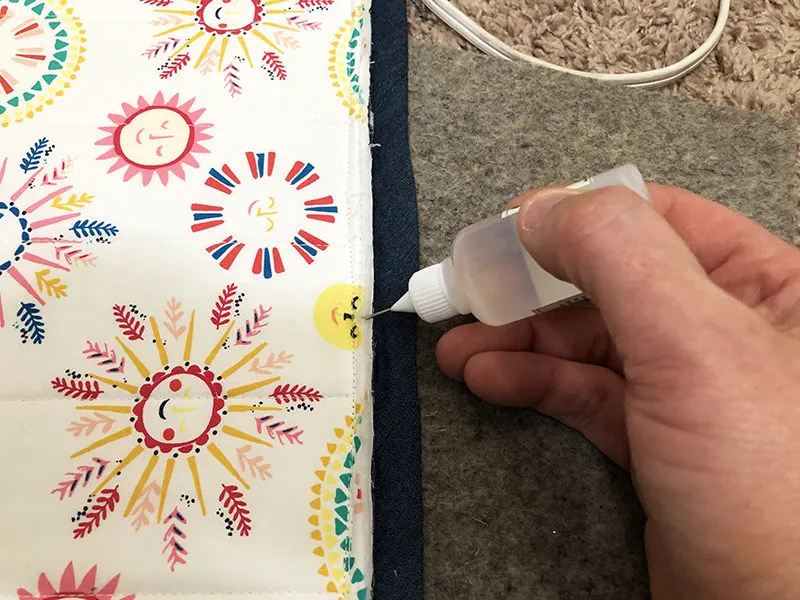
Note: Now you’ll need to fold the binding over onto the pillow front. You have the option to clip the binding in place before sewing. However, I prefer glue basting, which will be shown in the images and steps below.
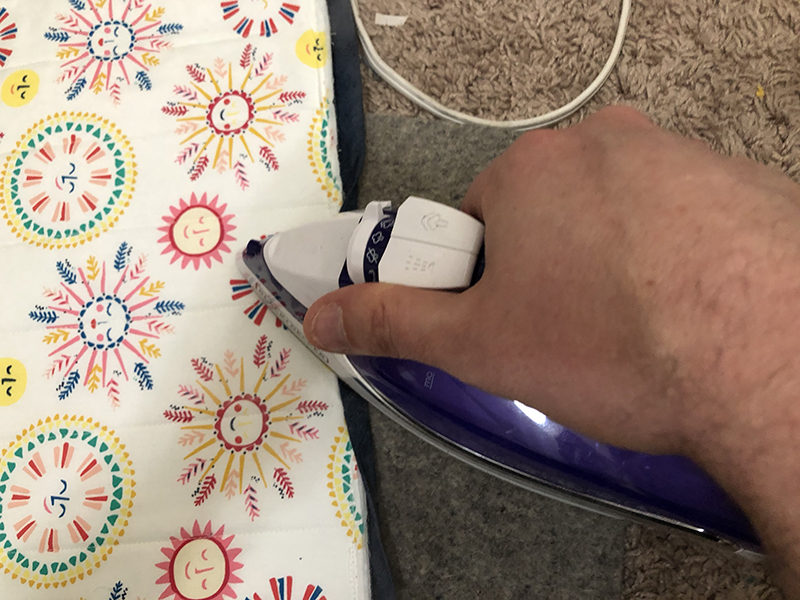
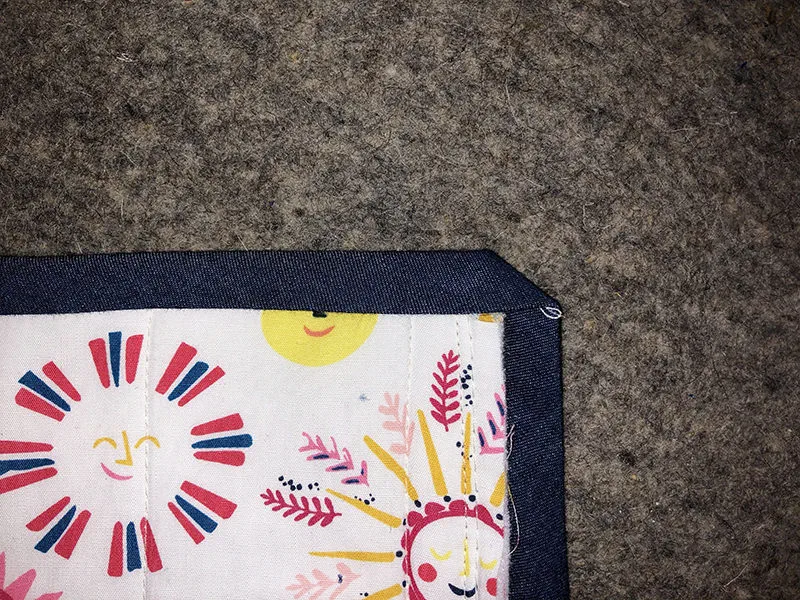
- Place dots of glue inside the seam allowance of the pillow front and heat set with an iron. Do this for one entire side creating a triangle fold on the corner.
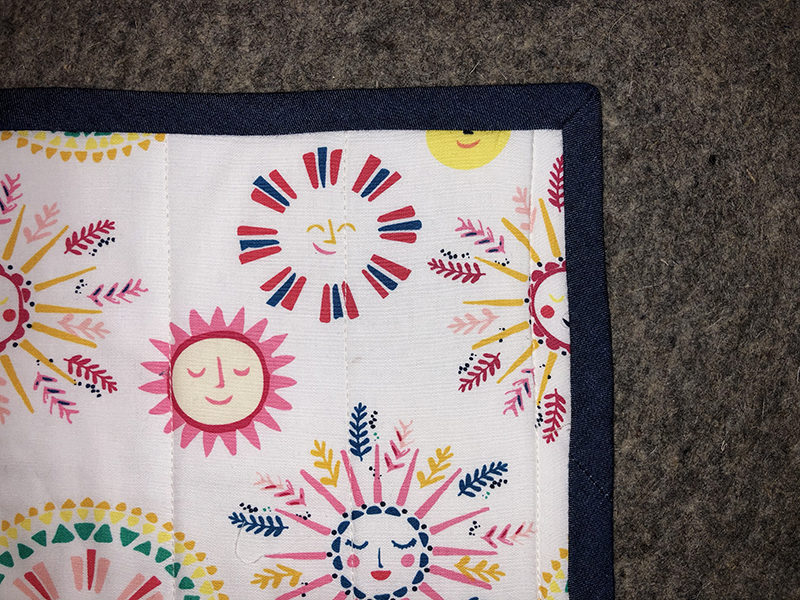
- Repeat the steps on all sides and corners, folding the triangle corner onto the adjacent binding to create a mitered look.
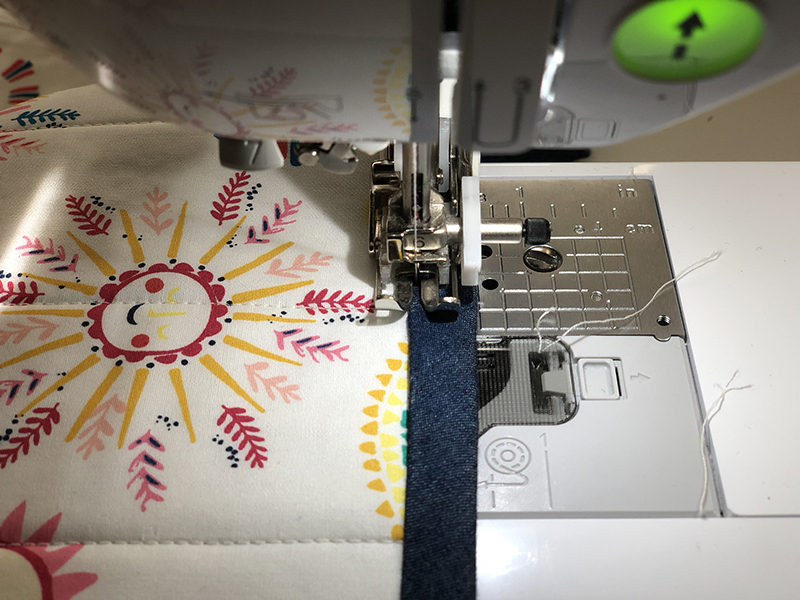
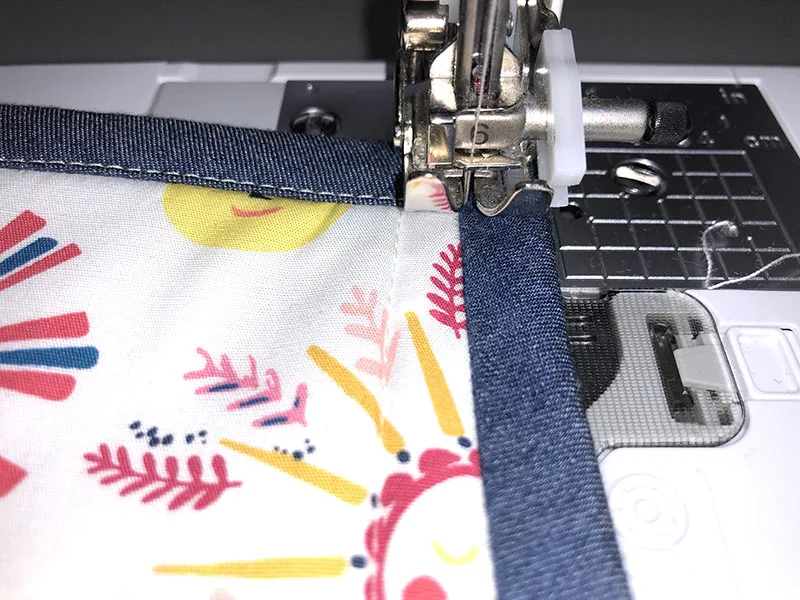
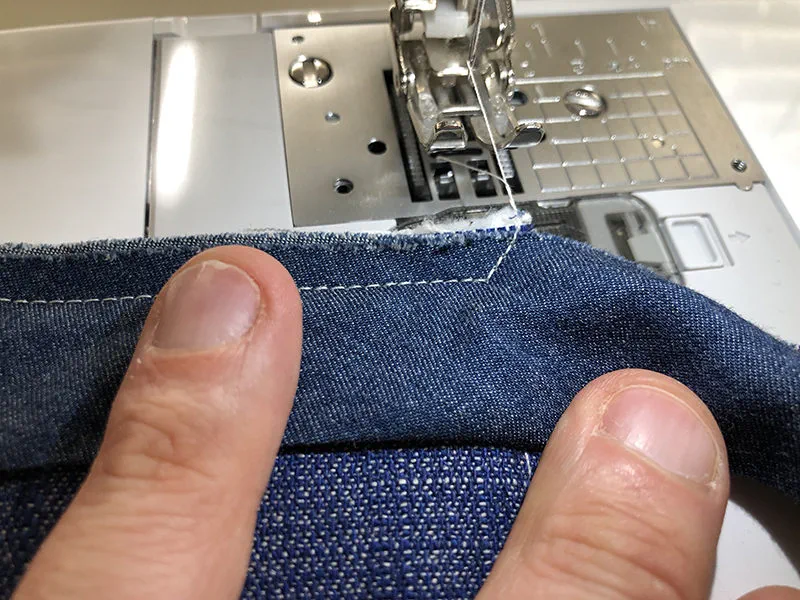
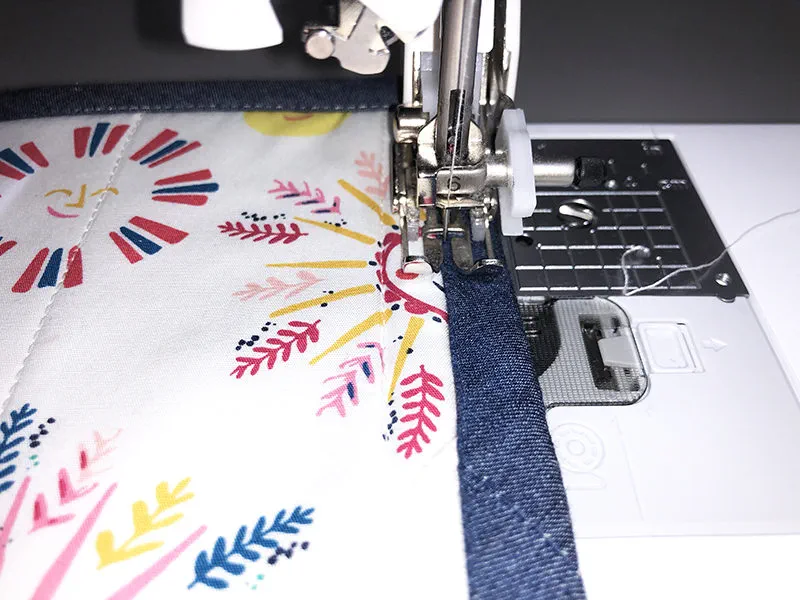 Using a 2.5-3mm stitch length, edge stitch the binding onto the pillow front. Once the needle catches the adjacent binding fabric, lift the foot with the needle down to pivot the next binding pass. Follow these steps until you have finished the binding.

Related Projects
Stay Connected
* Required fields