Unboxing THE Dream Machine 2
Have you recently purchased THE Dream Machine by Brother
and are amazed at the size of the box? What could possibly take up that huge box?!? The sewing machine of course, but it also includes a lot of fabulous sewing, embroidery, and quilting accessories. In the video below, I will walk you through unboxing THE Dream Machine
and getting things set up!
 Each part of THE Dream Machine
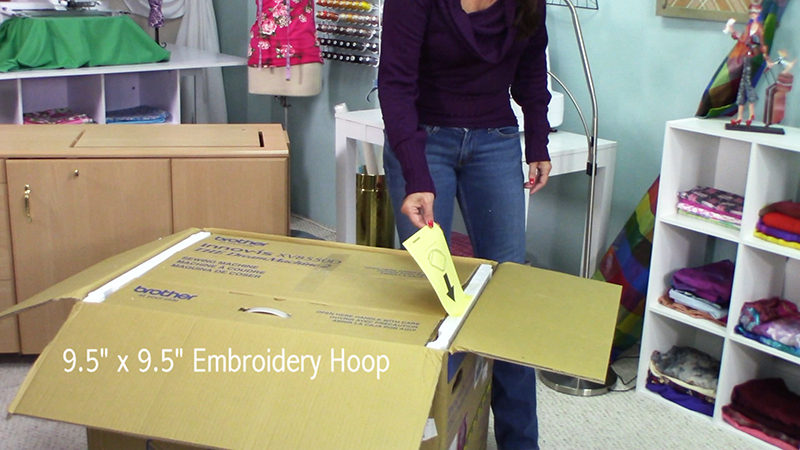
is packed with care, taped and secure in styrofoam. You will find a box with the embroidery attachment and 5 embroidery hoops; yes, that is 5 EMBROIDERY HOOPS 😊 The creative possibilities!!! There is even a piece of paper reminding you the 9.5” by 9.5” hoop is secured on the side.
 As you remove all the accessories, you will find the organizing box sewing machine feet and much more.

 I will show you how to put together the removable 2-spool thread stand.

 And the foot pedals require a few screws; you can even adjust the pedal width for your comfort. You can use the single foot pedal alone, but the second pedal can be programmed to cut the thread, lift or lower the needle, and more all with the touch of your foot. Now that is what I call hands free!
 I will show you places to store the accessories and how to attach and remove the embroidery attachment. Then plug the machine in, turn it on, and set up the language and clock for the first time. You are ready to sew, embroider, and quilt! The creative fun begins now 😊
 Cheers,
Angela
Cheers,
Angela

Watch the video here!
Related Projects
Stay Connected
* Required fields