Unboxing the Persona PRS100: Part 2
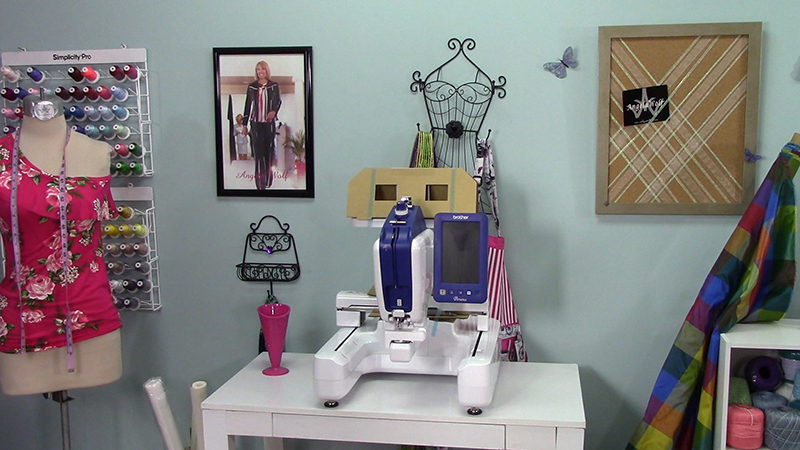
We have unboxed the Brother Persona PRS100 Embroidery Machine
and now it’s time to set up and thread machine and thread it. You can watch Part 1 of the unboxing here.
Note: It’s always good to read and follow all instructions included with the Persona before using.
Tip: This machine is very heavy, make sure two or more people lift the machine.
The nice part of this embroidery machine is that it really doesn’t take up a lot of room. Just make sure the table or counter that you plan on using as a base is sturdy. The machine is very heavy and when the embroidery starts, you don’t want a wobbly table! Click on the video below for a quick tutorial on setting up the machine, winding the bobbin, and installing the embroidery arm.
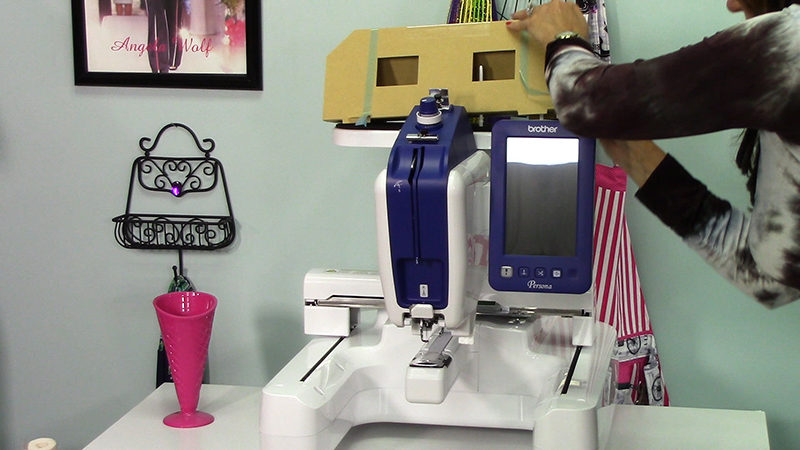
- Continue to remove packaging materials from the machine. The blue tape is easy to find, gently pull each away along with the foam or cardboard.
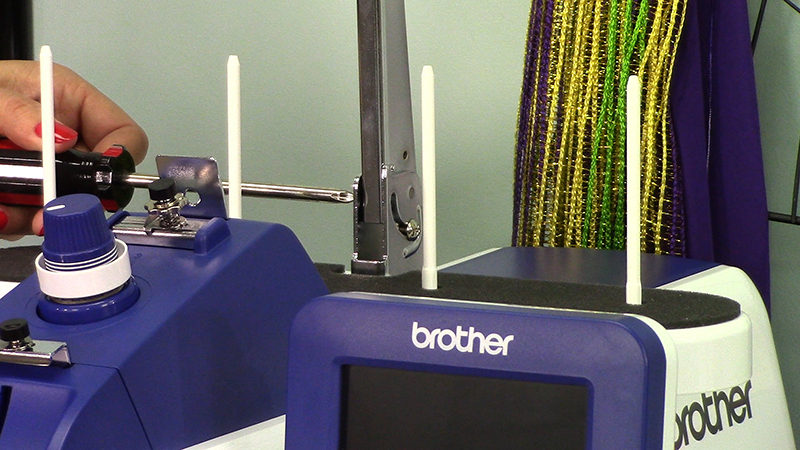
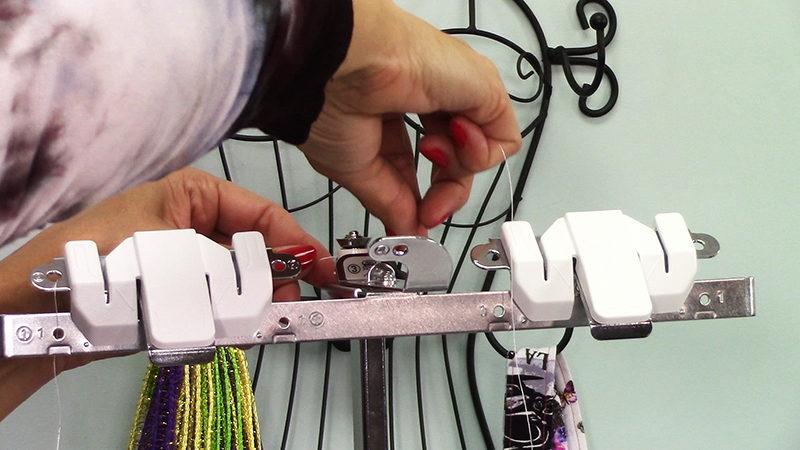
- Install the thread guide. You will find two screws to tighten after the guide is lifted in place.
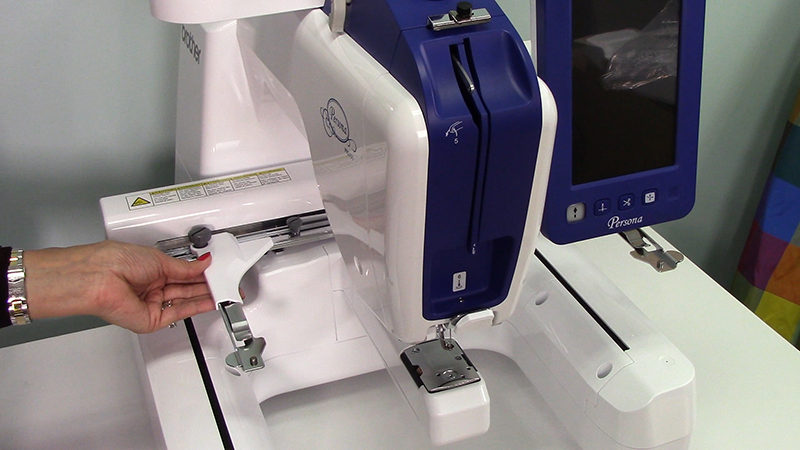
- Install the embroidery frame.
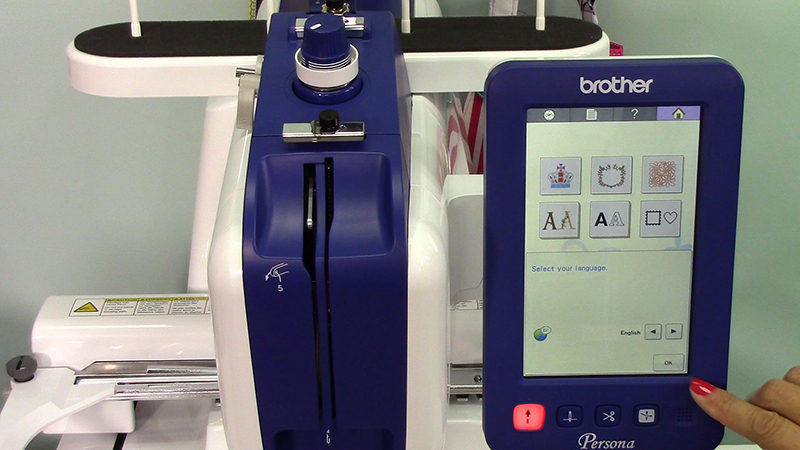
- Turn the machine on. Select your language and follow the screen instructions to set up the machine.
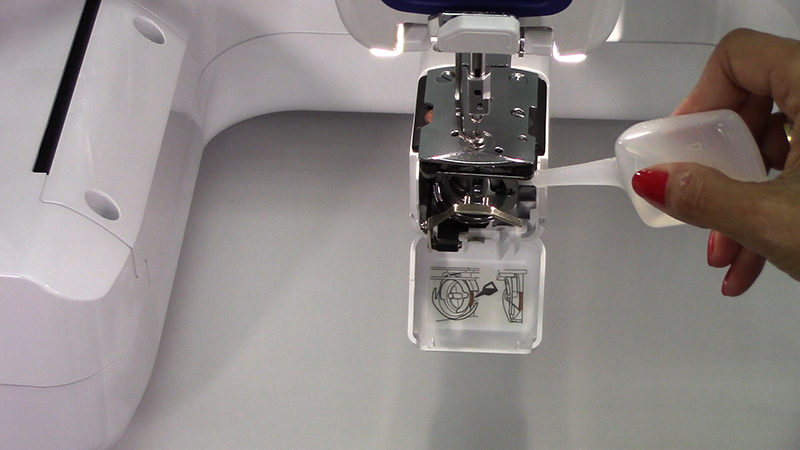
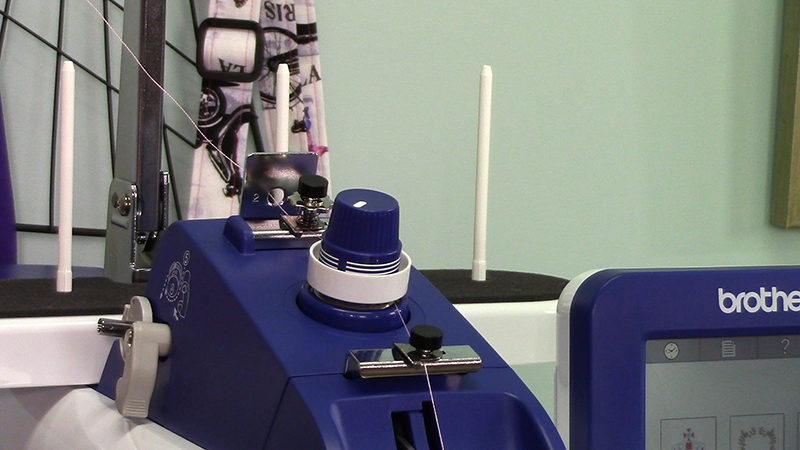
- Use the quick reference guide for details on winding the bobbin and installing the bobbin case. The video below walks you through this as well. Before you insert the bobbin case, put a drop of oil onto the hook. In order to maintain the machine, it is suggested to put a drop of oil onto the hook once a day before use.

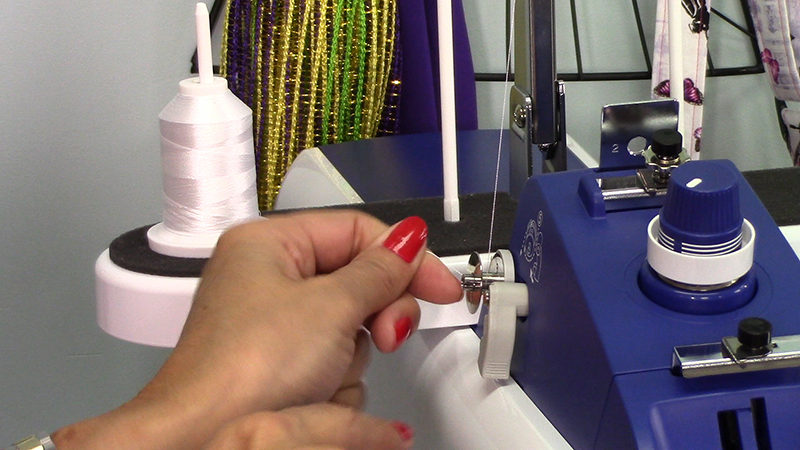
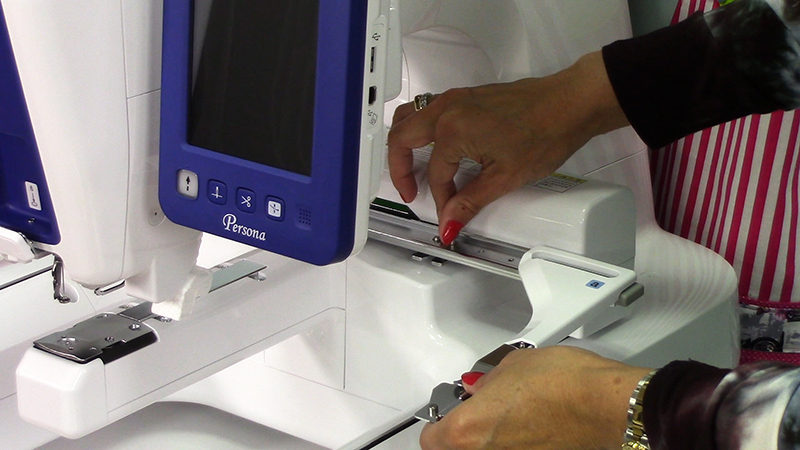
- Thread the machine.
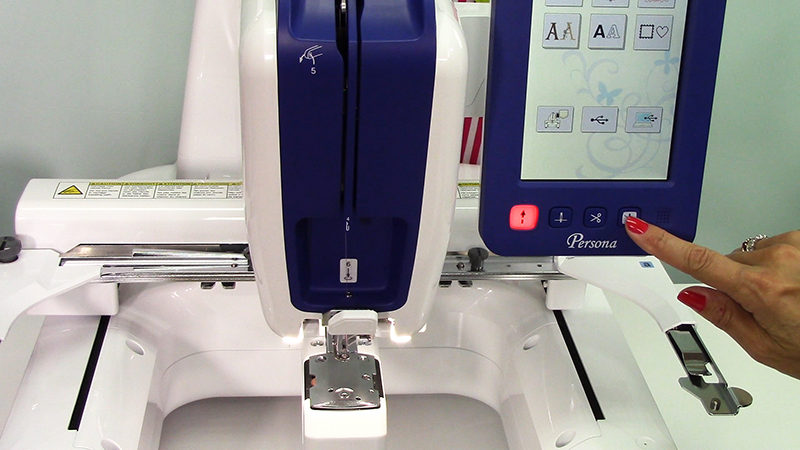
- And on of my favorite features is the automatic needle threader! Click the button, wrap the thread along the threader hook, and the needle is threaded!
 Watch the video here:
That’s it! You are ready to embroidery on the Brother Persona 😊
Cheers,
Angela
Watch the video here:
That’s it! You are ready to embroidery on the Brother Persona 😊
Cheers,
Angela

Related Projects
Stay Connected
* Required fields