How to Turn an Old Sweater into a New Scarf

Refashioning once-loved clothing is a popular trend these days. Not only are you being mindful of what is tossed out, but you are also getting creative, and it’s a great way to extend the life of a garment. In this project, we will repurpose sweaters into a fashionable and snuggly scarf.
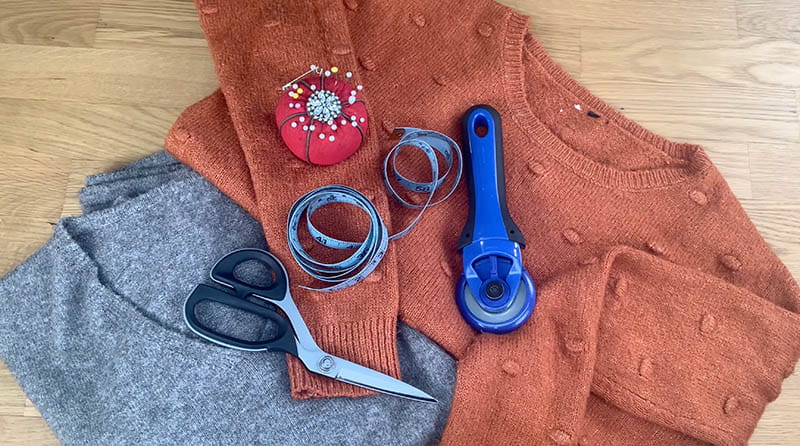
SUPPLIES:

- Brother sewing machine
- 2 once-loved sweaters
- Measuring tape
- Scissors
- Rotary cutter & straight edge
- Straight Pins


Choose sweaters that are no longer wanted or wearable. If your sweater has holes in the elbows, you can use the body of the sweater to make this scarf.
PREP:
Start by deconstructing your sweater. First, cut off the arms at the shoulder seams,


Set the sleeves aside and measure the front and back pieces of the sweater.

Measure the width and length of both pieces of the sweaters.

You will need to create two pieces for the scarf: a front side and a back side. One side will be made of a mix of both sweaters; the other side will be made from one sweater.
You can choose to use a plain color sweater for one side


The scarf sizing can be as long and wide as you would like, today we are making the scarf to be finished at 70” x 6”. You can alter the length and width to fit your needs at this step.
The backside of the scarf made of the plain sweater needs to have sections cut to equal 70”. To do this, cut 4 or more pieces that equal 71 inches from the plain sweater. Here we are using two 21.5” sections and two 14.5” pieces and all are 6.5” wide.

The frontside of the scarf will be made of (13) 6” x 6.5” pieces. These pieces will alternate between the plain sweater fabric and the textured sweater fabric.

Cut 6 squares of the plain sweater, and 7 squares of the colored/textured sweater.

Style note, with 13 pieces, the ends of the scarf will be the colored/textured sweater fabric.
Use a rotary cutter and straight edge to cut the sweater pieces.


SEW:
For the back section: Lay the plain sweater back panel pieces together with the right sides facing each other. Sew the long panel pieces together on the short edge.

Top tip: increase the stitch length to 4.0 when sewing stretchy sweater material.

For the front section: Piece together the 6” x 6.5” sections for the front of the scarf alternating the plain sweater material with the colored/textured sweater material with the right sides together.

You should have two long panels of sweater fabric complete. Lay them right sides, facing each other and pin in place.

Sew the long sides together

Clip the corners

To finish, fold in the raw edge at the small opening on the end, pin it together and hand-stitch it closed with coordinating thread.

Lay the scarf flat to smooth out each section.
And your project is complete. A warm and cozy scarf, perfect for those chilly days! Plus, you’re repurposing old sweaters and giving them a new life!

With a little inspiration and some imagination, you can upcycle old garments when you use your Brother sewing machine.


