Video Sew A Long: Canvas Tote Bag: Part 5: Lining
Video Sew-A-Long: Canvas Tote Bag: Part 5: Lining
Machine:
- Angela uses the ST371HD Strong & Tough Sewing Machine
to construct her bag.
Feet used in this Sew-A-Long:
- Plastic Non-stick foot, basic Zig Zag foot for straight stitching.
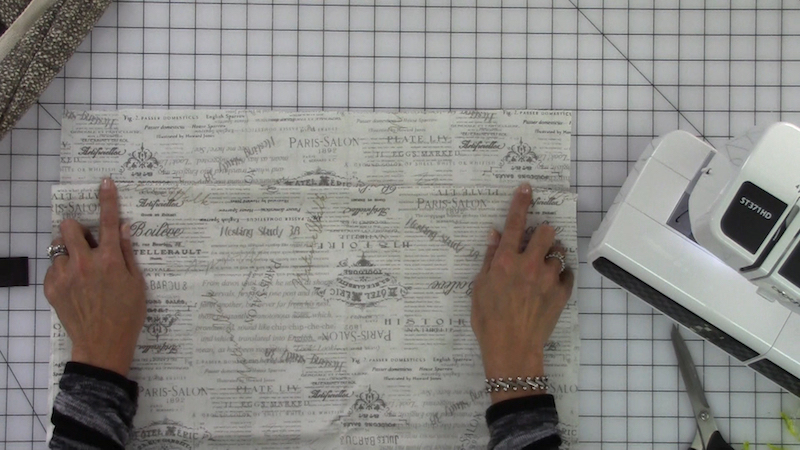
Cut Pockets
- 24” Long BY 20” Wide
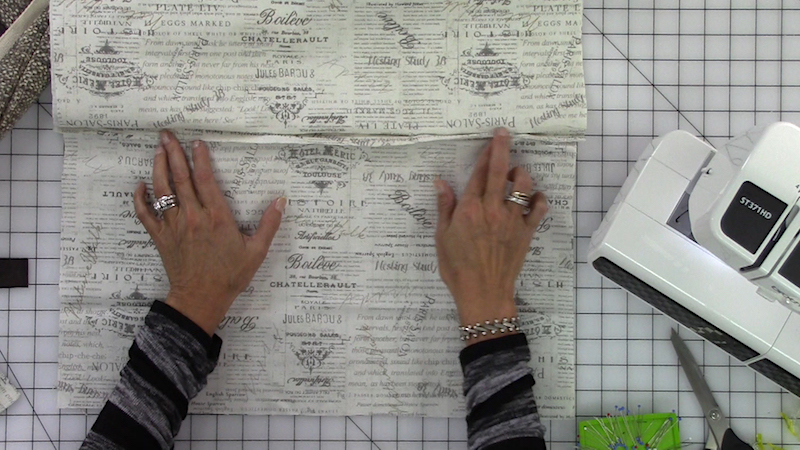
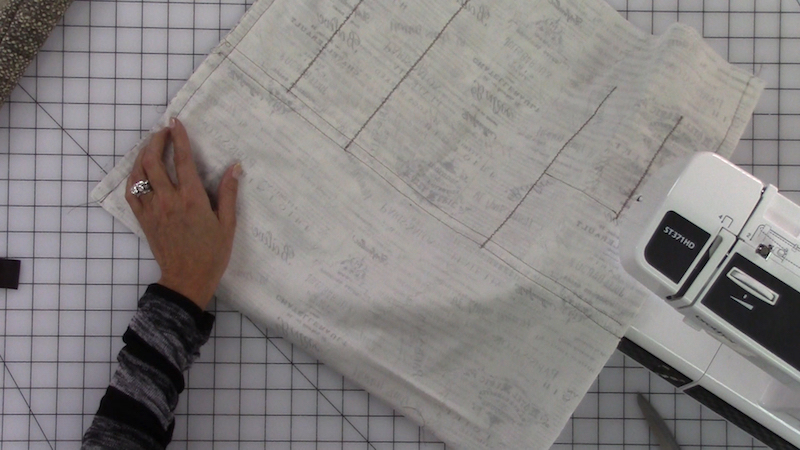
 Fold the pocket fabric in half, creating a 12” by 20” piece, press. (refer to the PDF file for details) With right sides facing up, align the folded edge of the pocket 3” from the top of the bag.
 Tuck under the raw edges of the bottom of the pocket ¾” and pin the pocket to the large lining fabric.
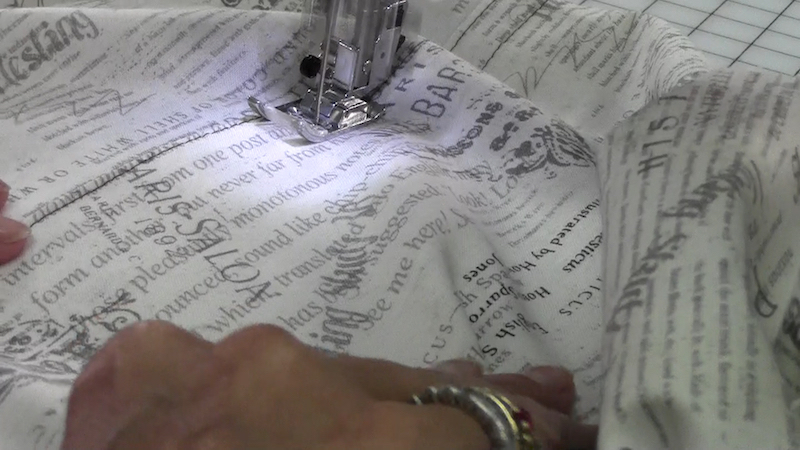
 Stitch along the folded edge, attaching the bottom of the pocket to the lining.
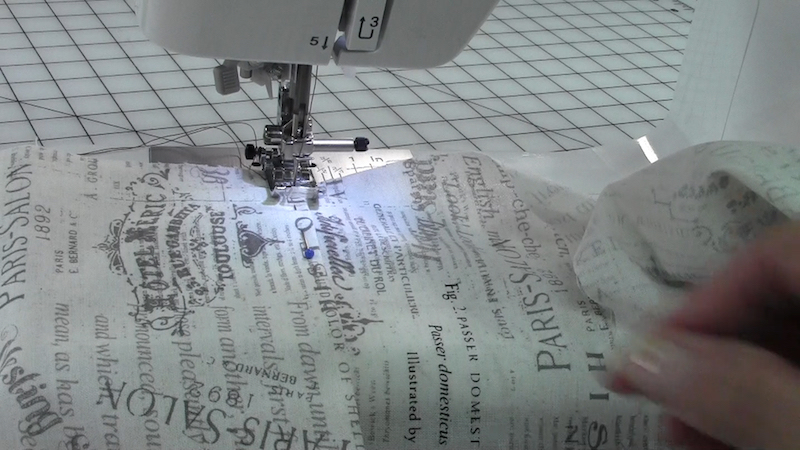 Trim the seam allowance. Fold the pocket back over the seam allowance and stitch a second row of stitching about 1” away from the first row of stitching (enclosing the raw seam edge).
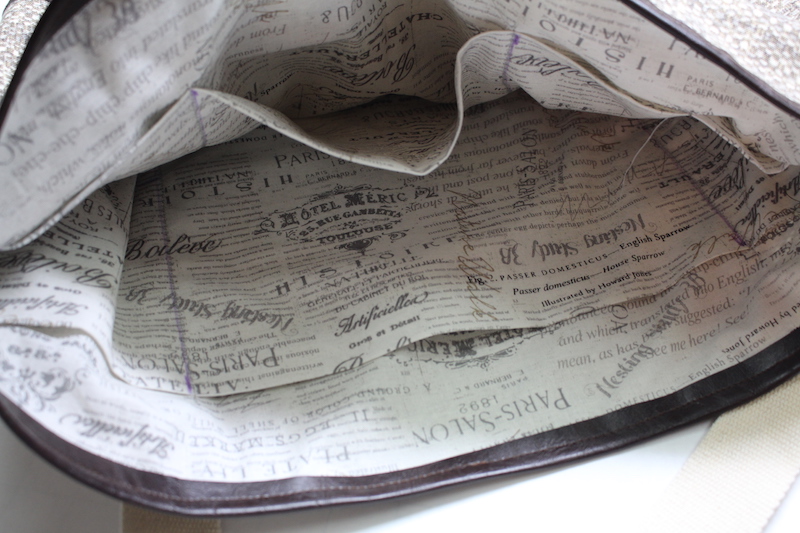
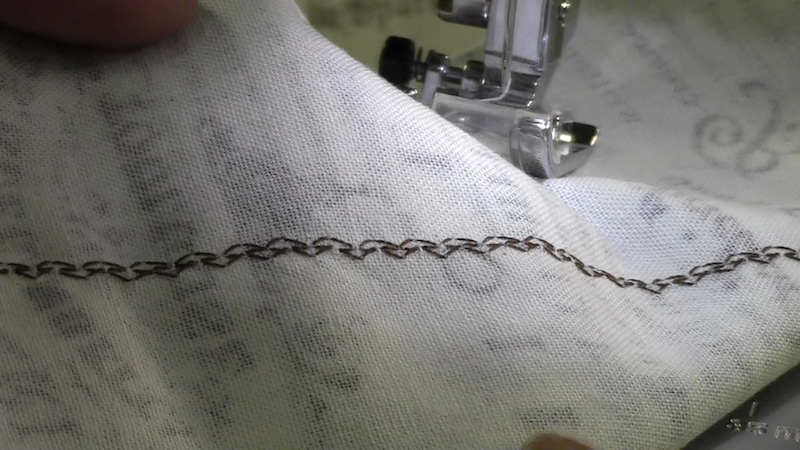
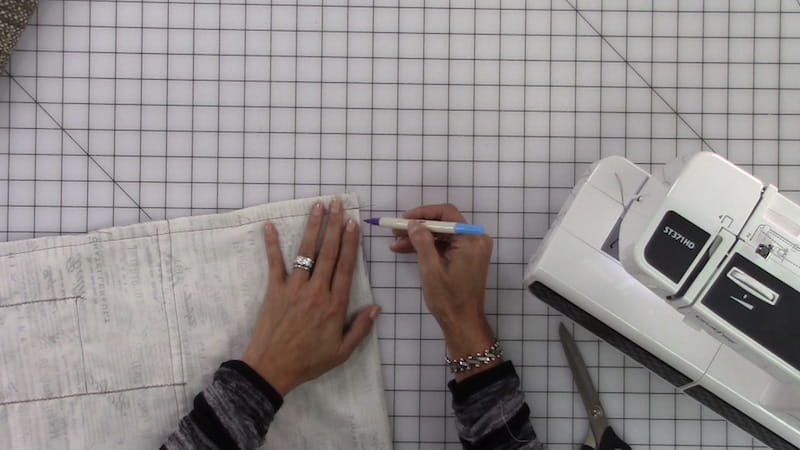
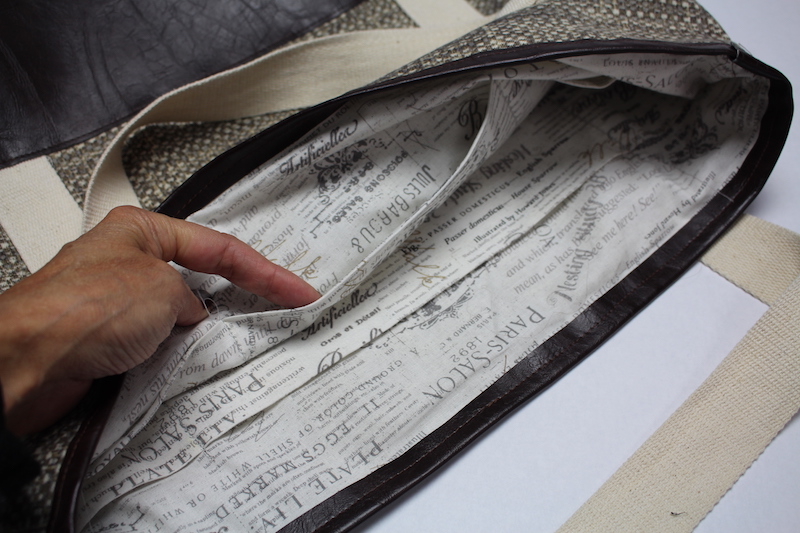
 Decide how wide you want each pocket opening. Using a fabric marking pen, mark a line perpendicular to the top of the bag, creating a pocket. Photo 400(3) and
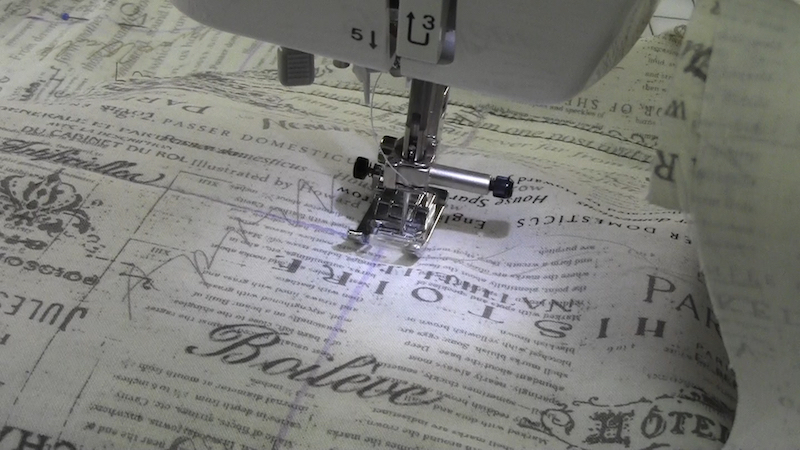
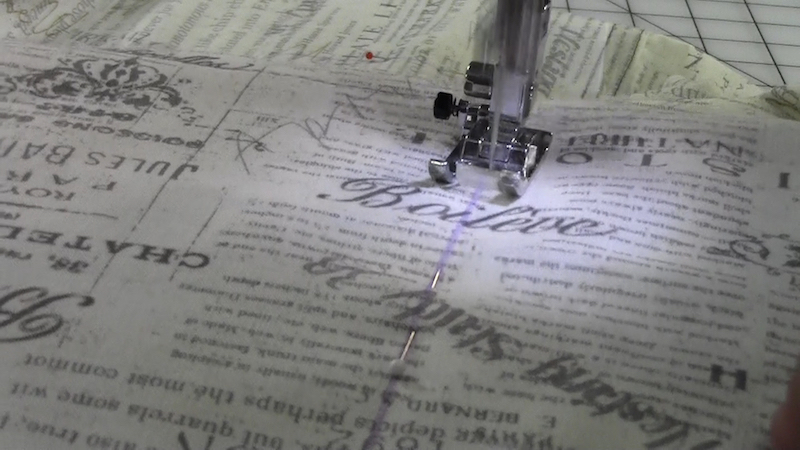
 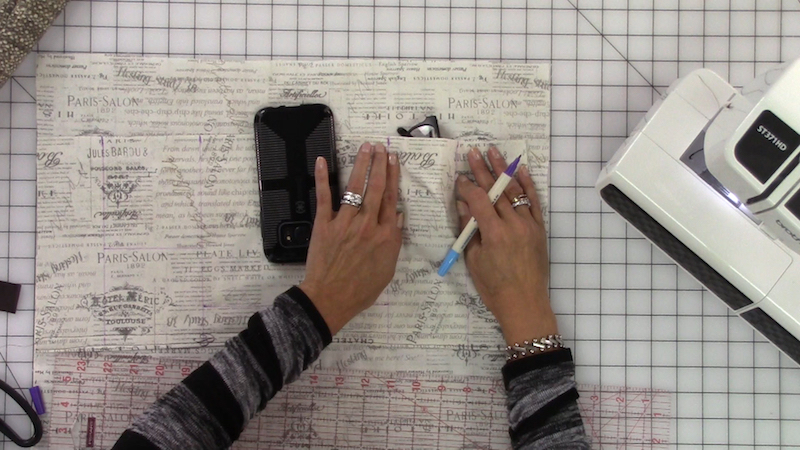 You might want to choose a decorative stitch for this part ?? Stitch along each line.
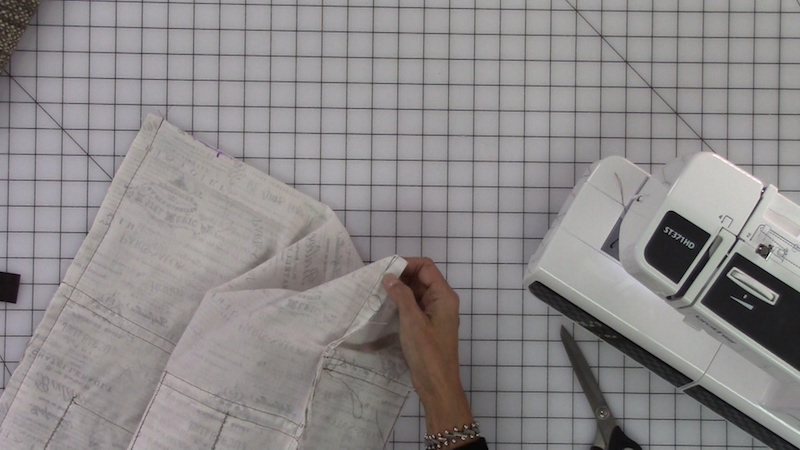
 Follow the above steps for the other inside pocket. After all the inside pockets are finished, fold the lining with right sides together and stitch down each side.
 Box the bottom corners exactly the same way we sewed the outside bag in lesson 4.
Watch this week's Sew-A-Long Video for the full tutorial:
What's the schedule?
July 7: Part 1: Supplies and MaterialsJuly 14: Part 2: Constructing the Outside Pocket
July 21: Part 3: Straps & Faux Leather Base
July 28: Part 4: Sewing the Bag
August 4: Part 5: The Lining August 11: Part 6: The Final Trim In part 6 of the Canvas Tote Bag Video Sew-A-Long we will but everything together and add the final trim. Leave comments below and let me know how your bag is coming along and don’t forget to share your photo’s on social media with #AngelaWolf #BrotherSews – I always enjoy seeing your progress! Cheers, Angela

Related Projects
Stay Connected
* Required fields
Follow Us
- Product Support
- Product Support Assistant
- Terms of Sale
- Product-Registration
- Search Supplies/Accessories
- Ordering & Shipping Information
- Ordering & Account FAQs
- View Order Status
- Warranty & Extended Warranty Information
- Recall Information
- Return Policy
- Security Support Information(Opens in a new tab)
- Contact Brother
