What the Book Doesn't Tell You: Dream Fabric Frame

What the Book Doesn't Tell You: The Dream Fabric Frame
It seems like only yesterday, but I've been working with The Dream Fabric Frame(Opens in a new tab)and my DreamCreator™ Innov-ís VQ2400(Opens in a new tab)
for a year now! They've become my friends, and I've learned a few things along the way that you may find helpful, too. They aren't in the official manual, so maybe I should call this off-road quilting.
- Get a big package of long, sturdy pins. You'll use them for basting the layers of your quilt sandwich to the cloth leader and maybe to each other. I like the ones with large, round heads, but there are flat heads available, too.
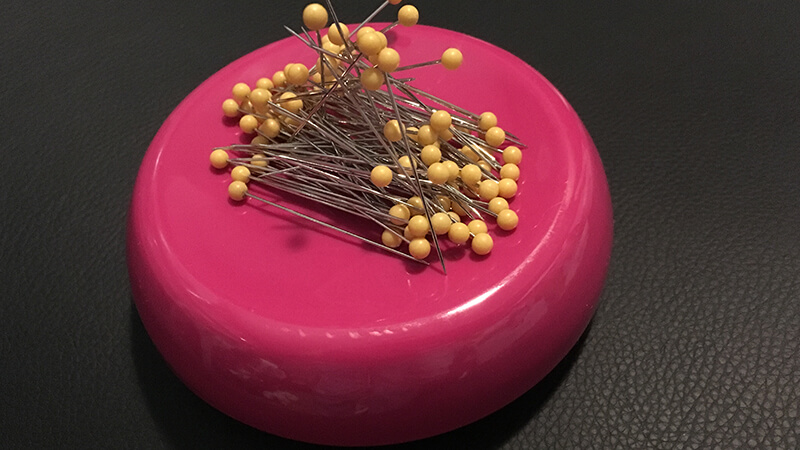
- Use a magnetic pincushion to store your pins. I'm always in a hurry – "let's get this pinned so I can start the fun stuff" or "how fast can I unpin this so I can see what it looks like?!?" – and with a magnetic cushion I can basically just toss my pins in its general direction and they're snagged.

- Another benefit to a magnetic pincushion: if when you drop pins on the floor, a quick sweep with the magnet makes them jump right onto the cushion. Easy-peasy.
- Mark the center of your cloth leader with a permanent marker. I use a big, bold arrow. You'll know where to match up the center of your quilt without having to measure every time.

- Find the true center of your Dream Fabric Frame workspace. Slide the machine all the way to the left and note how far the needle is from the side of the frame. Slide the machine all the way to the right and measure there, too. In my setup, the measurements are different, so the true center of my workspace is not at the center of the frame. I seem to quilt a lot of 42"-wide projects – just about the full width of the frame – and knowing where to center them to maximize my workspace is a real plus.
- When you use pins to attach the quilt layers to a header, "sew" each pin through the cloth. Pierce into the cloth and rock the pin back to the top, catching the layers you're joining. Do that twice with each pin (this is why I like long pins) and space the pins close together; you'll find it holds as well as a basting stitch.

- When I'm working on a small project – one that fits the width of the Dream Fabric Frame – I often pin my quilt backing to the cloth leader and then use the machine to baste the batting and quilt top to the framed backing. Here's how:
- Pin the backing to the cloth leader and mount it in the Frame.

- Smooth the batting into place on the backing, with the batting's edge about 1/2" below the row of pins. Use the machine to stitch the batting to the backing, sewing straight across from left to right.

- Arrange the quilt top on the batting; make sure it's straight. The edge of the quilt top should lie along the basting stitches you made through the batting. Use the machine to baste the quilt top about 1/8" from its edge, keeping the edge straight. A handy tip: I use the inside of my quilting foot's back leg as a guide, running it along the edge of the quilt top.

- Remove the front and side clamps, smooth the batting and quilt top into place, and clamp all of the layers to the Frame. You're ready to quilt.

I'll leave you with a thought about a final check to make before you start to stitch. Take a look at your setup from underneath! It only takes a second and it's a good way to be sure you haven’t caught a pleat or pucker in the backing fabric.

And if you won't ask me how I discovered that one, we won't discuss the stash of chocolate you're hiding in that drawer. ;)


