How to Sew a Custom Towel Wrap
-Brother Sews Blogger
Create a functional towel that stays put when you wrap it around your body.

We’ve all been there: when you get out of the shower and you want to jump right into doing your hair and makeup, you wrap the towel around you and it keeps falling. You continuously have to readjust -it’s so frustrating! Or what about when you are leaving the pool and you want to wrap a towel around you to get dry, but you have to juggle your towel falling off as well as your kids, bags, and toys. It’s all too much!
Luckily, I have the solution with this beachy quick tip. I saw this towel at my local retail store and I thought, why not make it with one of the towels I currently own? It’s an easy project with a quick turnaround.
If you are a beginner, there are a few techniques you can pick up from this simple project. These techniques can be learned and used in garment, bag, or accessory making, so learning them is so beneficial when building upon your sewing skills. If you are a visual learner, visit my Instagram page, @tabithasewer to watch as I sew this project.
SUPPLIES & TOOLS

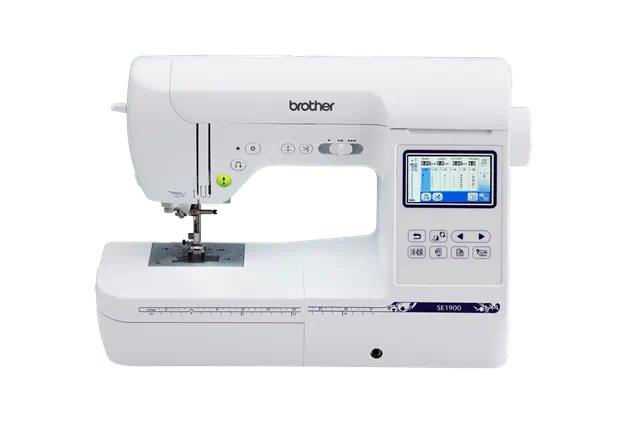
-Brother Sewing Machine
-Matching Thread & Bobbin
-Bath Towel 30 in. x 54 in. (Note: Make sure it’s not too thick and is able to fully wrap around your body comfortably)
-¾ in. wide Velcro
-1” wide no-roll elastic
-Scissors
-Measuring Tape
-Bodkin (or safety pin. This option is more difficult)
-Fabric clips or Sewing Pins
INSTRUCTIONS
1. To start, we’ll need to cut the pieces we’ll need for this project.
a. Elastic: 16 in
b. Velcro: 7 in.
2. Let’s create a casing for the elastic. Fold over top edge of towel 2”. As you are folding along the top edge, use the measuring tape to ensure that you are folding over exactly 2”. Also, don’t forget to use fabric clips to hold the fold in place. Sew as close to the bottom edge as possible.


3. Create a mark at 7 inches from the edge of your towel. Repeat on opposite end,
4. Attach a safety pin or bodkin to the end of the elastic and push it through the casing in your towel. [Note: I highly recommend using a bodkin. It’ll make it so much easier when you have to remove the bodkin from inside the casing.] When the end of your elastic (without safety pin) matches with the marking you created earlier on your towel, secure it in place with a pin. I like to double pin it to ensure that it doesn’t move.

5. Continue to push the elastic through the casing until it matches the opposite end. Secure in place with pin. Double pin it to ensure that it doesn’t move.


6. Remove the bodkin or safety pin from the casing. [Note: If you used a safety pin, it’ll be difficult to remove the elastic within the casing]
7. Take your towel to your Brother sewing machine and sew the ends of your elastic in place within the casing. Be sure to go over the ends of your elastic multiple times to ensure it doesn't snap out of place within the casing.

8. The hardest part is over! Let’s add the Velcro. Attach the female side of the Velcro to the outside (aka the right side) end of the towel. Sew in place by sewing around the perimeter of the Velcro.
9. Place the male side of the Velcro to the inside (aka the wrong side) end of the towel. Sew in place by sewing around the perimeter of the Velcro.
10. That’s it! Test it out! Wrap it around your body and attach using the Velcro. Dance around your house and ta-da! Just like that, the towel magically stays up on your body while you go about your business!


