Your session has timed out. Please log in again
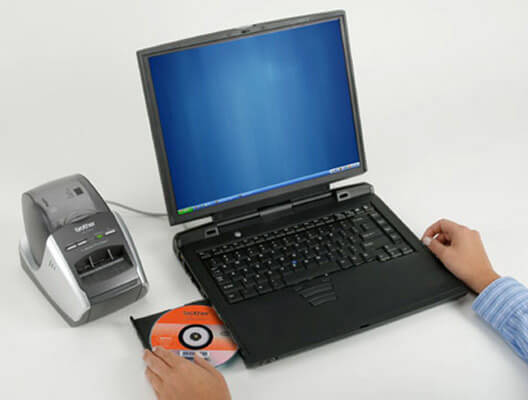
Easy-to-install software
Brother Label Printers come with easy-to-install label creation software and printer drivers included in the box. Software versions may vary by machine.
This software guides users through every step of the easy installation process. Simply place the Installation CD into your PC and follow the user prompts.
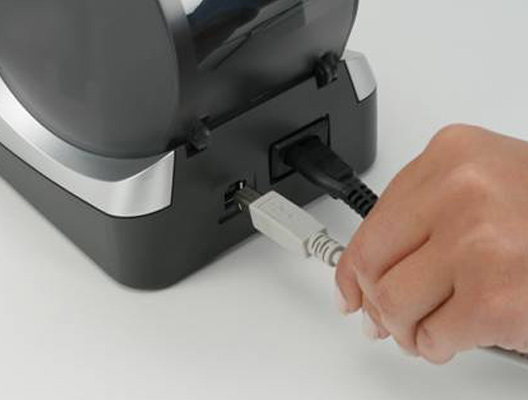
Connecting the Brother Label Printer to your PC
When requested, use the USB cable and power cord included in the box to connect the Brother Label Printer and turn on the machine. Follow the remaining prompts to finish the installation process. It's that easy!
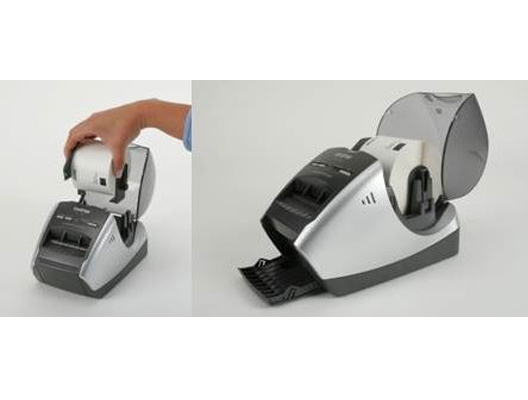
Loading label and tape rolls into the machine
After you have installed the Brother Label Printer, turned it on, and connected it to your computer, the next step is to load a tape roll into the machine.
All machines come with starter rolls of labels. Starter roll types included in the box will vary by model purchased. Additional rolls are available by separate purchase.
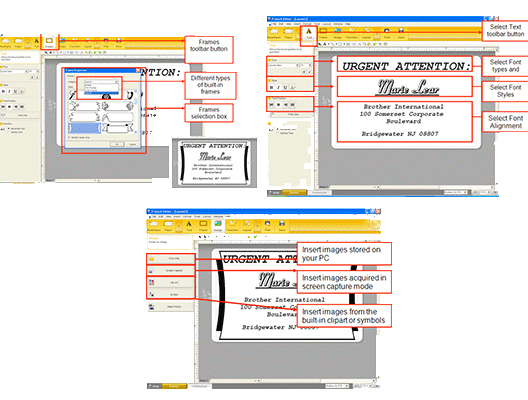
Use a variety of font types, sizes, images, and effects to create labels
Easily change text by clicking on the text toolbar button. True type fonts stored on your PC can be accessed to create your label. Easily change the font size, style and alignment to customize your label.[1]
You can easily create labels using the wide variety of built-in frame designs, further customizing your label. You can even drop-in images stored on your PC, acquired via screen capture, or from included clipart symbols.
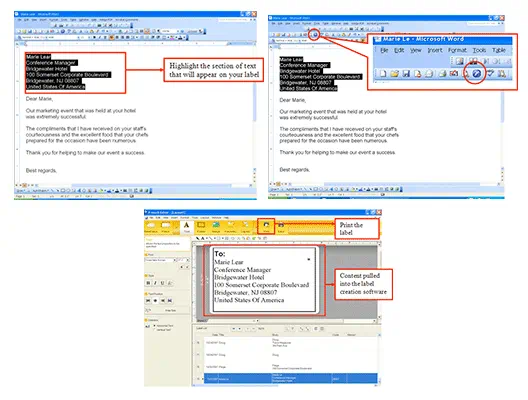
It's simple to create labels using information already stored or created in popular applications like Microsoft Word, Excel, or Outlook.[1] It's as easy as: