20
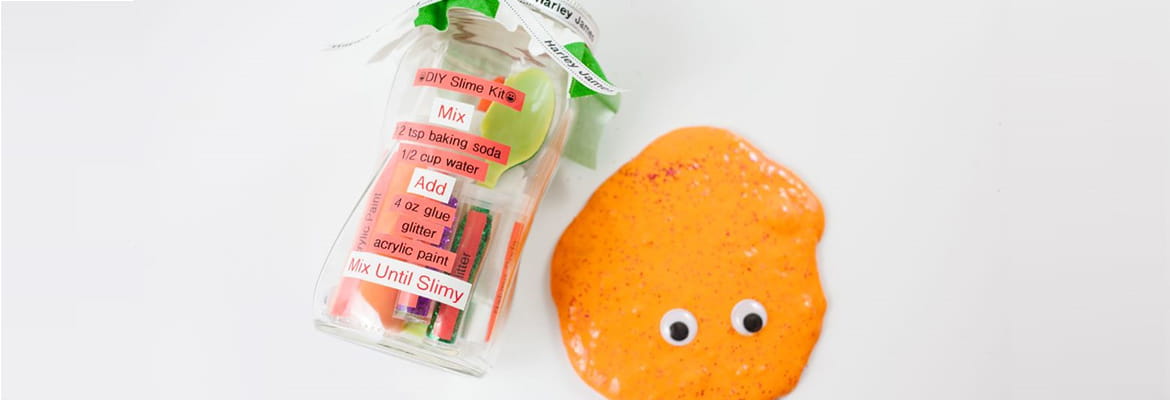
Slime kit jar made with P-touch embellish and orange slime and googly eyes to the right on a blank background

DIY Slime Jar Kit

A fun craft for the whole family to bring on your next trip or gift to your friends. Ooey gooey slime that is a fun science project all while keep your kids entertained.

Level of Difficulty: Medium
Time to Complete Project: Under 1 hour
  • Supplies
  • Tips & Tricks

Supplies

P-touch Embellish Tips & Tricks:

  • To reduce waste on the end of your label tape choose Menu → Scroll to Margin → Scroll to Narrow and hit OK.
  • Always clear your machine before you start a new project or it will use the setting that you set with your last one.
  • Make the project personal and scroll through your P-touch Embellish machine until you find the perfect Font, Frame, Pattern or Symbols you would like to use.
  • All of the symbols and frames are shown in the included product guide.
  • Special Characters: hold down "Shift" key and select the keyboard numbers for a special character to appear in the field.


Directions

Step 1 Labels created on P-touch Embellish label maker

Step 1

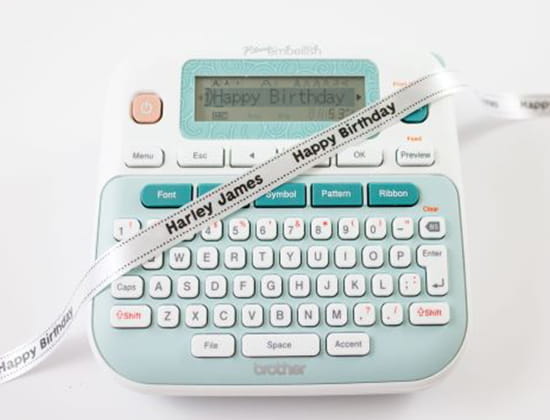
Insert the Black on white satin ribbon into your P-touch Embellish 
  • Use the Pattern button and then scroll to Continuous and hit OK. This is repeating text with a continuous frame. Choose any frame you like, we went with #5 and hit OK
  • Input you message, hit OK and then choose your length. It will vary depending on the size of your jar lid, if it is a standard size, we say 13-15” should be safe. After you have input your number hit OK and then once more to print. 
  • Cut from your machine and set aside.
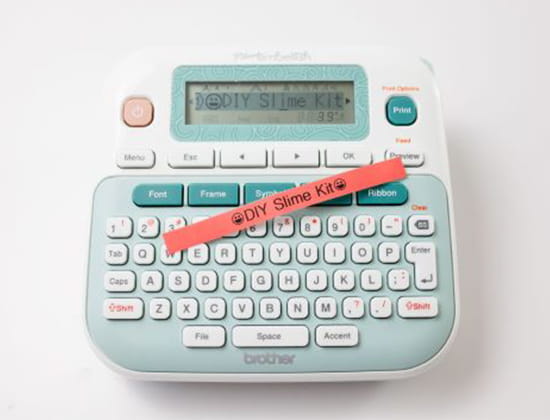
Step 2 Red tape with black ink on P-touch Embellish label maker

Step 2

Next, we will print the ingredients and instructions on the label tapes. You can choose what colors you want to use.

Black on Red label tape
  • DIY Slime Kit (for the emojis choose the symbol button, Pictograph and OK, Emojis and OK and you will see the smiley faces but feel free to add any emojis you would like)
  • ½ tsp baking soda (for the slash hold shift and the period button) you will print 2 of these 
  • ½ cup water
  • 4 oz glue bottle (print 2 of these)
  • Glitter (print 2-3 of these)
  • Paint (print 2 of these)
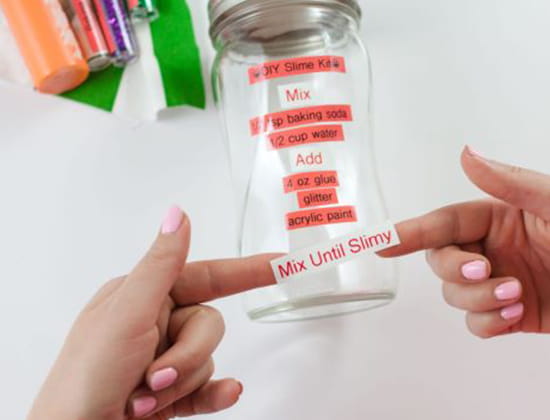
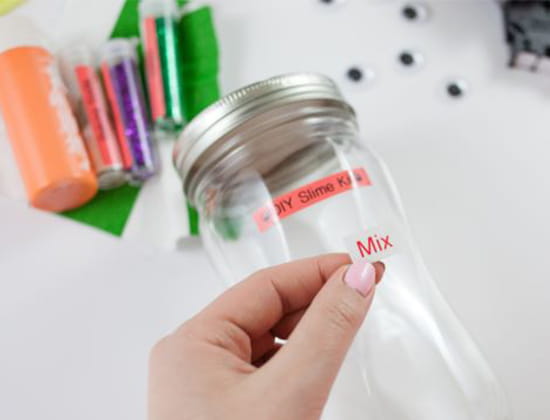
Person placing "Mix" label on a glass jar for DIY Slime kit

Change to Red on White label tape

  • Mix
  • Add 
  • Mix Until Slimy
Step 3 - person affixing label tapes to glass jar

Step 3

Once you have all your labels printed add to the jar in this order:
  • DIY slime Kit
  • Mix
  • ½ tsp baking soda
  • ½ cup water
  • Add
  • 4oz glue
  • Glitter
  • Paint
  • Mix until slimy
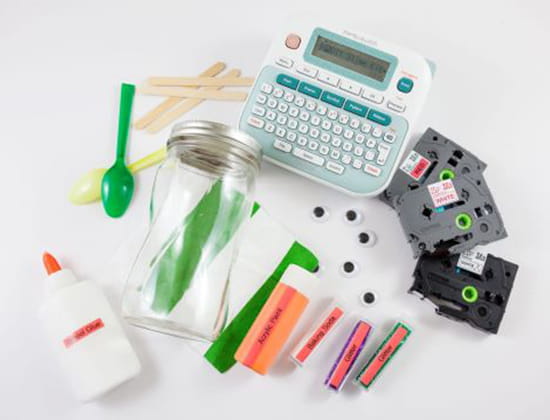
P-touch Embellish label maker, label tapes and slime kit supplies on a blank background

Step 4

Add the second set of labels to your ingredients for identification. And fill jar with the ingredients and if you like, you can add a piece of decorative fabric between the seal and the jar rim.
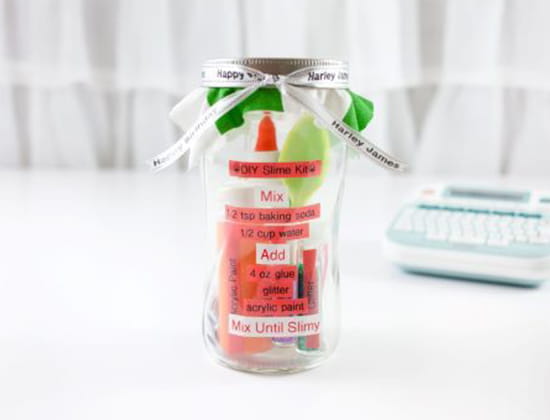
Step 5 - Completed slime kit jar on a table with P-touch Embellish label maker in background.

Step 5

Lastly, tie the personalized ribbon around the jar for the perfect touch

X