
Your session has timed out. Please log in again
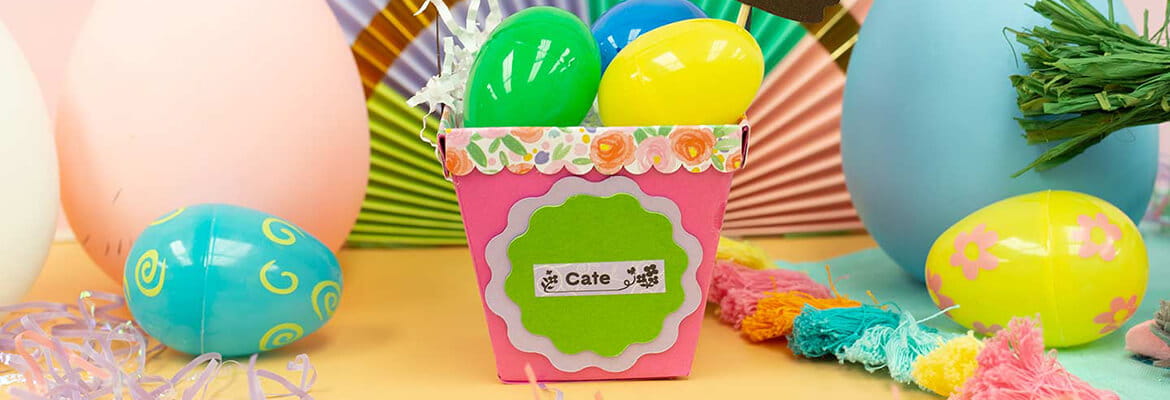
Easter is such a fun holiday to celebrate Spring and new growth. This Easter, make a personalized paper gift basket for your friends and loved ones to show them how much you care for them.
Level of Difficulty: Easy
Time to Complete Project: 15 min
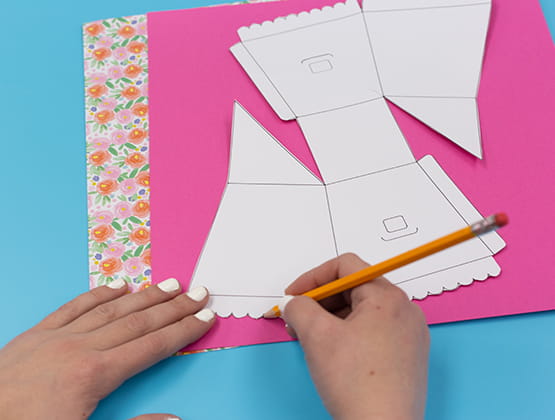
Print and cut out the Easter basket template. Trace the template onto the pink paper. Cut off the scalloped edge of the gift basket and trace onto the floral paper, leaving enough room at the edge to tuck inside your basket (see step three image for reference).
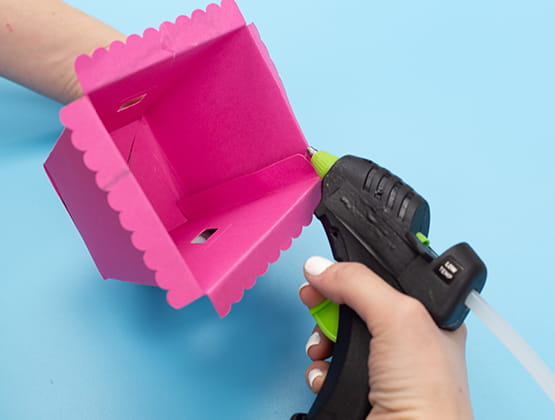
Cut out the traced pink and floral paper and fold the pink gift basket along the template lines securing with hot glue.
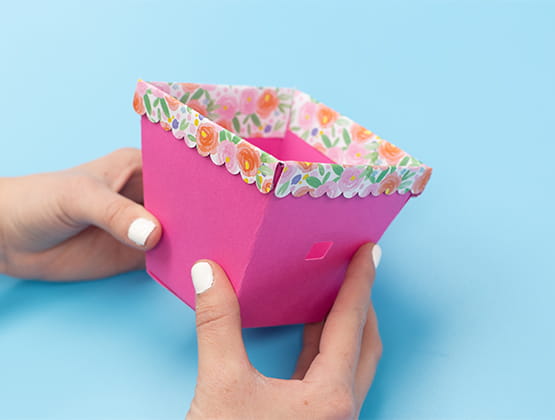
Glue the floral scalloped edge paper directly onto the pink scalloped edge paper, closely aligning both shapes.
Then, fold the remaining floral paper inside the gift basket and secure with glue. Set aside.
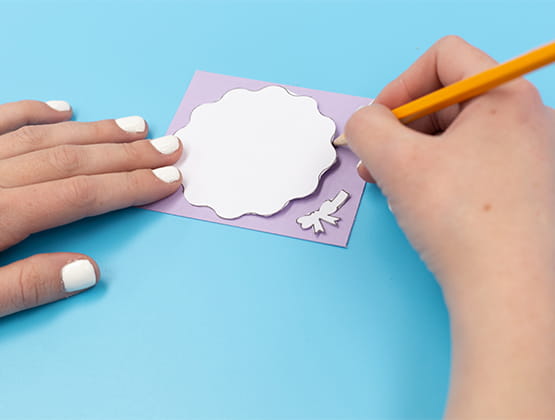
Cut out your circle templates. Trace the smaller wavy circle and the bow onto purple paper, cut out and set aside.
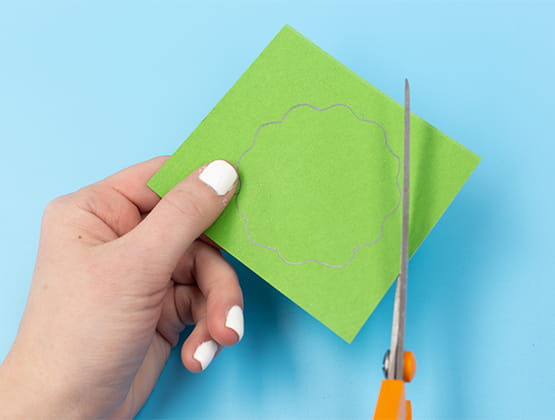
Next, trace the larger wavy circle onto the green paper, cut out and set aside.
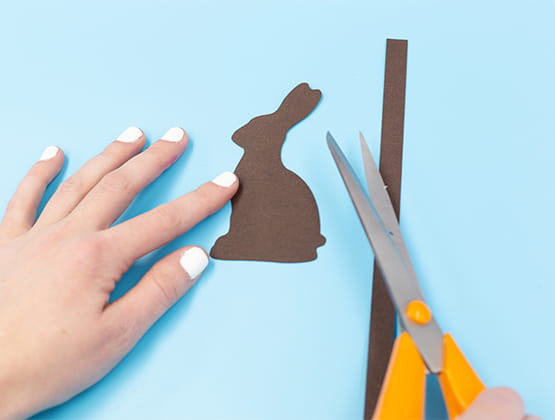
Trace your bunny and rectangle shape on to the brown paper. You will need two rectangles and glue them together. Set this all aside.
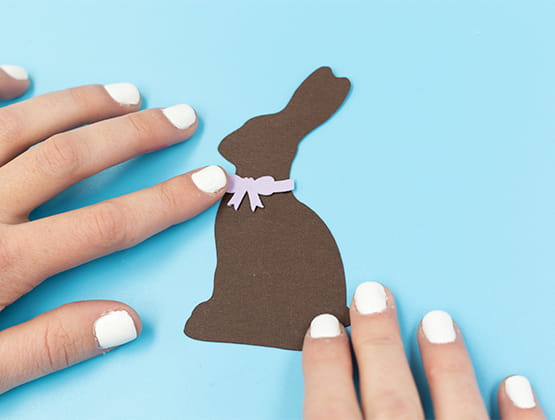
Next, glue the purple bow onto the brown bunny and turn the bunny over and glue the wooden dowel onto the back of the brown bunny. Set aside.
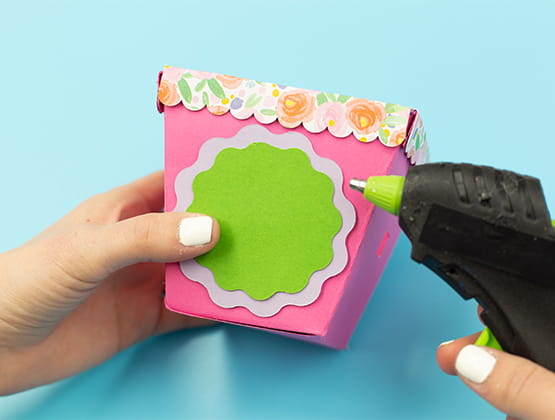
Glue the purple circle first, to the front of your gift basket, followed by the green circle on top of purple.
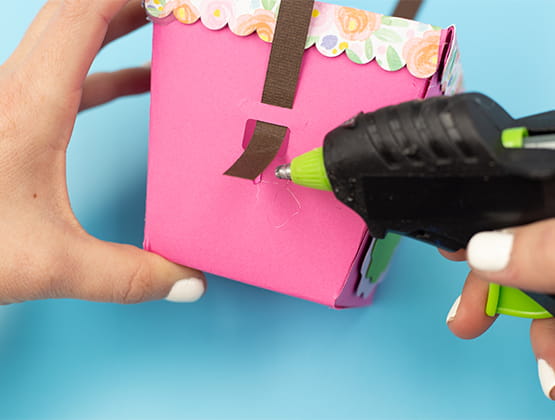
Then, weave the brown rectangular shape into the holes located on the sides of the pink gift box and secure with glue.
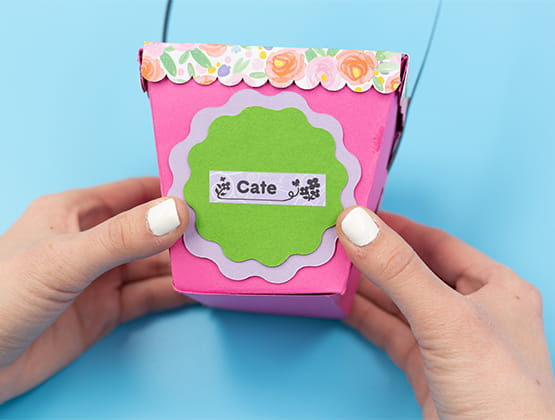
Insert your purple floral tape into your P-touch embellish. Make sure your machine is reset by holding down shift and the backspace button.
Choose Text&Format and press OK. Write out the name you wish and select font (we used #8) and hit OK.
Select Frame and choose your favorite (we used #42) and hit OK.
Print out your design and place on top of the green circle.
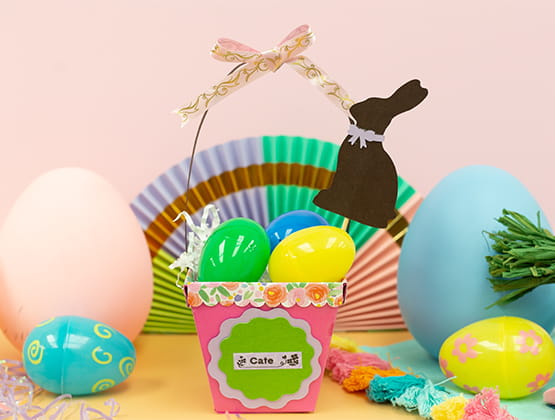
Switch your cartridge to the gold on pink satin ribbon. Select the Pattern button and choose your favorite (we went with #25) and hit OK. We recommend 15.0" for tying a bow, hit OK and then once more to print.
Tie your bow and secure it to your handle on the basket.
Stuff the gift basket with white crinkle paper for some fluff and insert your bunny. Place your Easter goodies in the basket and your all set.