Materials:
- P-touch Embellish ELITE (PT-P715eBT)
- P-touch Embellish Gold on Wine Red Satin Ribbon ~1” (TZe-RW54)
- Kente inspired fabric of your choosing (We alternated patterns but get creative and make it your own)
- Scissors
- Glue craft sticks/Fabric glue
- Heat Gun
- Tape measure
- Pencil
- A round template that is approx. 4 inches in diameter (You can use a bowl, cardboard, mug) Whatever is easiest for you.
Directions:
Step 1
Measure where you would like your banner to be hung. You can print up to 39” in a single run, but if you need it longer than that you will have to print a second piece.

Step 2
Next, make sure you have your Design&Print 2 downloaded on your smart device. Connect to your Embellish ELITE, open the app, and choose the template called RIBBON.
- You want to scroll down to the repeating patterns. We choose #20 but feel free to choose another layout if you feel it fits better.
- You can change the tape color to show the Gold on Red Satin Ribbon or whatever color you have chosen, and you can tab over to the tape width and change it to 0.94” so it can be viewed properly.
- From here change your message by tapping on the letters (we choose to write Happy Kwanzaa) and you can also change your font from this screen if you wish.
- You can also change the emoji by tapping on the one showing and then scrolling through all the different categories. We choose the candlestick which can be found under seasons.
- When you are ready to print hit the Print button. VERY IMPORTANT do not change the length of your ribbon on the main screen under text length you will do this within the print section.
- While on the Print screen you will see Ribbon/tape length this is where you will put in your measurement from step 1.

Step 3
Lay out your fabric and trace around your template to make your circles. Depending on the length of your banner will determine how many circles you will need. Tip: trace on the backside of your fabric so you won’t see any marks and it is usually easier to see here.
- Cut your circle in half. From here you can measure how many full circles you will need to reach the end of your ribbon.

Step 4
Once you have all your half circles lay them side by side in the pattern that you wish.

Step 5
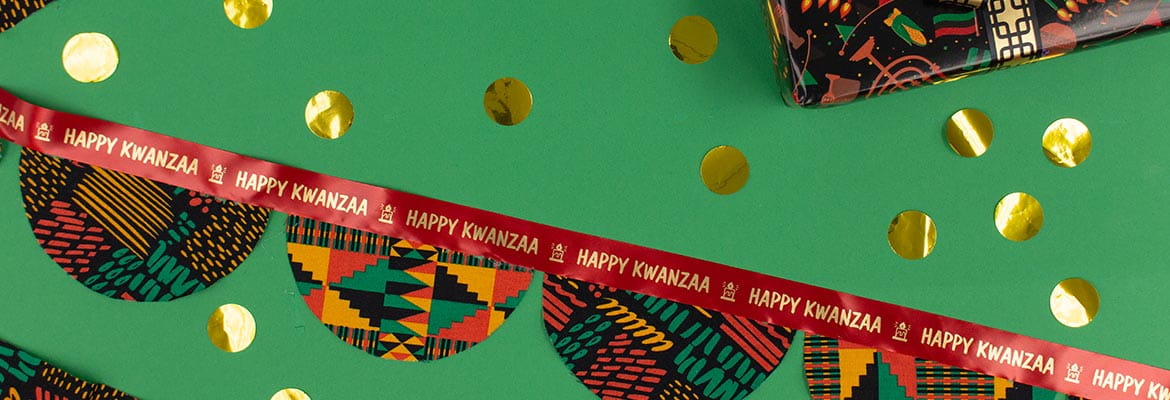
Take a small amount of glue on the flat edge of your semicircle and then attached to the backside of your ribbon. Repeat until you reach the end. And there you have it a beautiful banner to display for your Kwanzaa décor or celebration!
Share your personalized projects using #ptouchembellish