
Your session has timed out. Please log in again
Planning a wedding is huge. As a planner, you want to make sure all the details are perfect and everyone looks great. While it's important to take care of the bride, you also want the Mother of the Bride looking her best as well. After all, it's her daughter's biggest day. The Mother of the Bride should look polished and proud when she wears her corsage. The corsage tells a story of who she is and that she is celebrating the happiest day of her daughter's life.
The happiest day of her daughter's life can be expensive! That is why one of the biggest trends in wedding décor is incorporating life-like flowers to the arrangements to keep the budget down. Budget brides love this option because they don't have to spend thousands of dollars to purchase fresh flowers, struggle to keep it fresh until the big day and only to throw it away at the end of the day. Crepe paper flowers are perfect for weddings with big ideas but on a modest budget.
This Mother of the Bride corsage is made of fine crepe paper to give the peonies a life-like look and a personalization with the Brother P-touch Embellish. Follow the instructions below on how to make a gorgeous paper flower peonies corsage.
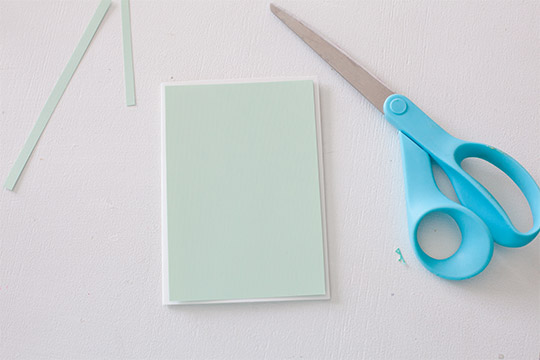
Cut out a cardstock slightly smaller than the card. Create a trim around the card. Glue the cardstock to the card.
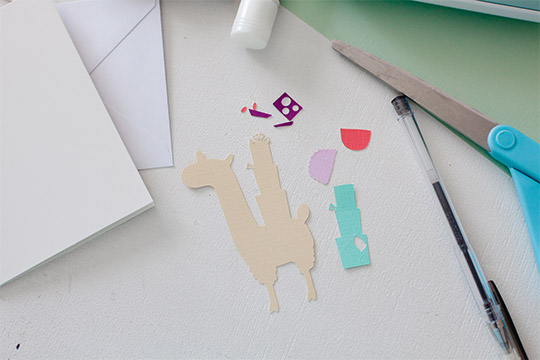
Print an outline of your favorite llama image. If you have a die cut or paper cutting machine, select a llama image and cut using the assorted card stocks. Cut out the printed llama. Trace the outline on a tan cardstock. Cut out the image.
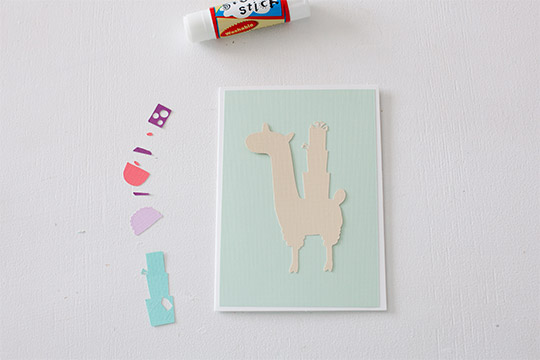
Use the remaining card stocks to cut out squares to make presents, saddle, and inner ears. Feel free to layer as many colors and patterns as you like.
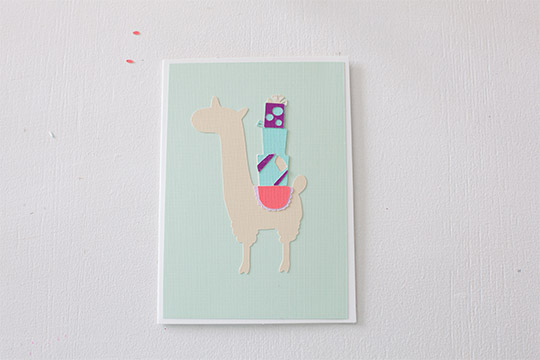
Glue each layers on starting with the llama, presents, saddle and ears. You can use the foam mounting squares to raise the llama on the birthday card for a 3D effect. This step is optional but very trendy in card making.
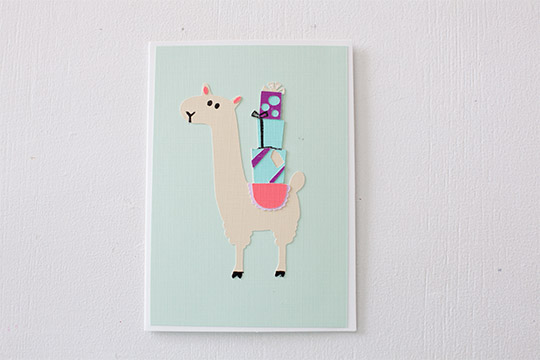
Use the black pen to draw eyes, nose, smile and feet.
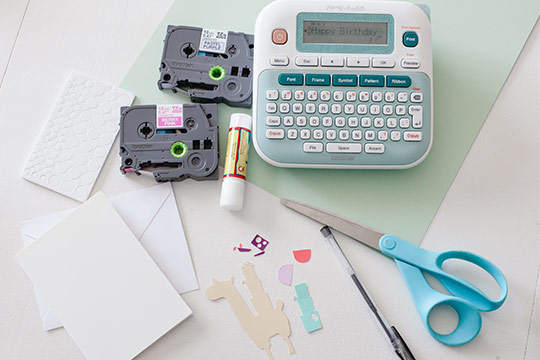
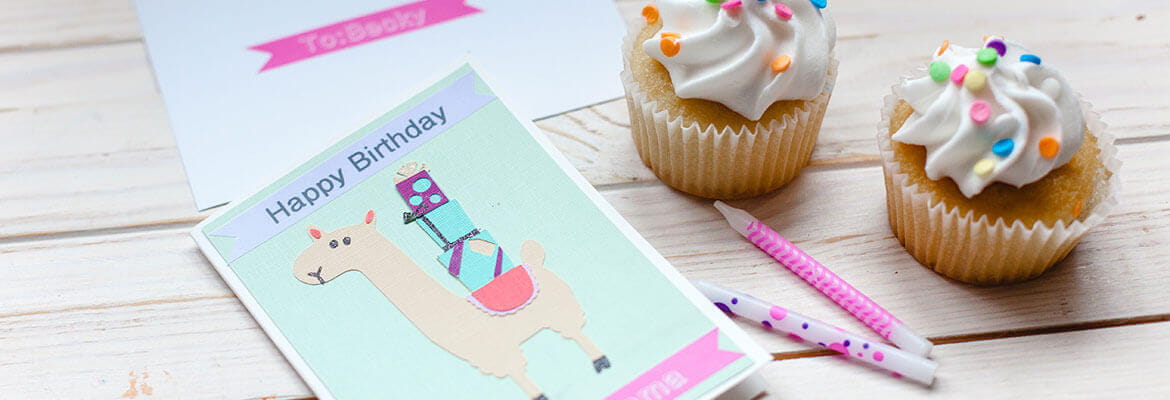
Use the P-touch Embellish tape ribbon to create the message. Insert the Pastel Purple cartridge. Type in Happy Birthday. Select the Helsinki font. Make sure the size, style and width are all normal. Print and trim a V on each ends of the tape.
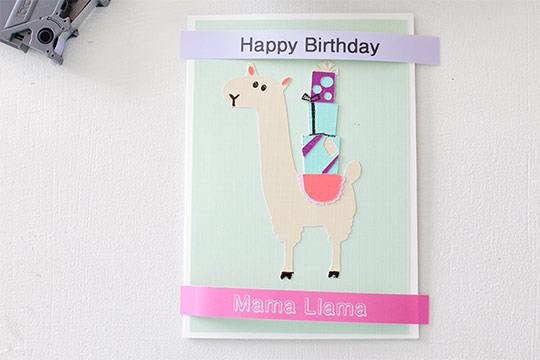
Now insert the Berry Pink tape ribbon. Type MAMA LLAMA in Helsinki font. Adjust the style to Shadow. Keep the size and width as normal. Print and trim a V on each ends of the tape.
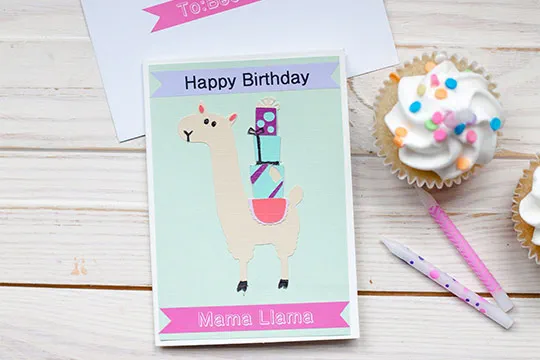
Using the same method in step 8 to create a label for the envelope. Type in the birthday llama’s name. Write your message in the card and seal it with a kiss.
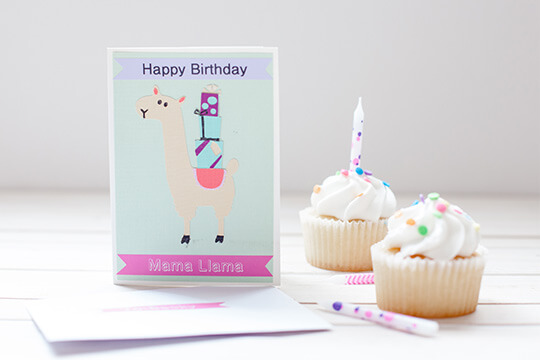
This birthday card is ready to send off and make someone’s day. Remember when celebrating a birthday for this special person to make it memorable. We love anything and everything personal. Share your P-touch Embellish birthday card creation with us.