
Your session has timed out. Please log in again
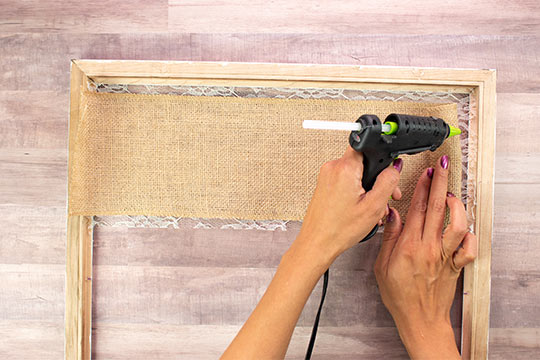
Flip frame over and attach the burlap and lace to the back of the frame using the hot glue gun.
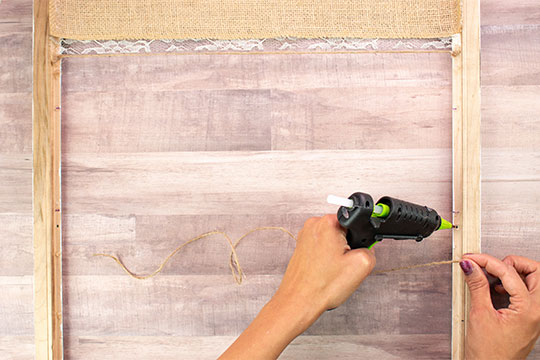
Use the marker to mark where you want the twine pieces to go. Glue two pieces of twine equal distance apart on the back of the frame.
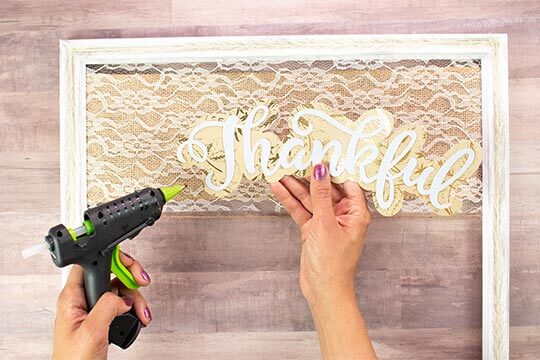
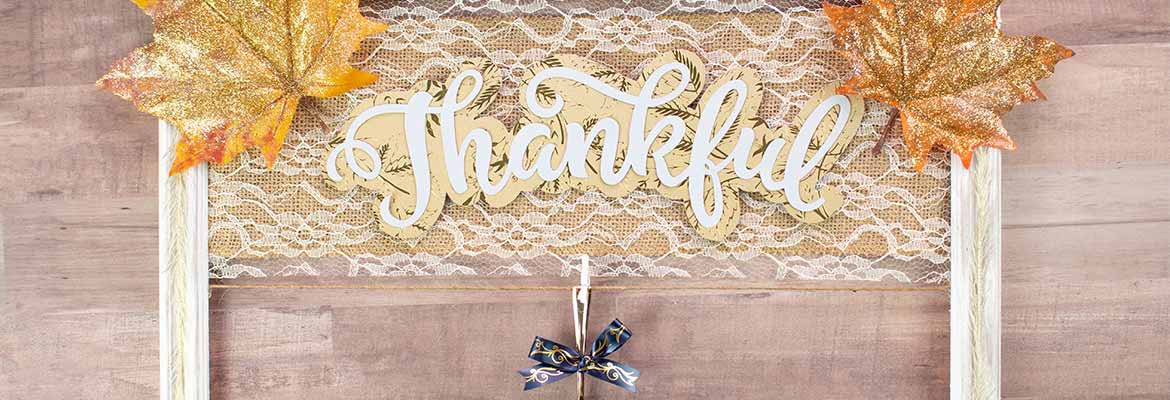
Flip the frame over and glue the “thankful” cut out on the burlap/lace.

Glue the leaves on each side of the “thankful” cut out.
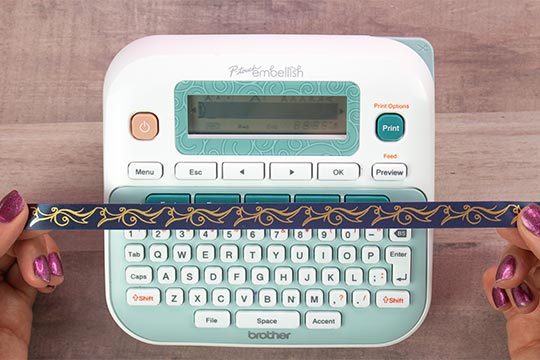
Next, use the P-touch Embellish to print a pattern ribbon. Select your favorite pattern and print a 12-inch piece. Print one for each photo you want to hang.
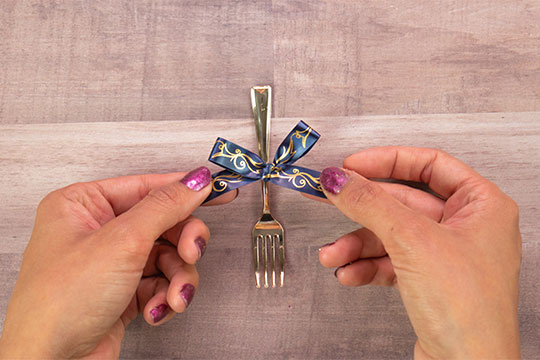
Tie the ribbon in a bow around the mini fork.
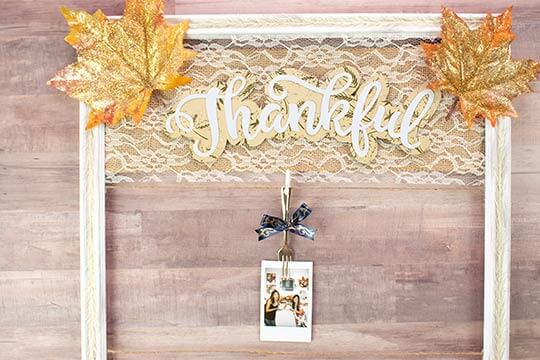
Clip the clothespin to the fork. Repeat for each photo hanger. Fit the photo in the fork teeth and clothespin on the twine.
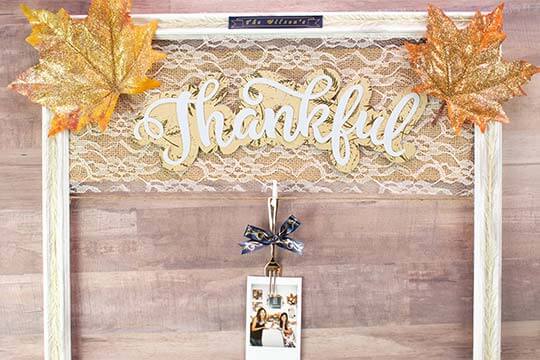
For the final personalized touch, use the P-touch Embellish to add the family name to the frame. Select your favorite frame on the P-touch Embellish and type your family name, select a font and print. Attach the ribbon to the frame with glue.
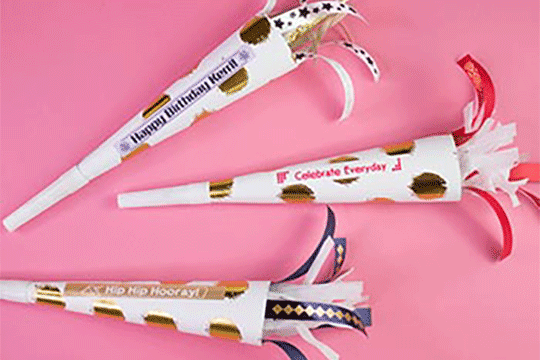
Ready to be loud and proud with this DIY party horn? Stand out and personalize any occasion with the P-touch Embellish.
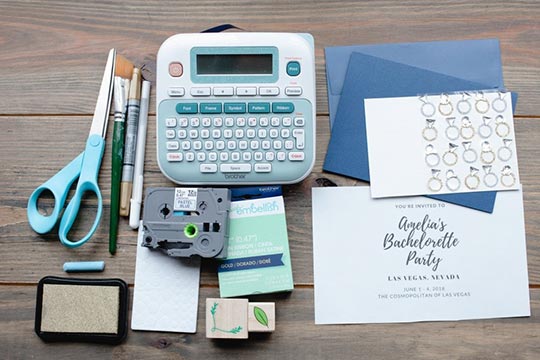
When it's time to send out the invitations, set the tone for an extravagant weekend with a classy DIY invitation. This decorative invitation can be made using some basic crafting supplies and the Brother P-touch Embellish ribbon and tape printer.
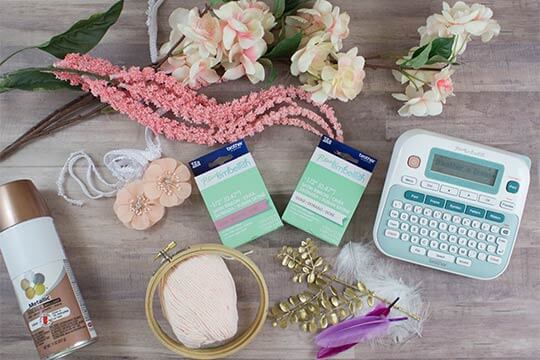
Dream Catchers are the perfect addition to any room and will hopefully bring sweet dreams! Add a personalized touch to your dream catcher with a few easy steps using the P-touch Embellish.