Your session has timed out. Please log in again
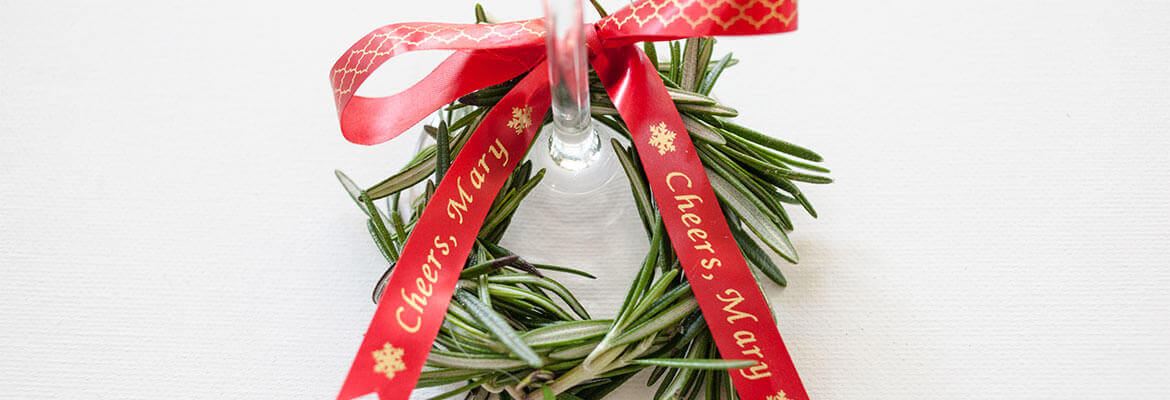
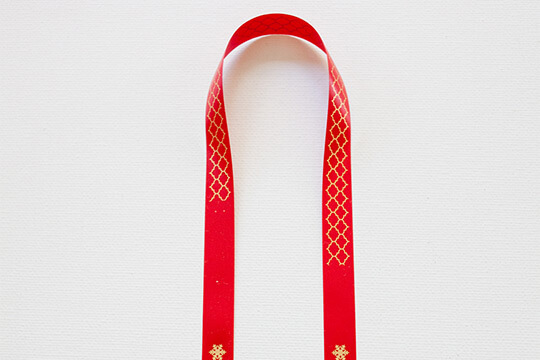
Using the P-touch Embellish, select the font Calgary in large. Add text “Cheers, (name)”. Add a snowflake symbol before and after the message. Print one copy. Do not cut yet. Now select a pattern. Print an 8-inch pattern and do not cut. Next, print a second copy of “Cheers, Mary” just like the first one. Cut the label when finished.
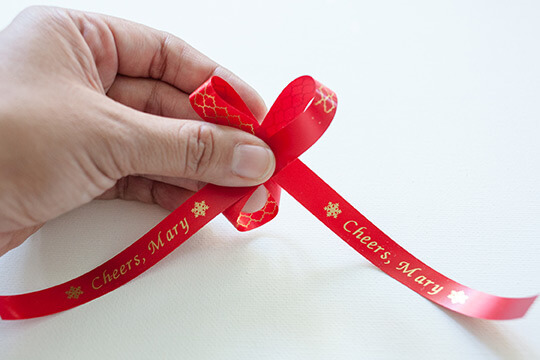
Create two loops to tie a ribbon. Allow the message to hang below. Set aside.

Flex the rosemary sprigs back and forth creating a soft bend. Take two sprigs and lay it side by side with ends on opposite sides.
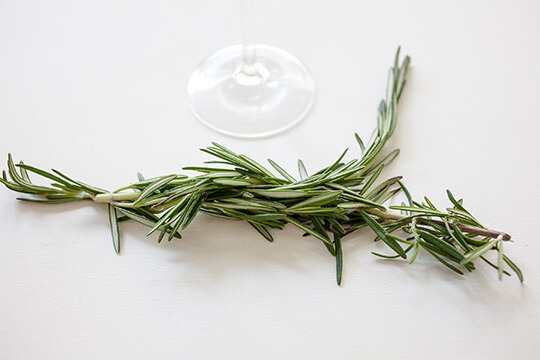
Twist the sprigs to connect the two. This allows the wreath to look full.
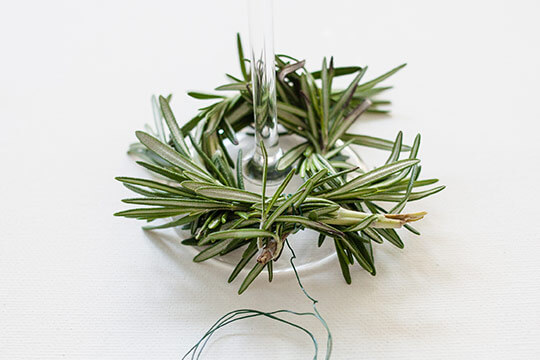
Wrap the rosemary sprigs around the wine stem to make a wreath. Twist the green wire around the rosemary ends to secure the connection in place. Leave the end of the wire open.
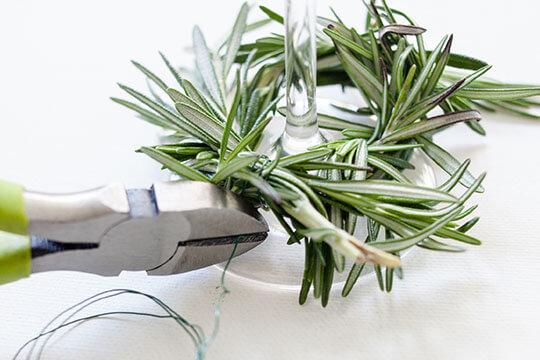
Take the end of the green wire and loop it through the ribbon center. Continue twisting the wire around the wreath until it is tightly secured.
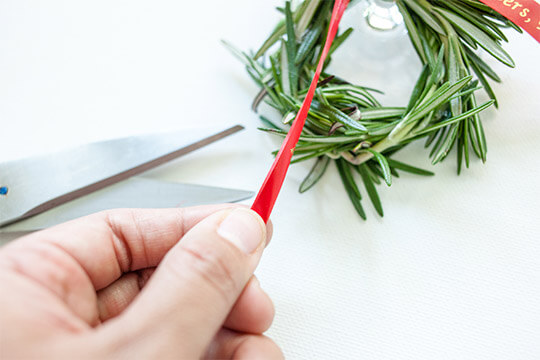
Trim off the ends of the ribbon by folding it in half (long ways) and cutting upward and away from the closing side. Repeat this step for the ribbon on the other side.
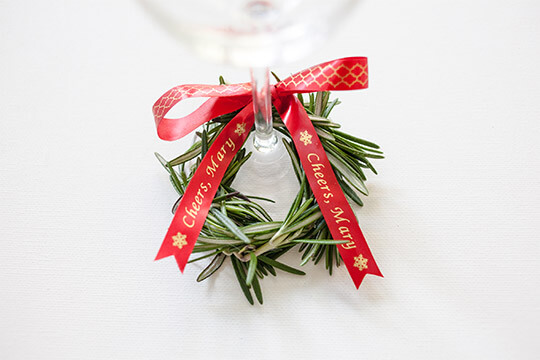
The wine glass wreath charm is ready to for your guests to enjoy.
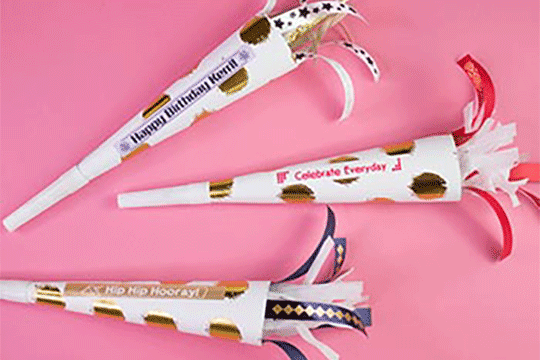
Ready to be loud and proud with this DIY party horn? Stand out and personalize any occasion with the P-touch Embellish.
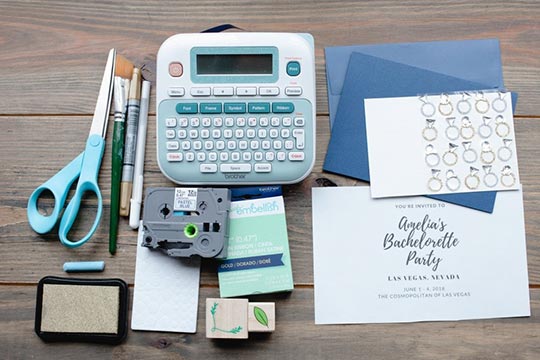
When it's time to send out the invitations, set the tone for an extravagant weekend with a classy DIY invitation. This decorative invitation can be made using some basic crafting supplies and the Brother P-touch Embellish ribbon and tape printer.
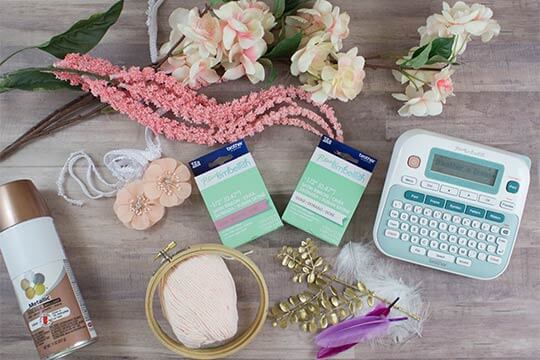
Dream Catchers are the perfect addition to any room and will hopefully bring sweet dreams! Add a personalized touch to your dream catcher with a few easy steps using the P-touch Embellish.